Hi everyone! I’m Vidya from Whats Ur Home Story, a blog that I started in January, where
I share how my family of four is adding character and style to our cookie cutter with easy on the budget, no hard core DIYing, and no major renovation projects. Recently, I discovered the joy of making throw pillows and boy…..am I hooked! Today I am so thrilled to guest post on Twigg studios for the immensely talented Aimee whose throw pillows I came across through her shop on Etsy. From one pillow addict to another, here is to a world filled with throw pillows. LOL!
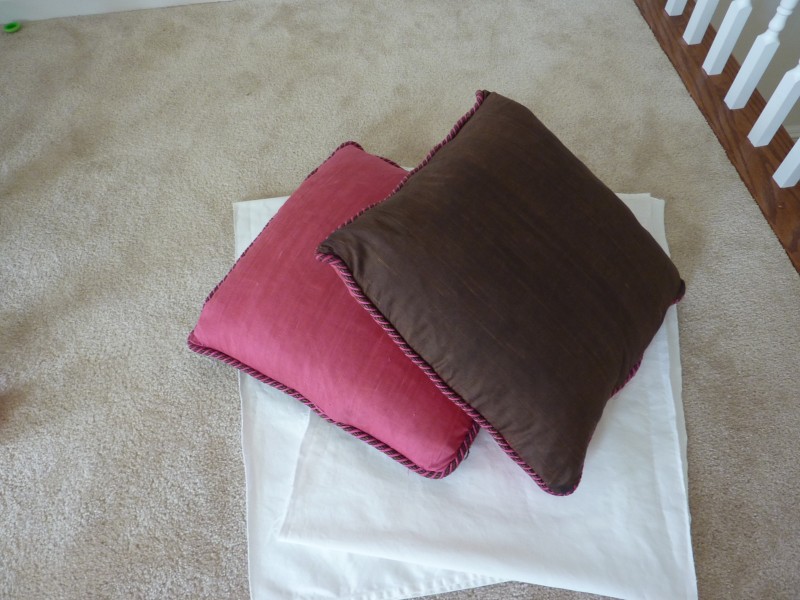
Who doesn’t love moorish patterns? Lately I’ve become obsessed with them and want to create anything I can with these prints. That’s when the idea of a throw pillow hit me. Unfortunately the local stores didn’t carry any such fabric and everything I found online was expensive. That’s when I came across the Martha Stewart Crafts� Arabesque Laser-Cut Stencils. I had some left over fabric from my IKEA MERETE curtains in the guest bedroom. And two 20 x 20 silk down pillows that I bought from Marshalls years ago on clearance for $5. Thanks to a few puking sessions when the kids were babies the silk covers were pretty worn out. Time for a facelift.
For creating the design you need (got everything from Micheals);
The stencil – $8.50 – was $16.99, I used a 50% off coupon. You could also make your own stencil by printing the pattern from the web and tracing it onto freezer paper)Red paint (I think it is your regular craft paint, Martha Stewart brand) – 2 bottles $1.29 eachFabric Medium – $4.19 (was $6.99, used a 40% off coupon) Converts the craft paint into fabric increasing the drying time making it less cakeySponges or a roller – I used the sponges left over fr0m my wall stenciling project in my dining room 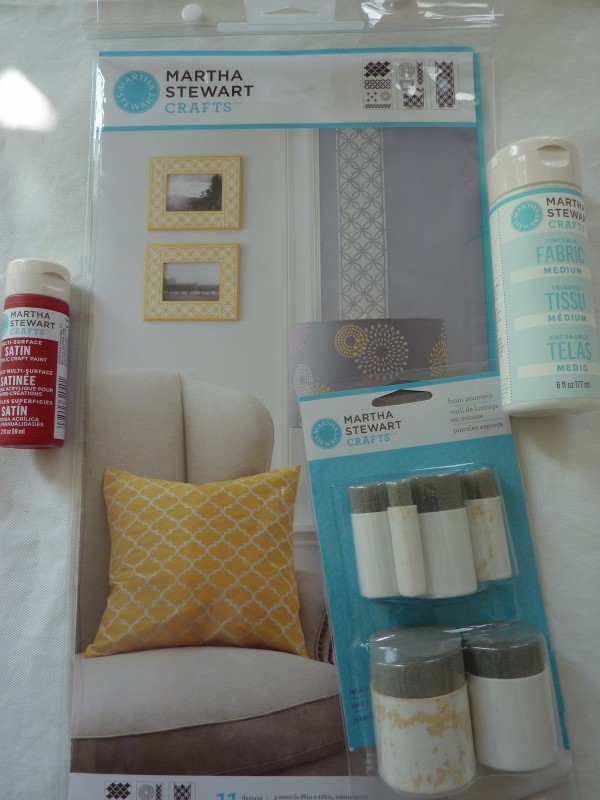
- Pre-wash the fabric, cut the size that you need. In my case the front piece was 20.5 x 20.5 (for seam allowance)
- Stick the fabric down onto your surface with painter’s tape. I was doing it on my carpeted floors. So I laid down a plastic drop cloth on the floor and taped the fabric to it.
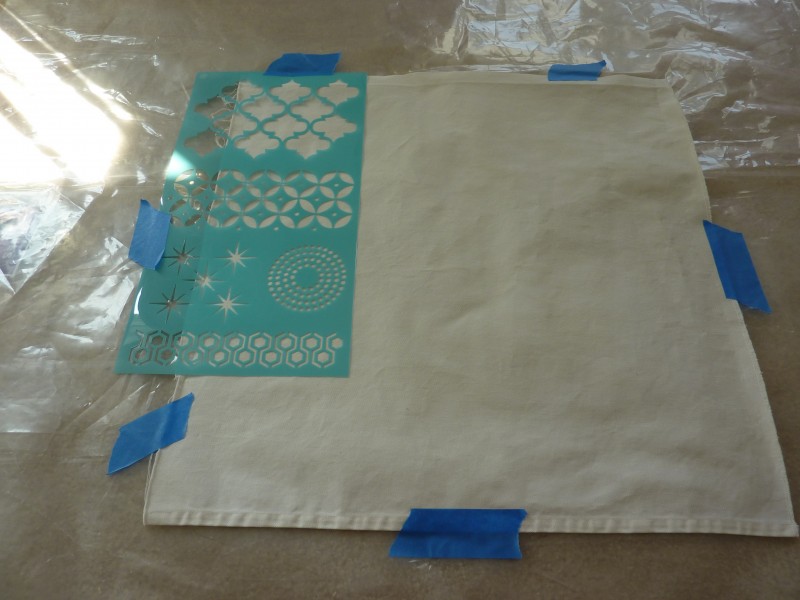
- Start from a corner, lay your stencil down, and secure ends with tape. Make sure to start your pattern with some overlap to the side (looks more natural than starting with a correct edge).
- Mix 2 quantities of paint to 1 quantity of fabric medium in a disposable plate (I used a cough syrup measuring cup to measure out the exact amount).
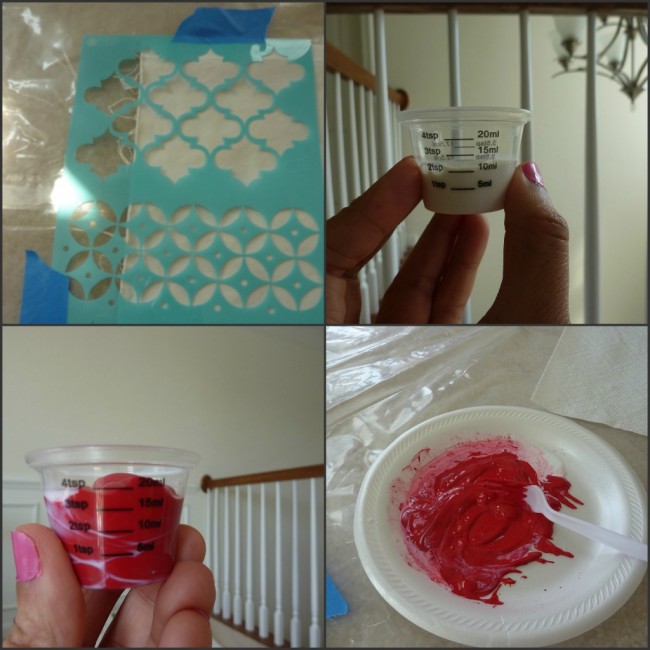
- Lightly load your brush with paint, dab any excess on the sides of the plate, and tap away at the stencil lightly.
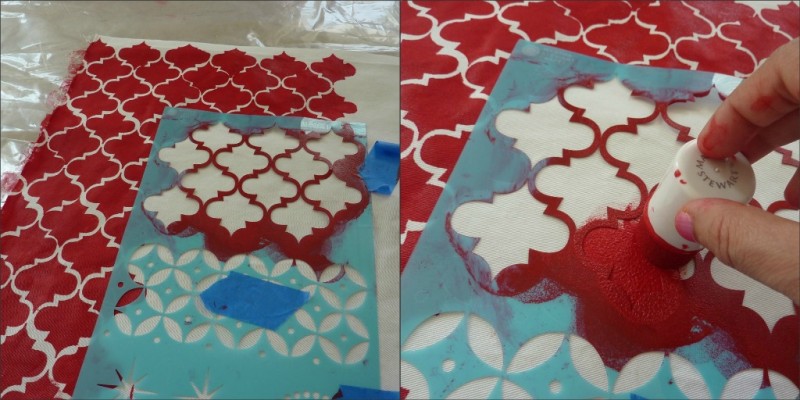
- Once you are done, lift the stencil gently. Line up the markings on the side of the stencil to your previous pattern and keep going till you’ve covered your entire fabric. Wipe the back side of your stencil clean after each session.
- Let it dry for 24hrs and then heat set the paint.
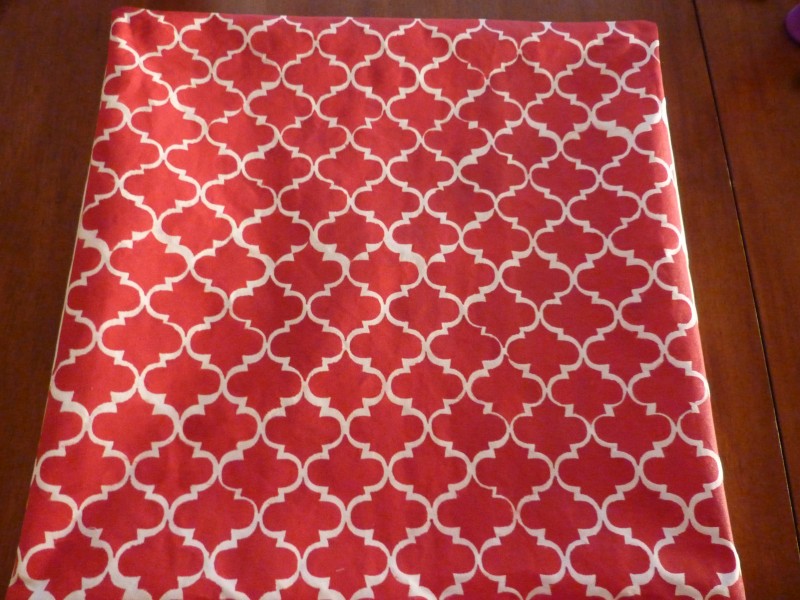
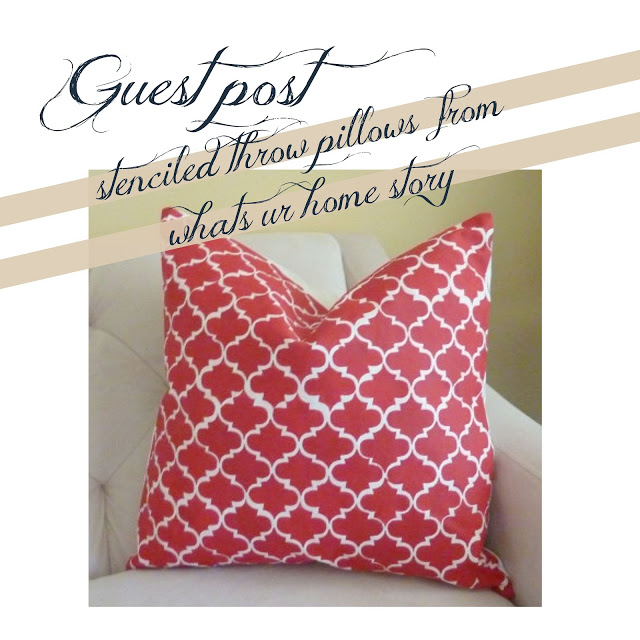
The pillow is your usual envelope pillow where the you take 8″ inches extra for the back half of your fabric, cut it into two halves, stitch seams, lay everything with the good side facing each other, and sew. You can get the detailed steps here. Once you are all said and done you’ve got your own moorish stenciled pillow.
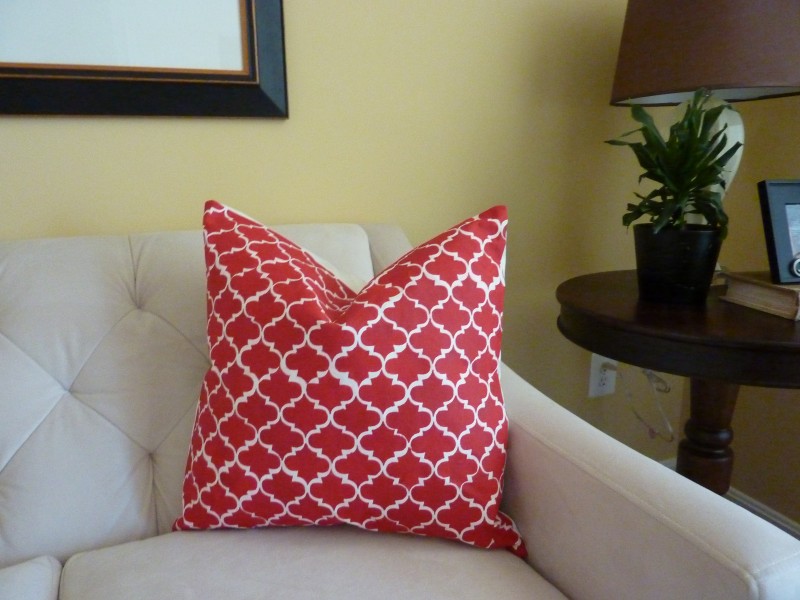
Ain’t that gorgeous? All for $7.64 for one pillow.
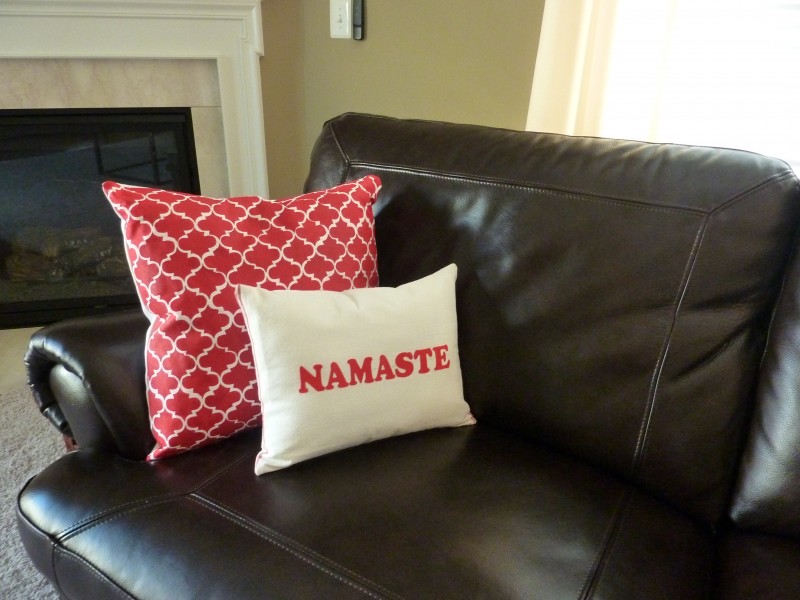
A few things to keep in mind; try your best to align the stencil properly. There might be cases where you mess up. Don’t panic. Once you are done stenciling the fabric, take a thin paint brush and paint the missing lines (I used white craft paint that I had, mixed with the fabric medium in a 2:1 ratio) like this.
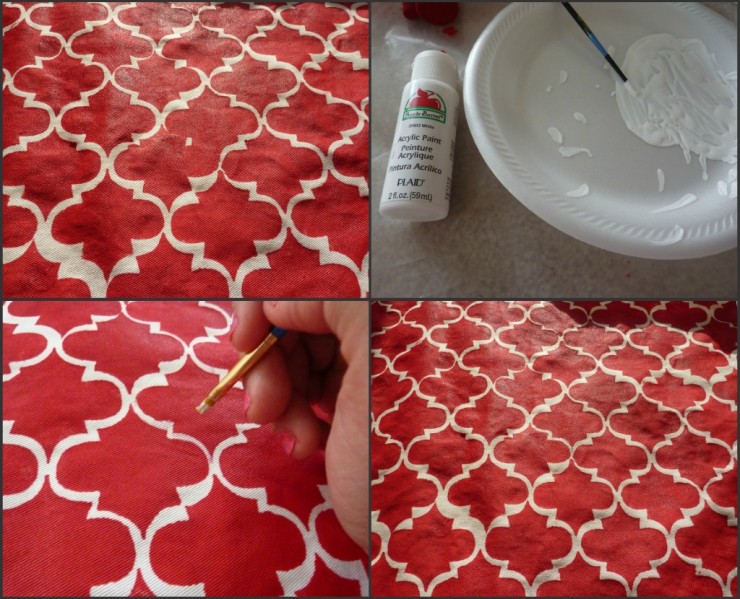
Can you even make out where the fess up was?
The possibilities with stencils are endless. Happy pillow making!
It is CRAZY how good this looks!! Would totally think you'd bought this! Going over to check out your blog now!
Wow this is amazing!!!! The stenciling is flawless, just beautiful!!!!!
Just saw this. Thank you so much Brooke and Maria.