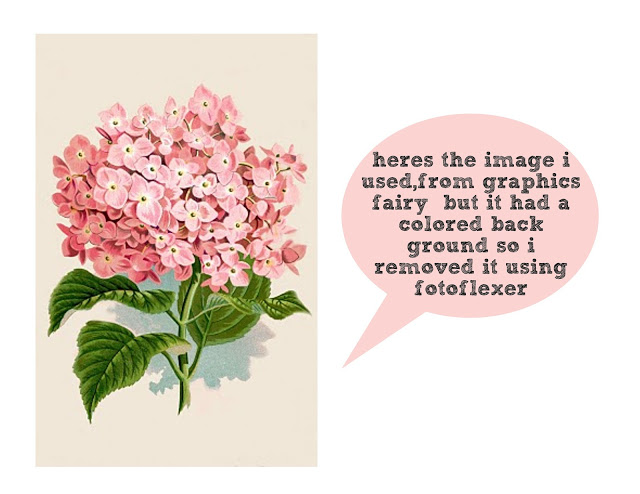
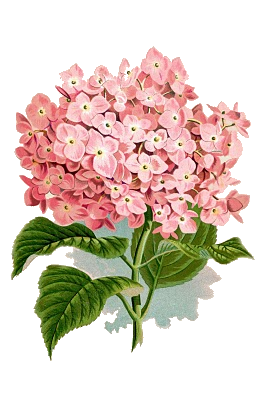
here is one with the background removed just right click and save

alderberry hill inspired by felicity vintage mauve cowgirl up party serendipity and spice home maker on a dime
teagans travels uncommon debbie does creations real housewifes of riverton adventures of a diy mum vintage wanna bee the kurts corner the winthrop chronicles pinkopotamus a diamond in the stuff embracing change our thrifty ideas crafty confessions naptime delights
sew much ado diy dreamer jaqs studio crafty scrappy happy raegun ramblings southern lovely the gilded hare restore interiors savvy southern style faded charm boerman ramblings
the ny melrose family i gotta create 52 mantels embracing change the artsy girl connection spruce your nest beyond the picket fence
creation corner bacon time with the hungry monster little becky homecky marriage from scratch kitchen fun with my 3 sons
i cant stop crafting jolly jane nutmeg place rustic crafts &chic decor polkadot pretties too much time on my hands
sisters of the wild west


this is a really neat idea, i like to work with polymer clay, am still fairly new to it but new experiments and ideas are always good to try
Well I sure never thought of printing on tissue paper! Genius!
Absolutely fabulous! And your project is gorgeous! 🙂
Just beautiful…thanks for sharing! ~ Judy
Super idea, cannot wait to try. I have loved so many of your tutorials!
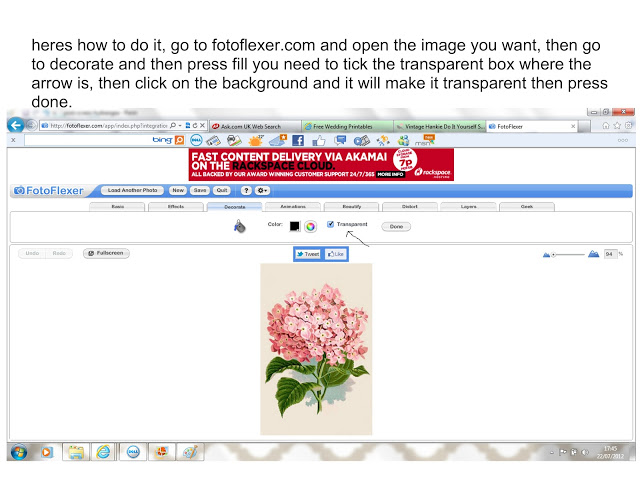
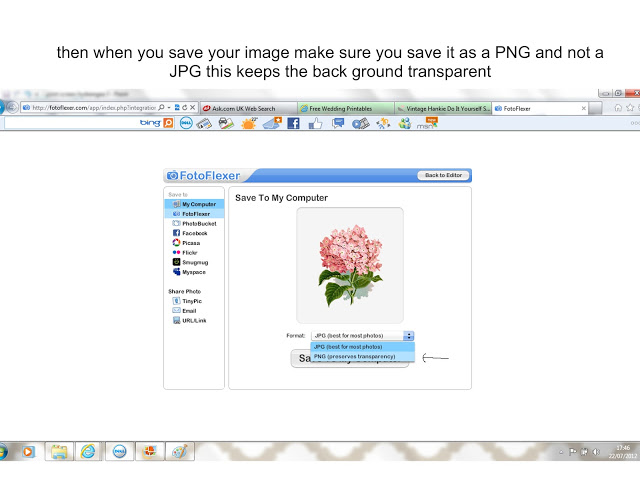
I really like this idea! And I can't wait to try fotoflexer. I never could figure out how to remove a background. This opens up so many possibilities. So glad you linked up at Etcetorize this week~
Maybe you could try ironing freezer paper onto the tissue first. I love the effects you got. So savvy with the computer!
Fabulous idea – I can think of so many ways to use custom printed tissue paper, my brain is spinning! 🙂 Thanks for sharing; p.s. I found you via the Tuesday Treasury Link Up party at Boerman Ramblings! 🙂 Nice to meet you, and God Bless!
Love it! I printed on parchment paper for a party I did a few weeks ago but I'll have to remember I can expand it to tissue paper! Great job! <3 Your newest follower, Heidi Rew from PartiesforPennies.com
Love it! I printed on parchment paper a few weeks ago for a party I threw but I'll have to remember that I can expand it to tissue paper! Thanks so much! Great job! <3 Your newest follower, Heidi Rew from PartiesforPennies.com
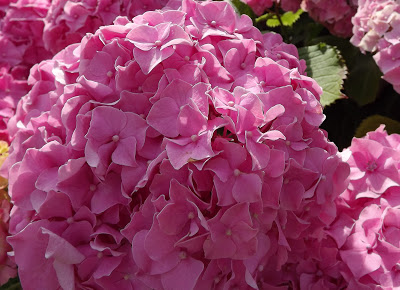
Wow- I had no idea this could be so easy! My mind is spinning with ideas for gifts. Thanks so much for sharing the details, even including Fotoflexer. I love your pink hydrangea inspiration, too 🙂
This is way AWESOME, Aimee!! Thanks so much for sharing! 🙂
Nice idea, thanks for sharing, it turned out really well!
So cute! I love printing on tissue paper. Thanks for the Fotoflexer tutorial!
I love this idea! Thanks for another great tutorial!
Congratulations on having your beautiful bottle chosen as Graphic Fairy's Handmade Craft pick for this week's Brag Monday! I love the bottle, and can't wait to start plastering printed tissue paper on all sorts of things, thanks to your excellent instructions!
Thank you, too, for the FotoFlexer tut; I am very new to image editing, so I'm really excited about having a new (and free!) tool in my arsenal.:)
xoxo
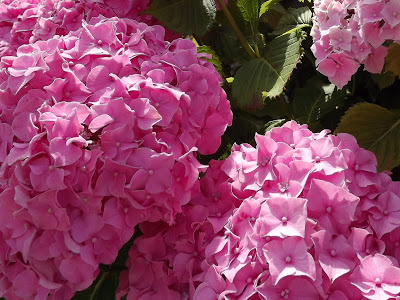
P.S. Your photos of the luscious pink hydrangeas are gorgeous!
Another great idea!! Thank you so much for linking up to Tasty Thursdays last week. Hope to see you again this week!!
Nichi – The Mandatory Mooch
How pretty and what a great tutorial! Thanks for linking up this week!
Thanks so much for sharing with Wednesdays Adorned From Above Link Party. This is beautiful.
Debi
Fantastic!!! I am gonna have to try this!!! Love it.