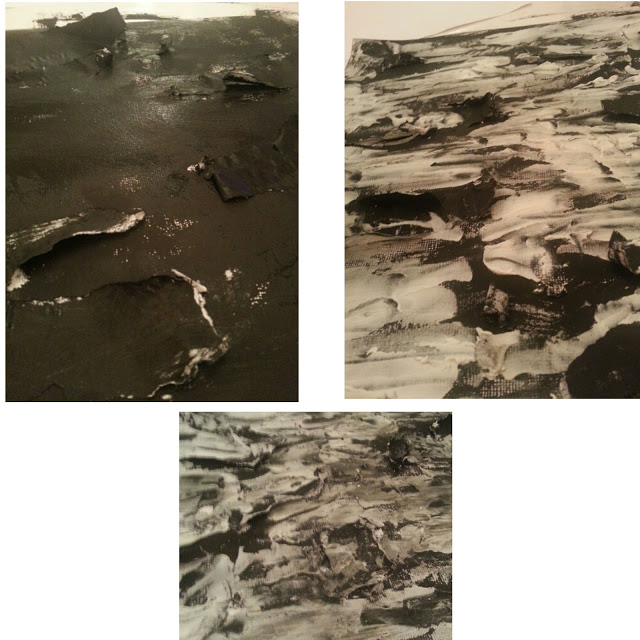
first take your piece of card, and tear up some printer paper and stick it on the card with the edges not flat to the paper so they are sticking up, then paint the whole thing black.
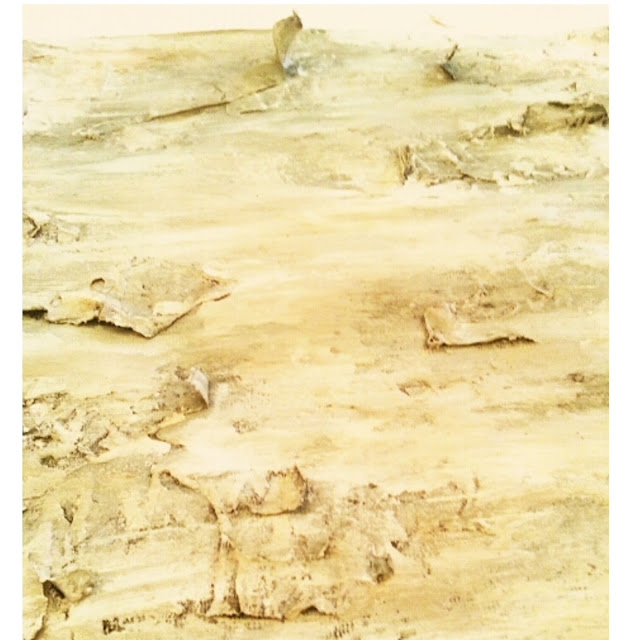
wait for it to mostly dry, and take the putty knife and the wall compound and apply it to the card making a rough ridged texture, make sure the paper is still sticking up, then wait for it to dry, then paint on some elmers glue or white school glue and wait for it to partially dry then take a hard bristle brush and white paint and drag it across the card in the same direction, covering most the card. the elmers glue will create an aged look where by you can see some of the black still. now take the taupe paint and use the sponge brush and add it in areas. then you can add more white paint over the top lightly. the paper will look like peeling bark like on birch trees.
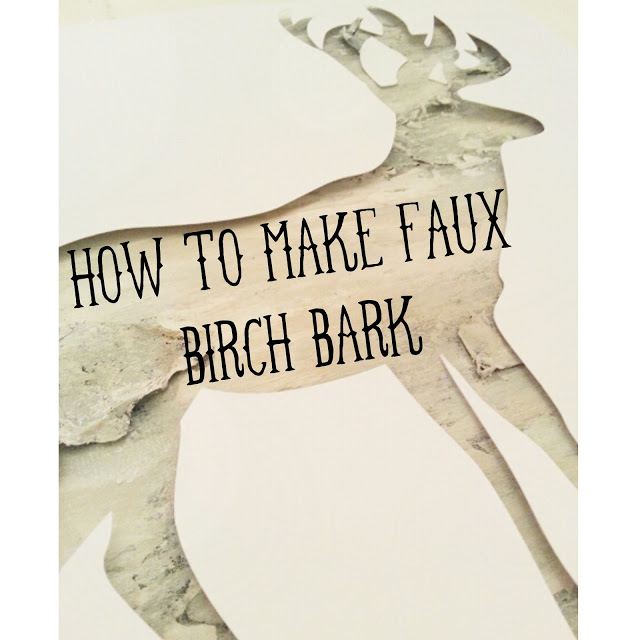
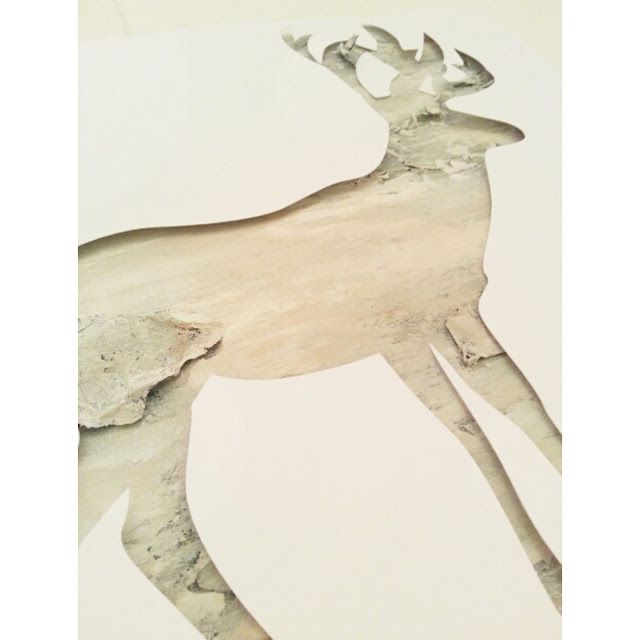
i used mine behide a cut out of a deer, but you can use it for vases ect. it will come in Handy for Christmas crafts, I’m not sure what to make with it next, maybe a lantern or tree decorations


inspired by felicity
vintage mauve
cowgirl up party
serendipity and spice
home maker on a dime
uncommon
debbie does creations
real housewifes of riverton
adventures of a diy mum
vintage wanna bee
the kurts corner
the winthrop chronicles
pinkopotamus
a diamond in the stuff
embracing change
our thrifty ideas
crafty confessions
naptime delights
diy dreamer
jaqs studio
crafty scrappy happy
raegun ramblings
southern lovely
the gilded hare
restore interiors
savvy southern style
faded charm
boerman ramblings
i gotta create
52 mantels
the artsy girl connection
spruce your nest
beyond the picket fence
bacon time with the hungry monster
little becky homecky
marriage from scratch
kitchen fun with my 3 sons
jolly jane
nutmeg place
rustic crafts &chic decor
polkadot pretties
too much time on my hands





Fabulous! Genius! Love it. Wish I didn't have plumbing problems or have to go to work. I'd sit home and try out all your great ideas. One of these days though…
Liz
This is awesome! I hope you don't mind, but I pinned it!
http://pinterest.com/pin/152700243586885752/
Well, I am going to have to pin this one, also. it is just too clever for words. I wonder about cutouts on lampshades?
very cool technique!
This is beautiful! What a great tutorial!
Very Cool! Will be trying this
I adore it behind the deer cut out 🙂 Thanks for sharing this great tutorial! I look forward to giving it a whirl 🙂
Wow, you are the queen of faux–I love this and want to try it, thanks for sharing!
Fabulous 🙂 Thanks so much for linking up at LLR each week, Aimee. Hugs!!
Wow, that looks amazing! I can't believe that isn't real, what a great idea, stopping over from Craftbery Bush linky party 🙂
and another crazy cool tutorial and inspiration!!! Thank you for sharing and inspiring me!!!
Jaime
This looks great Aimee! I'll have to give it a try.
Thanks for linking up at the WTFab party that I am cohosting this week. I really love this idea and hope you'll also come share at my Farm Girl Blog Fest. Lisa/Fresh Eggs Daily http://fresh-eggs-daily.blogspot.com/2012/10/farm-girl-blog-fest-6.html
What a clever technique! I would love it if you would share this link with the Clever Chicks Blog Hop this week!
http://www.the-chicken-chick.com/2012/10/clever-chicks-blog-hop-5-happy-hen.html
I hope to see you there!
Cheers!
Kathy
The Chicken Chick
Okay, that's really cool!
What a great project! Thanks for sharing!
Amazing issues here. I am very hapρy to pееr your aгticle.
Thank you sο much and I am haѵing a look ahead to touch
you. Will you kindly drop me a e-mail?
Review my website : http://www.thevidavibe.com/
Thank you for this tutorial. Still being read (and will be used!)