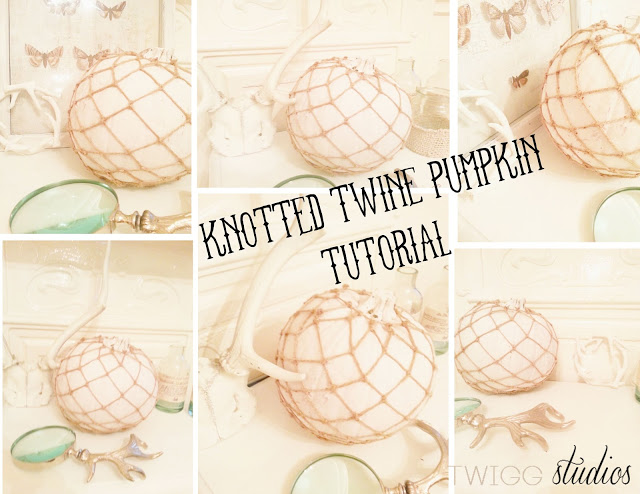
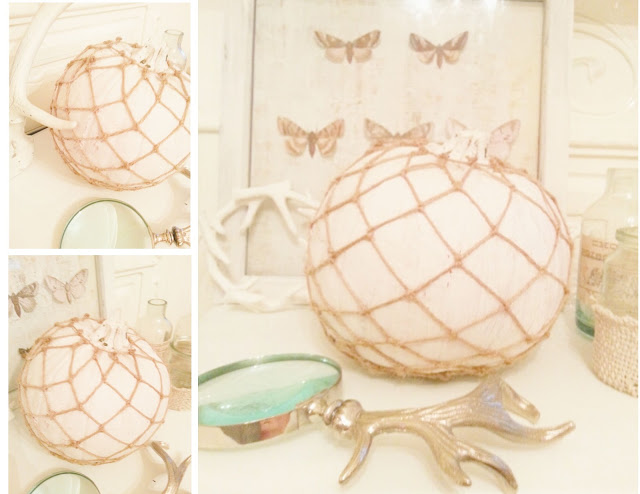
to make this you need
one pumpkin
white chalk paint
jute twine
scissors
first paint your pumpkin with the white chalk paint, while it is dying follow the first 4 steps
step 1
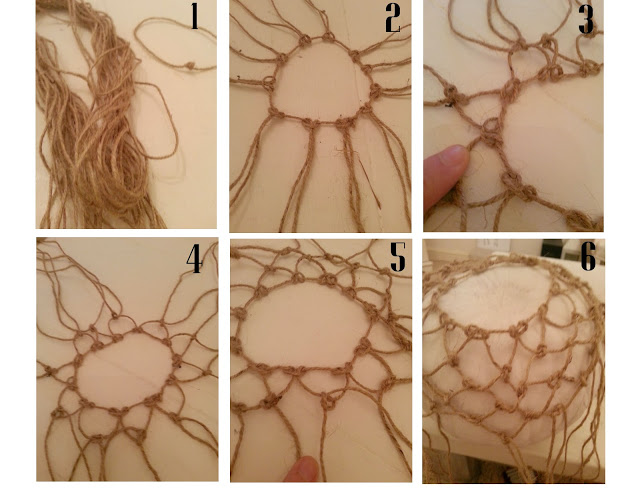
take the jute twine and measure it against the underneath of your pumpkin and make a circle that is the size of just under the pumpkin.
then cut 11 strands of twine, make sure that when they are folded in half they are twice the size in height of the pumpkin
step 2
fold all the twine in half and loop it on to the circle see picture 2
step 3
each loop will have two bits of twine to it, so take one piece of twine, from 1 loop then one from the loop next to it and tie it together in a double knot. then keep doing this to the next ones until the first layer is done.
step 4 and 5
keep following these steps for the first 3 rows then place it over the pumpkin
step 6
once you are half way down you can turn the pumpkin over so its the right way and keep going until you reach the top
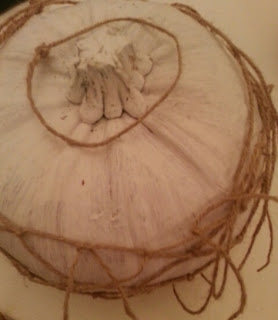
then cut another circle to go around the top, and pull the twine tight and use the excess twine and tie it to the circle, then trim off the ends and your done.


inspired by felicity
vintage mauve
cowgirl up party
serendipity and spice
home maker on a dime
uncommon
debbie does creations
real housewifes of riverton
adventures of a diy mum
vintage wanna bee
the kurts corner
the winthrop chronicles
pinkopotamus
a diamond in the stuff
embracing change
our thrifty ideas
crafty confessions
naptime delights
diy dreamer
jaqs studio
crafty scrappy happy
raegun ramblings
southern lovely
the gilded hare
restore interiors
savvy southern style
faded charm
boerman ramblings
i gotta create
52 mantels
the artsy girl connection
spruce your nest
beyond the picket fence
bacon time with the hungry monster
little becky homecky
marriage from scratch
kitchen fun with my 3 sons
jolly jane
nutmeg place
rustic crafts &chic decor
polkadot pretties
too much time on my hands




This is so cool! Love how you used the knotting technique for this!
Wow this is amazing. I'll have to study the knotting technique.
I used to macrame'. I would love this on glass balls.
such an original idea. 🙂
Would love if you came and linked up with us. We’re giving away one free week of ad space for one lucky feature, and our blog gets thousands of hits per day! Hope to see you there!
http://www.oneprojectcloser.com/the-humble-brag-link-party-4/
Thanks so much for linking up last week at the Humble Brag! Hope to see you back tomorrow to link up more great projects. Be sure to grab a button or link back if you would like to be featured or win ad space. 🙂
http://www.oneprojectcloser.com/the-humble-brag-link-party-5/
So intricate and what a beautiful effect. Love it!
Love this tutorial! Thanks so much for sharing!! 🙂
Love this!!! So creative. I'm hopping over from Cowgirl up. Happily enjoying my visit to your sweet blog I am already a happy follower. Hugs
I love this Aimee! Great for Halloween or Thanksgiving pumpkins. Thanks so much for sharing it on "I Gotta Try That"
Marcie
What a unique idea! Thanks for sharing!