• Skip to primary navigation
  • Skip to main content
  • Skip to primary sidebar
  • twigg studios

    A British baking blog, food photography

    • Home
    • BLOG
    • WORKSHOPS
    • SHOP
    • PORTFOLIO
    • Contact
    • hire me
    • ABOUT ME
    January 9, 2013

    diy mini crate made from lollypop sticks

    Uncategorized

    you will need
    lolly pop sticks
    scissors
    glue gun
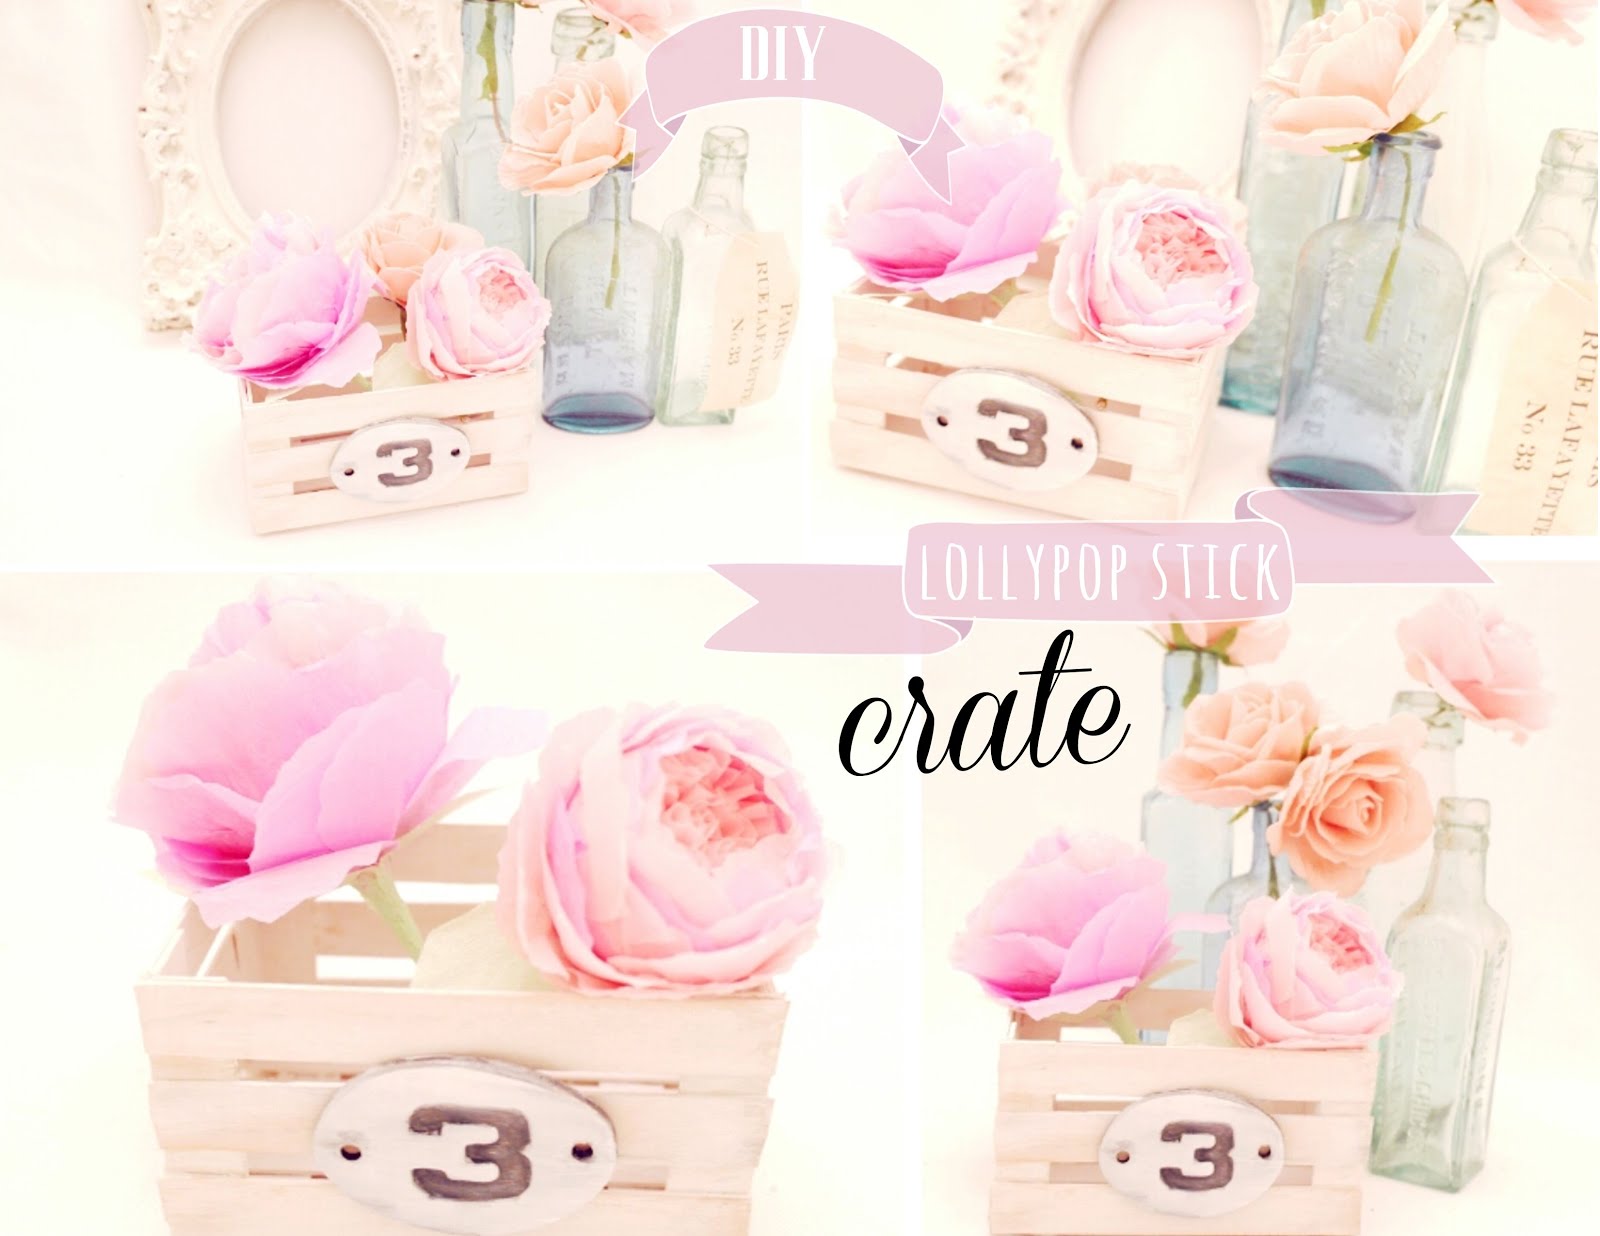
    cut the rounded edges of the lolly pop sticks making sure you cut 6 the same size this will be for two of the sides, then decide how wide you want it and cut six of them as well, you will need to decide on the height, i wanted a gap between each stick so i measured it and then i cut 8 pieces the same size. take the 8 pieces and lay them out in twos and then take the side parts and glue them to it like the photo below.
    then i glued all the pieces together and then cut four sticks for the bottom and glued it on.
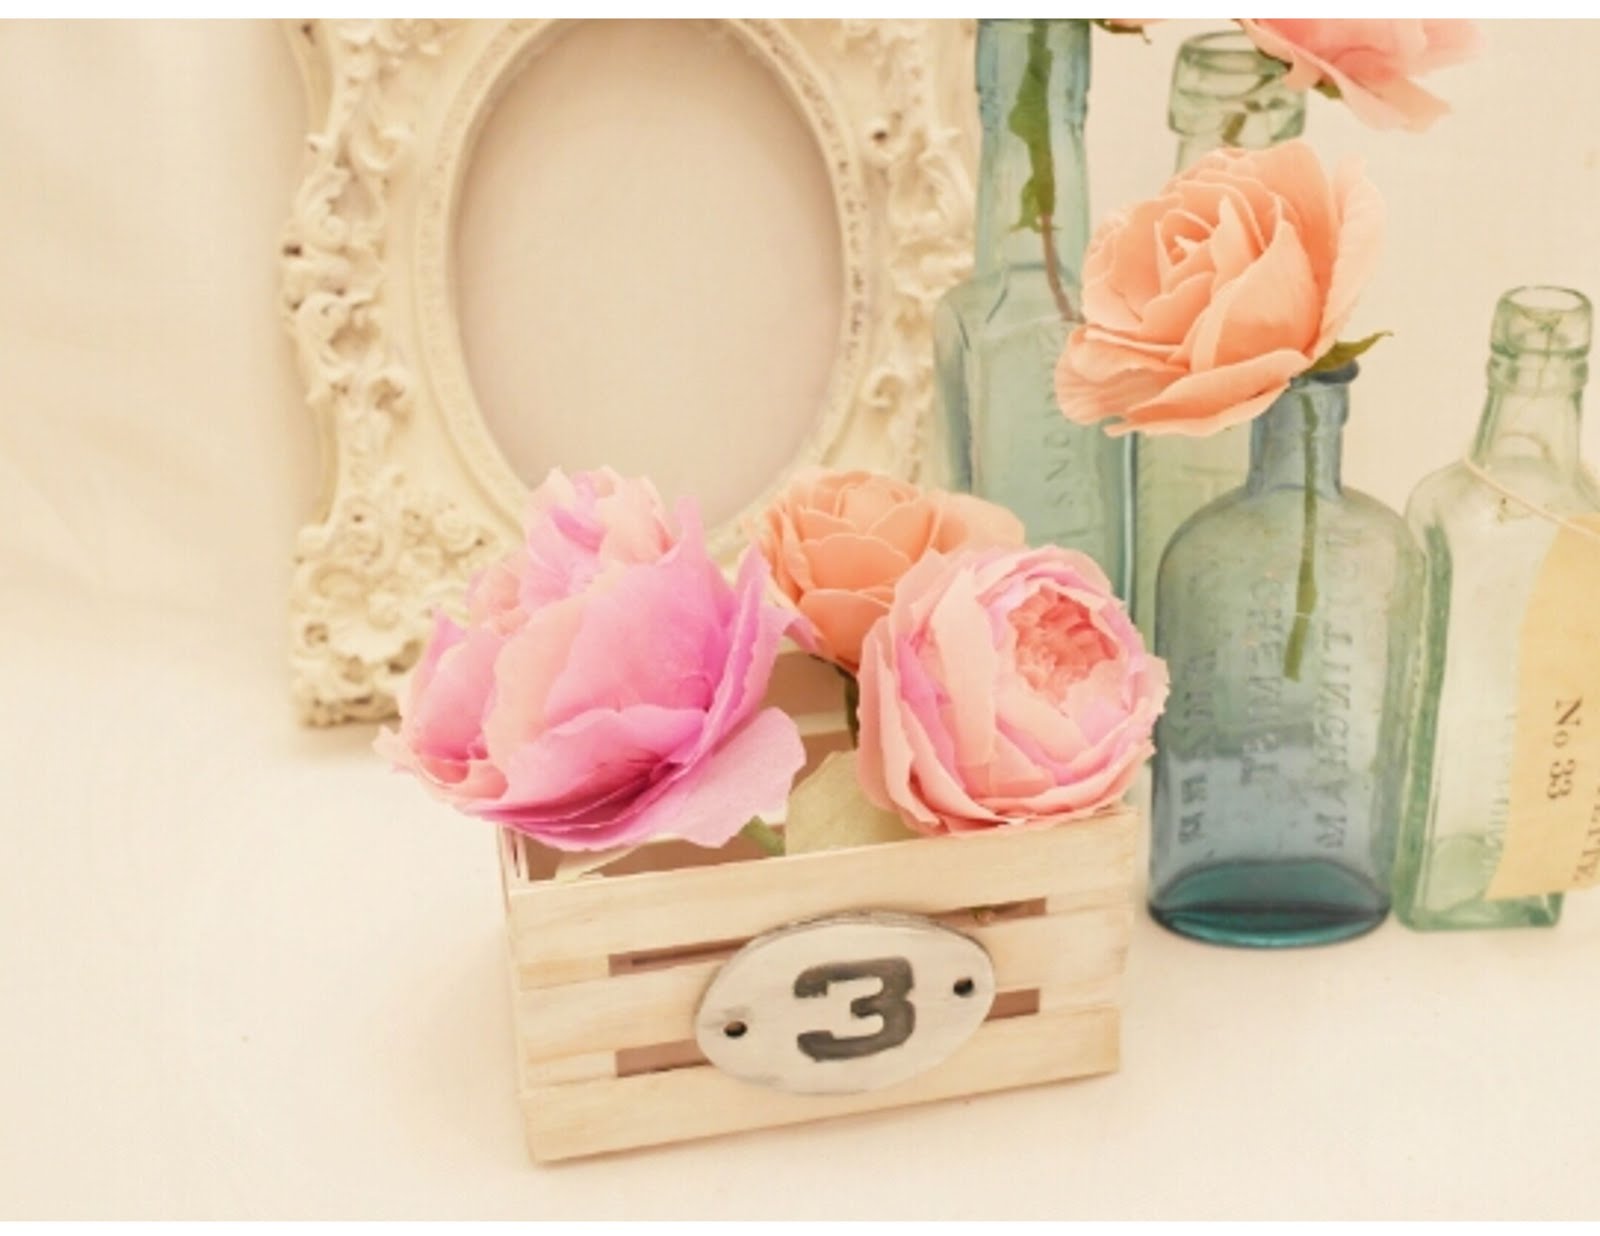
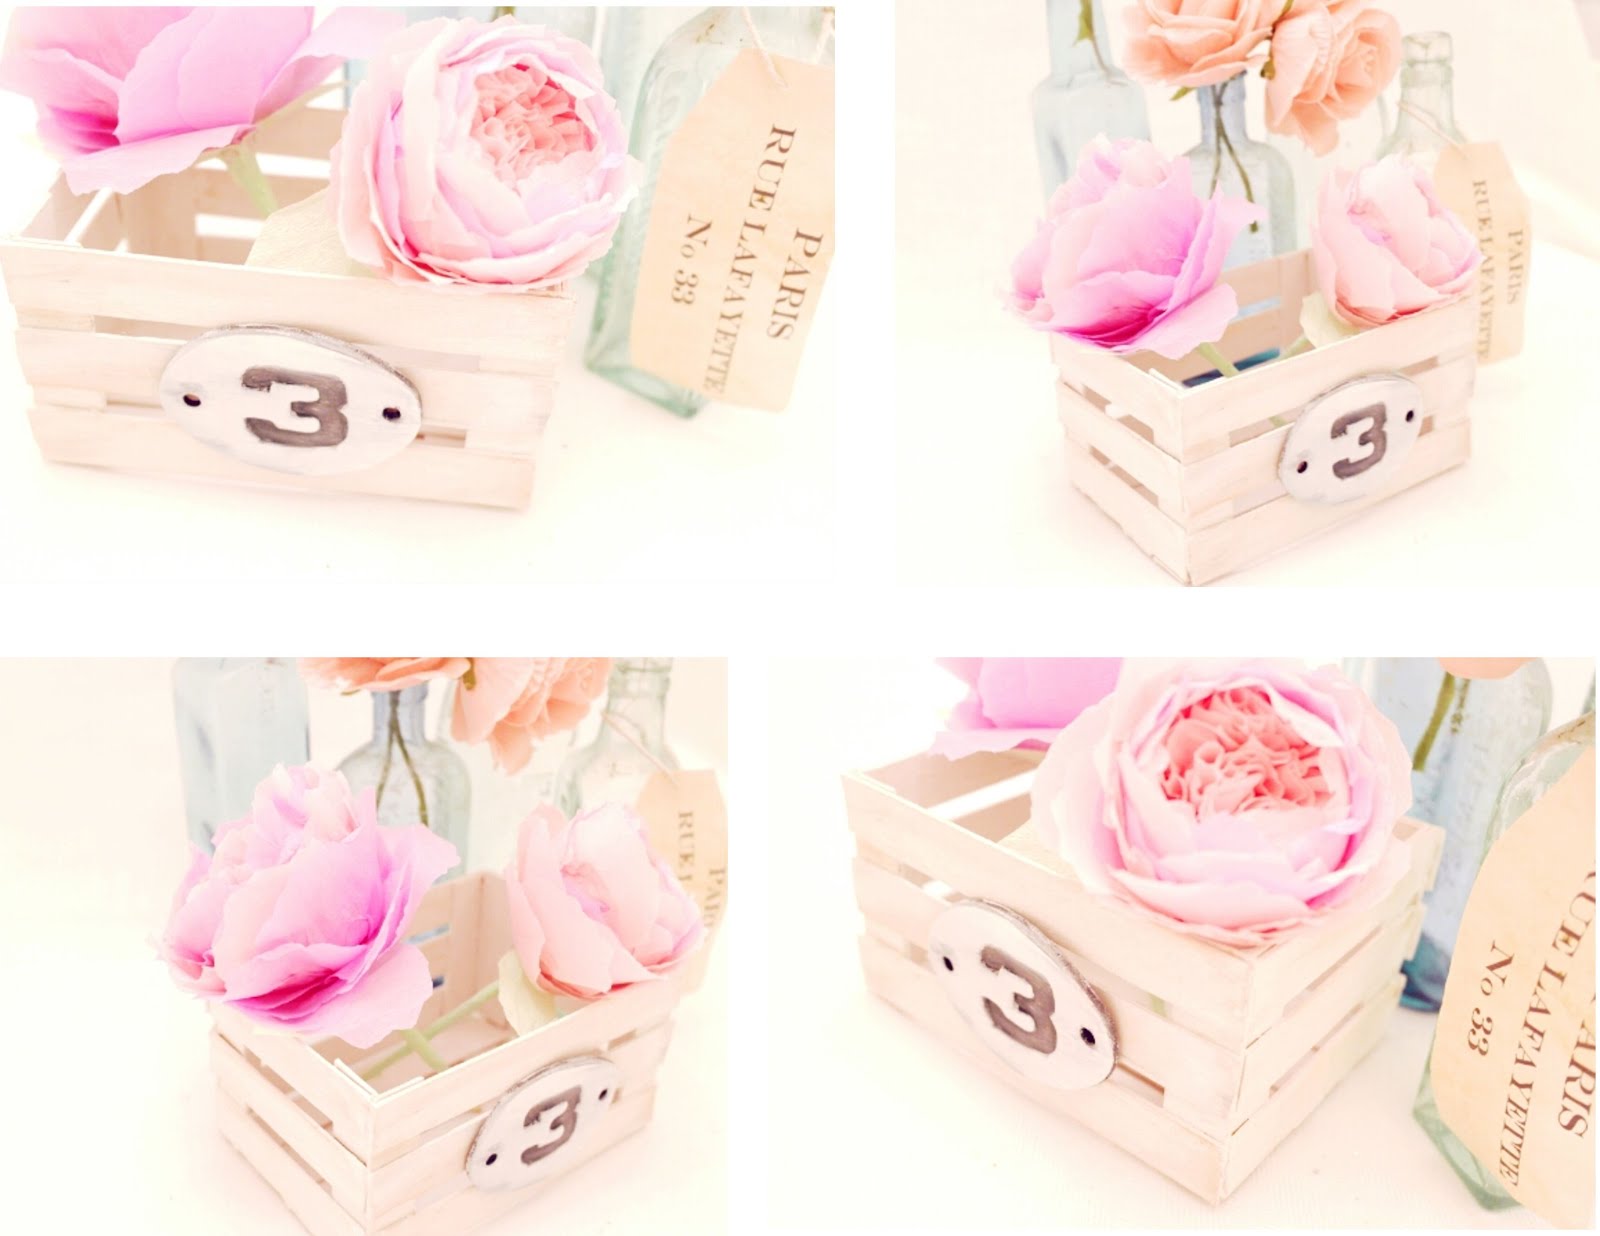
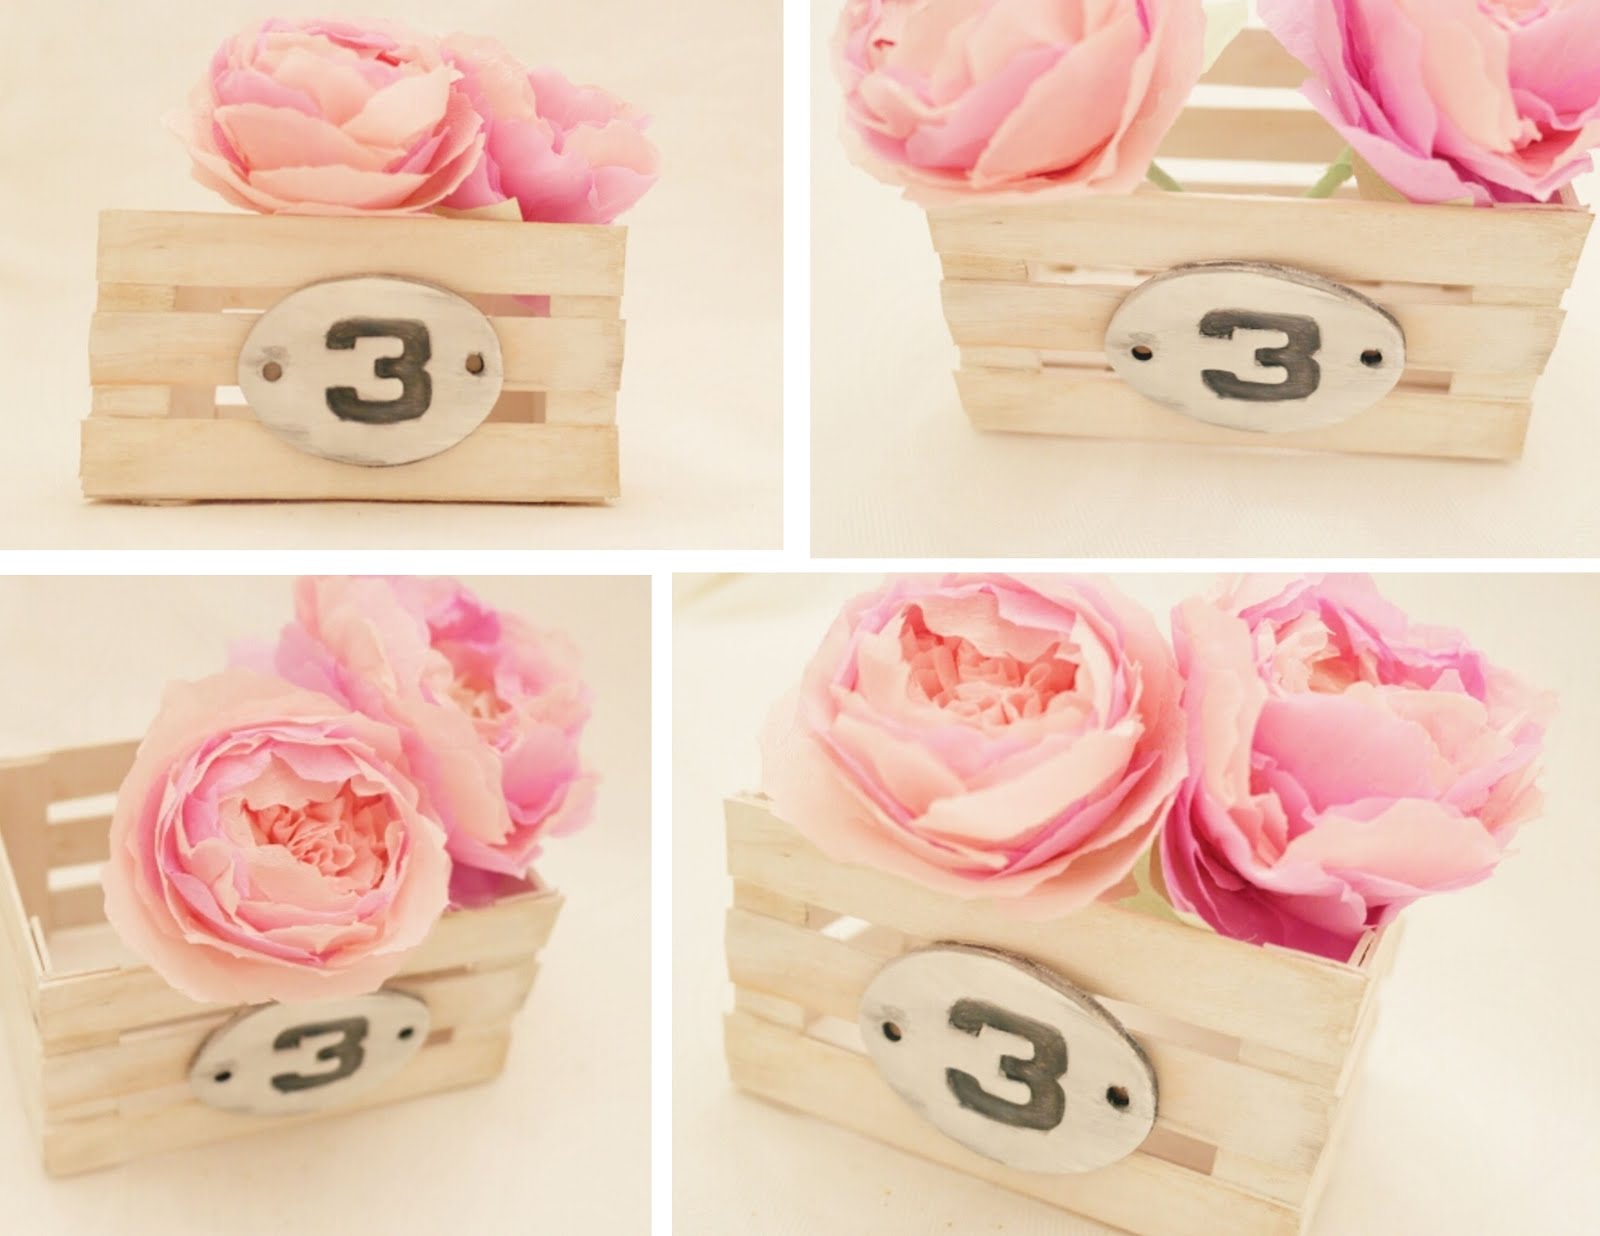
    i then made a tag with clay. i painted it white and then sanded it and rubbed some wood stain on it.


    Photobucket
    sew chatty
    etcetorize
    everything under the moon
    not just a housewife
    graphics fairy
    sew can do
    the girl creative
    c.r.a.f.t 
    craft-o-manic
    the gunny sack
    sumo sweet stuff
    lines across my face
    making the world cuter
    alderberry hill inspired by felicity  vintage mauve  cowgirl up party  serendipity and spice home maker on a dime
     knick of time
      kammys korner
    tipjunkie
    at home with k
         creative itch
    my uncommon slice of suburbia
    coastal charm
    home stories a to z
    its overflowing
    elizabeth and co
    teagans travels  uncommon  debbie does creations  real housewifes of riverton adventures of a diy mum  vintage wanna bee  the kurts corner  the winthrop chronicles  pinkopotamus a diamond in the stuff  embracing change  our thrifty ideas crafty confessions  naptime delights
    someday crafts
    trendy tree house
    primp
    free pretty things for you
    ginger snap crafts
    creations by kara
    my repurposed life
    the shady porch
    sew much ado diy dreamer  jaqs studio  crafty scrappy happy  raegun ramblings southern lovely  the gilded hare  restore interiors savvy southern style faded charm boerman ramblings
    the ny melrose family  i gotta create 52 mantels   the artsy girl connection  spruce your nest  beyond the picket fence
    the shabby creek cottage  house of hepworths
    momnivores dilemma creative juice
    from my front porch to yours
    36th avenue
    the vintage farm house  lovenotes by lauren the treasurista live laugh rowe  delightful order
    my romantic home
    not so functional housewife
    blissful and domestic
    the shabby nest
    finding fabulous
    creation corner  bacon time with the hungry monster  little becky homecky  marriage from scratch  kitchen fun with my 3 sons
    petites passions
    liz marie blog blissful bucket list
    live laugh love craft
    a little knick knack
    a shabby art boutique
    serenity you family ever after
    be different act normal
    funky junk interiors
    tatertots and jello
    i cant stop crafting  jolly jane nutmeg place  rustic crafts &chic decor  polkadot pretties  too much time on my hands
    cherished treasures sunday best my 1929 charmer
    nifty thrifty things
    flamingo toes
    petite hermine
    under the table dreaming  i heart nap time
    sisters of the wild west
    diy show off

    You might also like

    • paper stags head decoration and printable

    • black and blue nectarine rye flour hazelnut pie

    • room reveal and bamboo wall

    SIGN UP TO GET MY NEWSLETTER

    Reader Interactions

    OLDER
    NEWER

    15 Comments

    1. Jocelyne says

      January 9, 2013 at 4:06 am

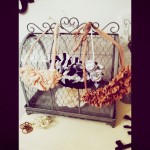
      How cute is that? I can see filling it with candies and hearts for Valentine's Day.

    2. Dori @ Bell Jar Vintage says

      January 9, 2013 at 4:21 pm

      Super cute! Pinned it!

    3. Steph @ Crafting in the Rain says

      January 9, 2013 at 5:36 pm

      So cute and easy…thanks for the instructions!

    4. Monsterscircus says

      January 9, 2013 at 10:12 pm

      Wonderful as always Aimee! Thank you the wonderful tutorial, always so detailed. Have a great day!

    5. Tattered Tiques says

      January 11, 2013 at 4:51 am

      That is adorable! Thanks for sharing! I'll be back.
      Julie

    6. Diana - FreeStyleMama says

      January 13, 2013 at 1:00 am

      Pretty!

    7. Patty says

      January 14, 2013 at 5:00 am

      This is so cute! Great DIY, thanks!

    8. lovenotesrestylestudio.com says

      January 14, 2013 at 7:29 am

      Oh so cute! I'm so going to make some for my nieces! Thanks for sharing!

    9. Pamela says

      January 14, 2013 at 6:43 pm

      Too cute! Thanx for partying!

    10. Lenetta Carnes says

      January 14, 2013 at 10:13 pm

      Hi, Great post. I found you through the blog hop. Now following you.Please stop by and say hi when you get a chance.
      Be sure and check out my new Blog Hop that we just started, It's Weekly Goals Link Up. It's a great way to stay on track. Have a great day. 🙂 Here's the link in case you want to check it out. Thanks again.http://lenettacarnes.blogspot.com/2013/01/weekly-goals-linkup-html

    11. Christina at I Gotta Create! says

      January 15, 2013 at 1:21 am

      This is the cutest idea!! You come up with a ton of good ones. Love the photography on this too.

      Thank you for partying with the Wildly Original Crowd.
      <3 Christina at I Gotta Create!

    12. Attempting Aloha says

      January 17, 2013 at 2:47 am

      Ha! Great minds think alike! I made some tiny popsicle stick crates a little while ago, too.

      http://www.attemptingaloha.com/2012/03/spring-bouquet-and-diy-popsicle-stick.html

      (not to be spammy…just in case you're like me and love seeing similar ideas from two totally different perspectives) 🙂

      Your flowers are WAY more dreamy than mine, though. lol

      Aloha,
      Charlie

    13. Kerryanne @ Shabby Art Boutique says

      January 17, 2013 at 8:03 am

      Thanks for linking up at Shabbilicious Friday throughout 2012 Aimee. I look forward to seeing your amazing projects in 2013.

    14. Sette Design says

      January 17, 2013 at 2:51 pm

      I've found you via maybe a long route from Transformation Thursdays at The Shabby Creek Cottage. Your photography is so pretty.

      Keep up the good work – inspiration.

    15. The Cottage Market {Andrea} ♥ says

      January 18, 2013 at 10:04 am

      Simply WONDERFUL!!!! hugs…

    Primary Sidebar

    Hi there, I'm Aimee

    A food and photography lover. Welcome to Twigg studios. If you would like to find out more about me then head to my bio.

    LOOKING FOR SOMETHING?

    free visual storytelling guide

    Categories

    • baking (80)
    • cake (27)
    • dinner (14)
    • Drinks (2)
    • pasta (11)
    • photography (1)
    • recipe (186)
    • sweet (52)
    • tips (6)
    • Travel (6)
    • Uncategorized (827)
    Visit Twiggstudios's profile on Pinterest.

    Recent Posts

    • Hazelnut brown butter speculaas cookies
    • Grape and roasted hazelnut frangipane galette
    • Zesty vanilla Victoria sponge with rose macerated strawberries
    • Homemade Elderflower liqueur
    • Roast Strawberry Daiquiri & Pavlova
    • E-mail
    • Facebook
    • Instagram
    • Pinterest
    • Twitter

    LOOKING FOR SOMETHING?

    Visit Twiggstudios's profile on Pinterest.

    Recent Posts

    • Hazelnut brown butter speculaas cookies
    • Grape and roasted hazelnut frangipane galette
    • Zesty vanilla Victoria sponge with rose macerated strawberries
    • Homemade Elderflower liqueur
    • Roast Strawberry Daiquiri & Pavlova

    HELP

    • HOME
    • ABOUT ME
    • CONTACT ME
    Get in the know.
    Sign up with your email address to receive news and updates.
    As a welcome you will receive my presentation on visual storytelling
    Thank you for subscribing!

    INFO

    • E-mail Me

    twigg studios © 2025 - DESIGNED BY HERPARK STUDIO