you will need
plaster of paris
tissue paper
water
tooth pick
balloon
paint in cream brown blue orange
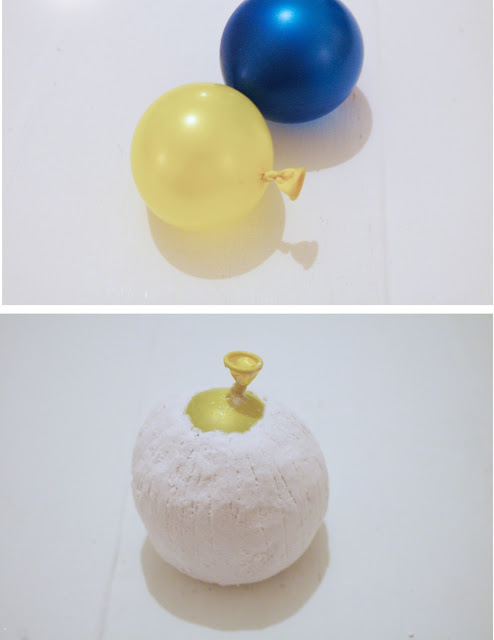
blow up the balloon slightly it doesn’t need to be to big, then in a old jug or bowl, mix plaster of paris, torn up tissue paper and water and stir it into a wet clay like consistency.
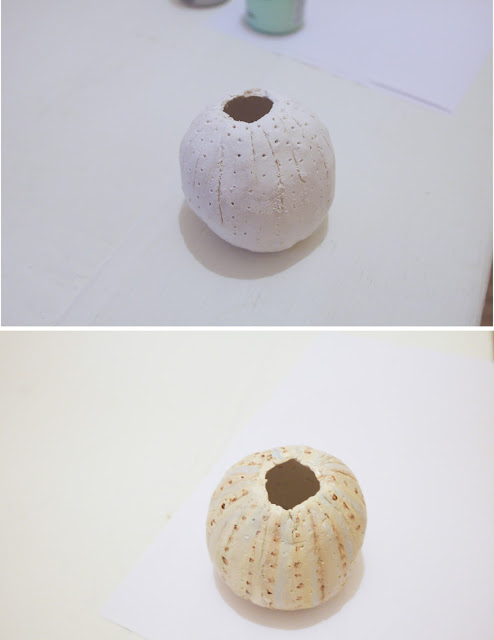
then let it sit for just a minute and take some out of the jug and squeeze out some of the excess water and it will be ply able like clay, form it round the balloon, it may be easier to layer the mixture on to some cling film and then wrap it around the balloon and then mould it and remove the cling film, it dries quite fast so keep smoothing it and once it is covered set it down until it starts to harden then take a tooth pick and make lines from the centre down to the bottom
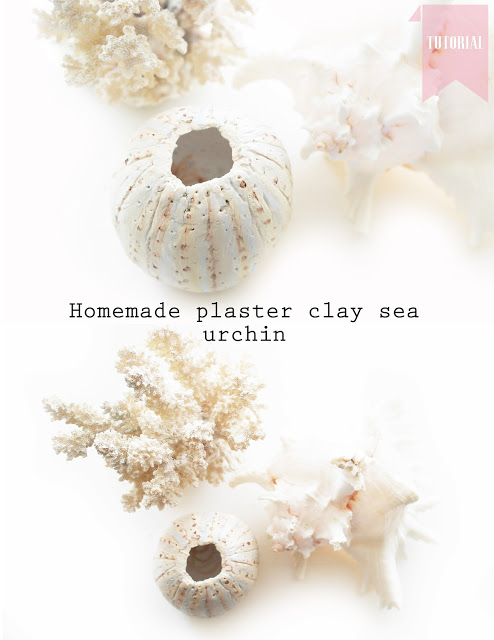
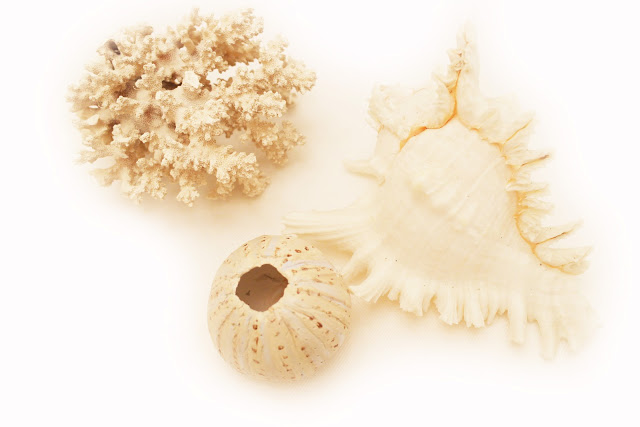
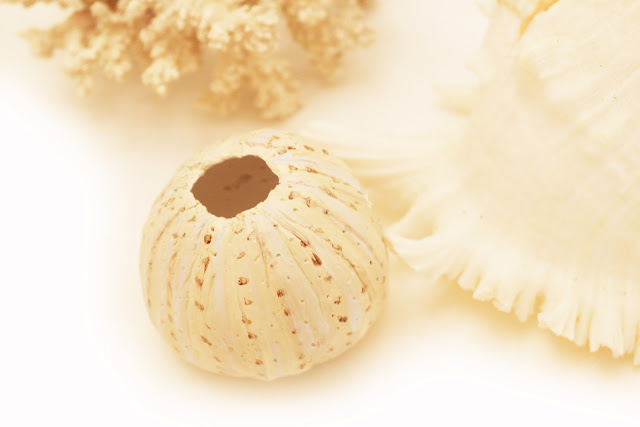
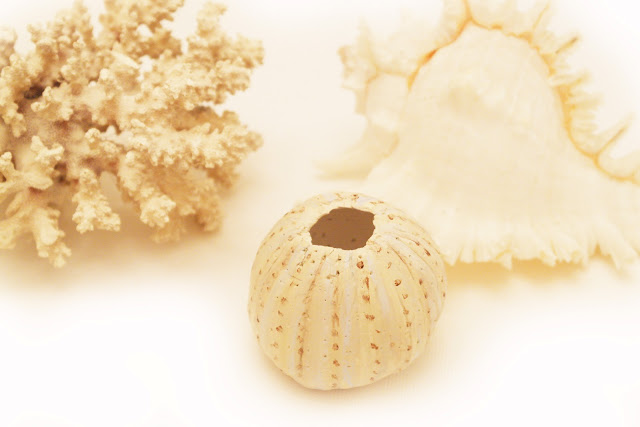
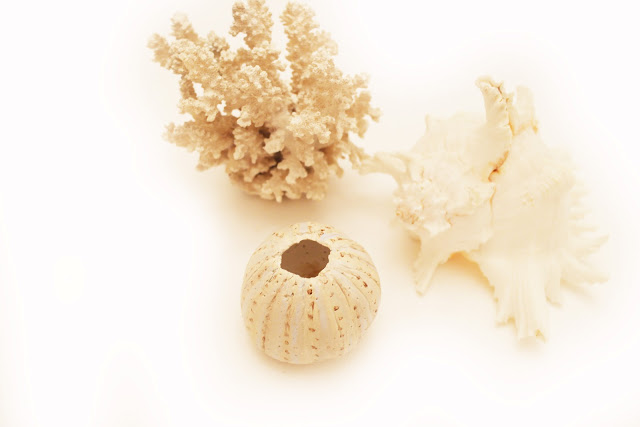
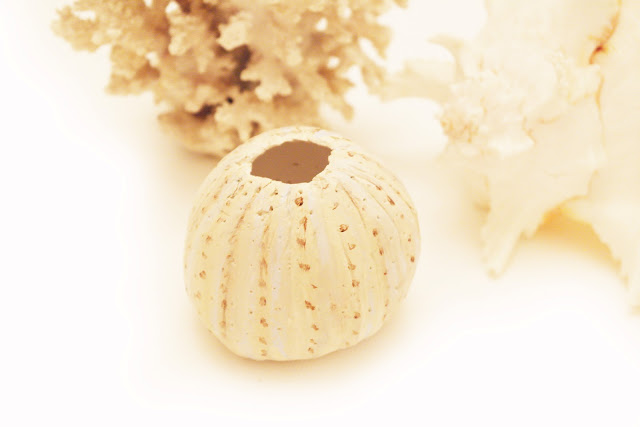
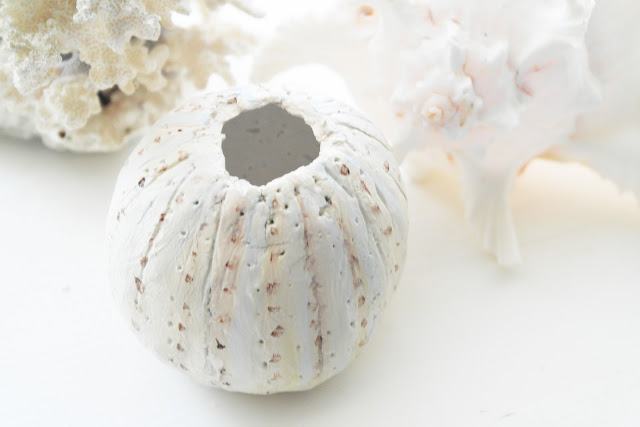
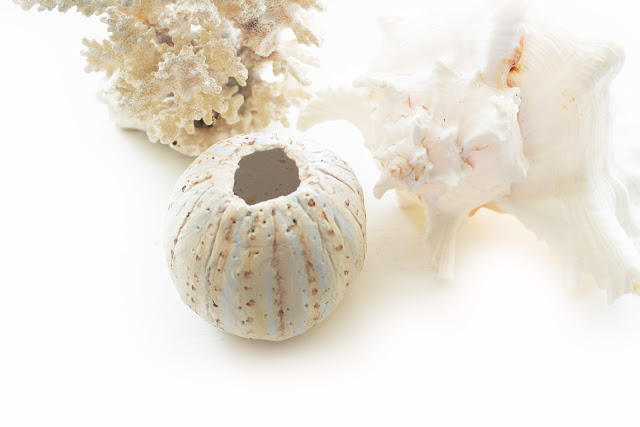
pop the balloon, and then you have the sea urchin shape, then paint it, first paint a layer of cream paint, then whist its still wet use a finer paint brush and use brown, orange and blue and paint on lines, blending it in, then paint on some dots in brown.


alderberry hill inspired by felicity vintage mauve cowgirl up party serendipity and spice home maker on a dime
teagans travels uncommon debbie does creations real housewifes of riverton adventures of a diy mum vintage wanna bee the kurts corner the winthrop chronicles pinkopotamus a diamond in the stuff embracing change our thrifty ideas crafty confessions naptime delights
sew much ado diy dreamer jaqs studio crafty scrappy happy raegun ramblings southern lovely the gilded hare restore interiors savvy southern style faded charm boerman ramblings
the ny melrose family i gotta create 52 mantels the artsy girl connection spruce your nest beyond the picket fence
creation corner bacon time with the hungry monster little becky homecky marriage from scratch kitchen fun with my 3 sons
i cant stop crafting jolly jane nutmeg place rustic crafts &chic decor polkadot pretties too much time on my hands
sisters of the wild west



Whoa! Aimee, that is truly gorgeous, what a brilliant little decor piece. thanks for the tute!
Great tutorial you make it look quite simple to do!
I just became a Linky and a pinterest follower, you have some great tutorials!
What a beautiful project! Would love for you to share at Simple & Sweet Fridays. Lovely tutorial too!
Jody
I love this idea! Thank you for the tutorial, your photos are beautiful!
great idea!
I adore this idea! I love sea urchin decor and your's is so incredibly clever! It truly looks real! I would love if you might link this up at Project Inspire{d}http://www.settingforfour.com/2013/05/project-inspired-linky-party-no_27.html
Have a great week!
Wow, that is so neat!! Pinning!!
Jenny from diywithjenandb.blogspot.com
Aimee, what a lovely summer project to add the beach to your home decor. I love how these came out! Thanks for sharing at Silver Pennies Sundays!
Aimee,
These came out so pretty. Thanks so much for sharing with Adorned From Above's Blog Hop 55. We can't wait to see what you have for us this week. This weeks party is live.
Have a great week.
Debi and Charly @ Adorned From Above
http://www.adornedfromabove.com