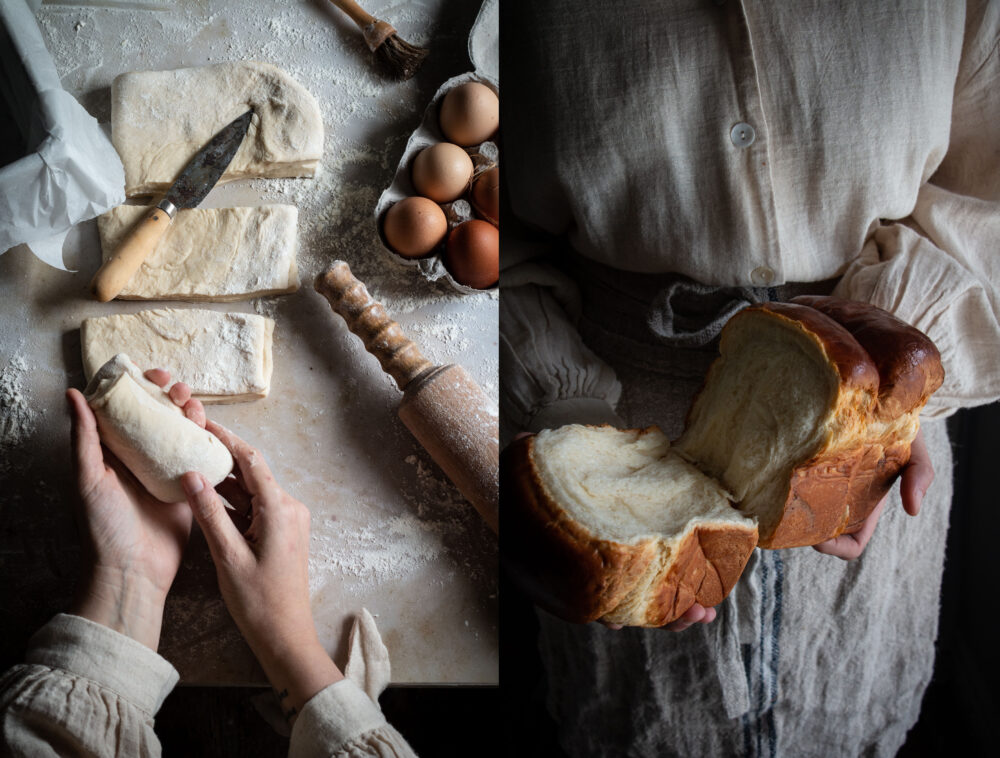
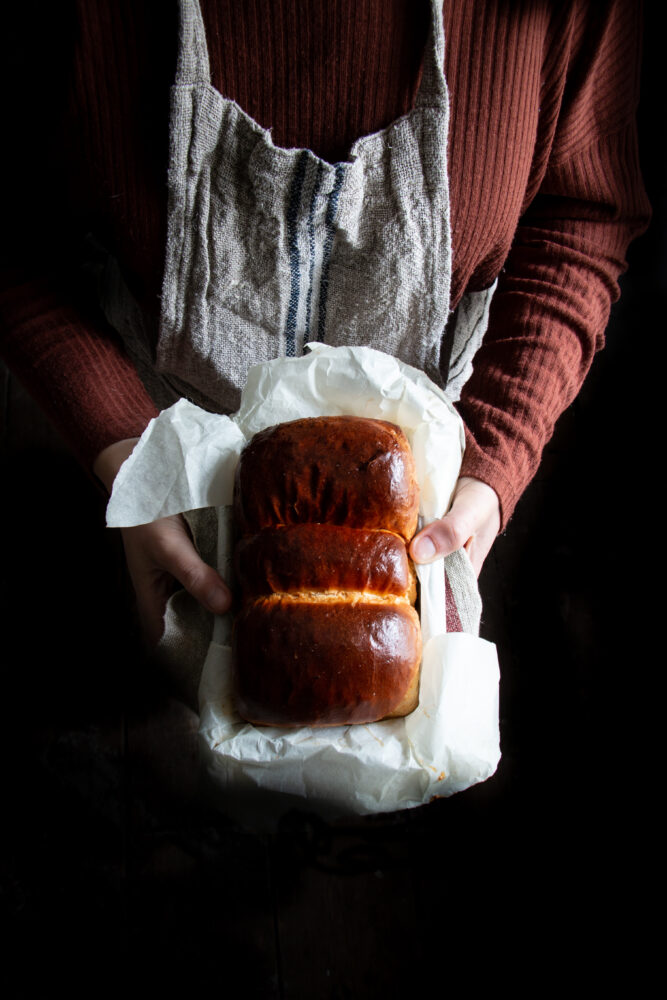
Hokkaido milk bread is pure joy, not only was it fun to bake, and so satisfying eat, but I really enjoyed experimenting with a new technique.
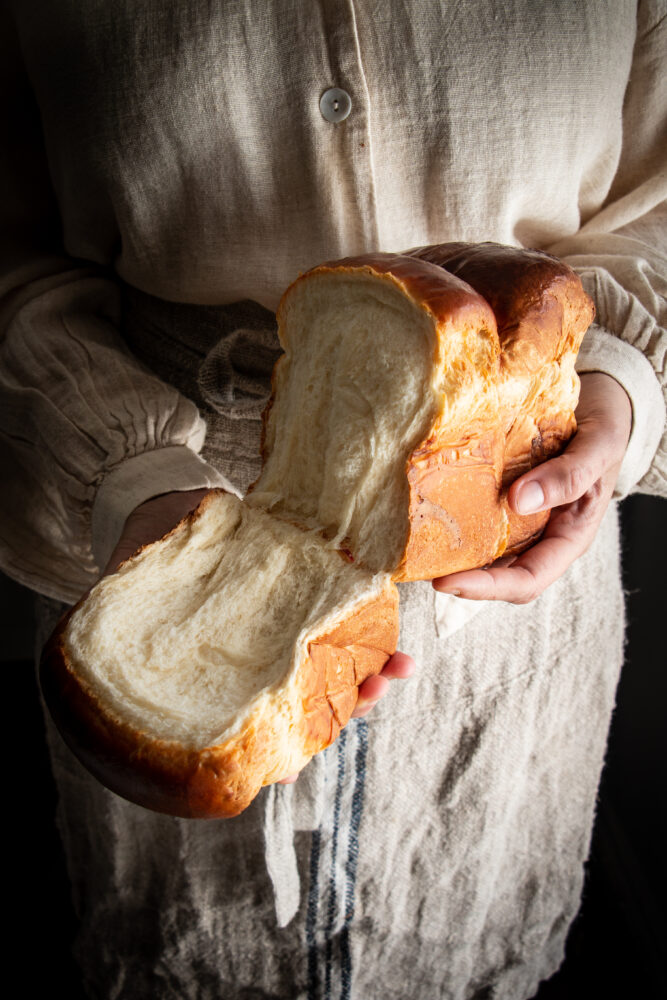
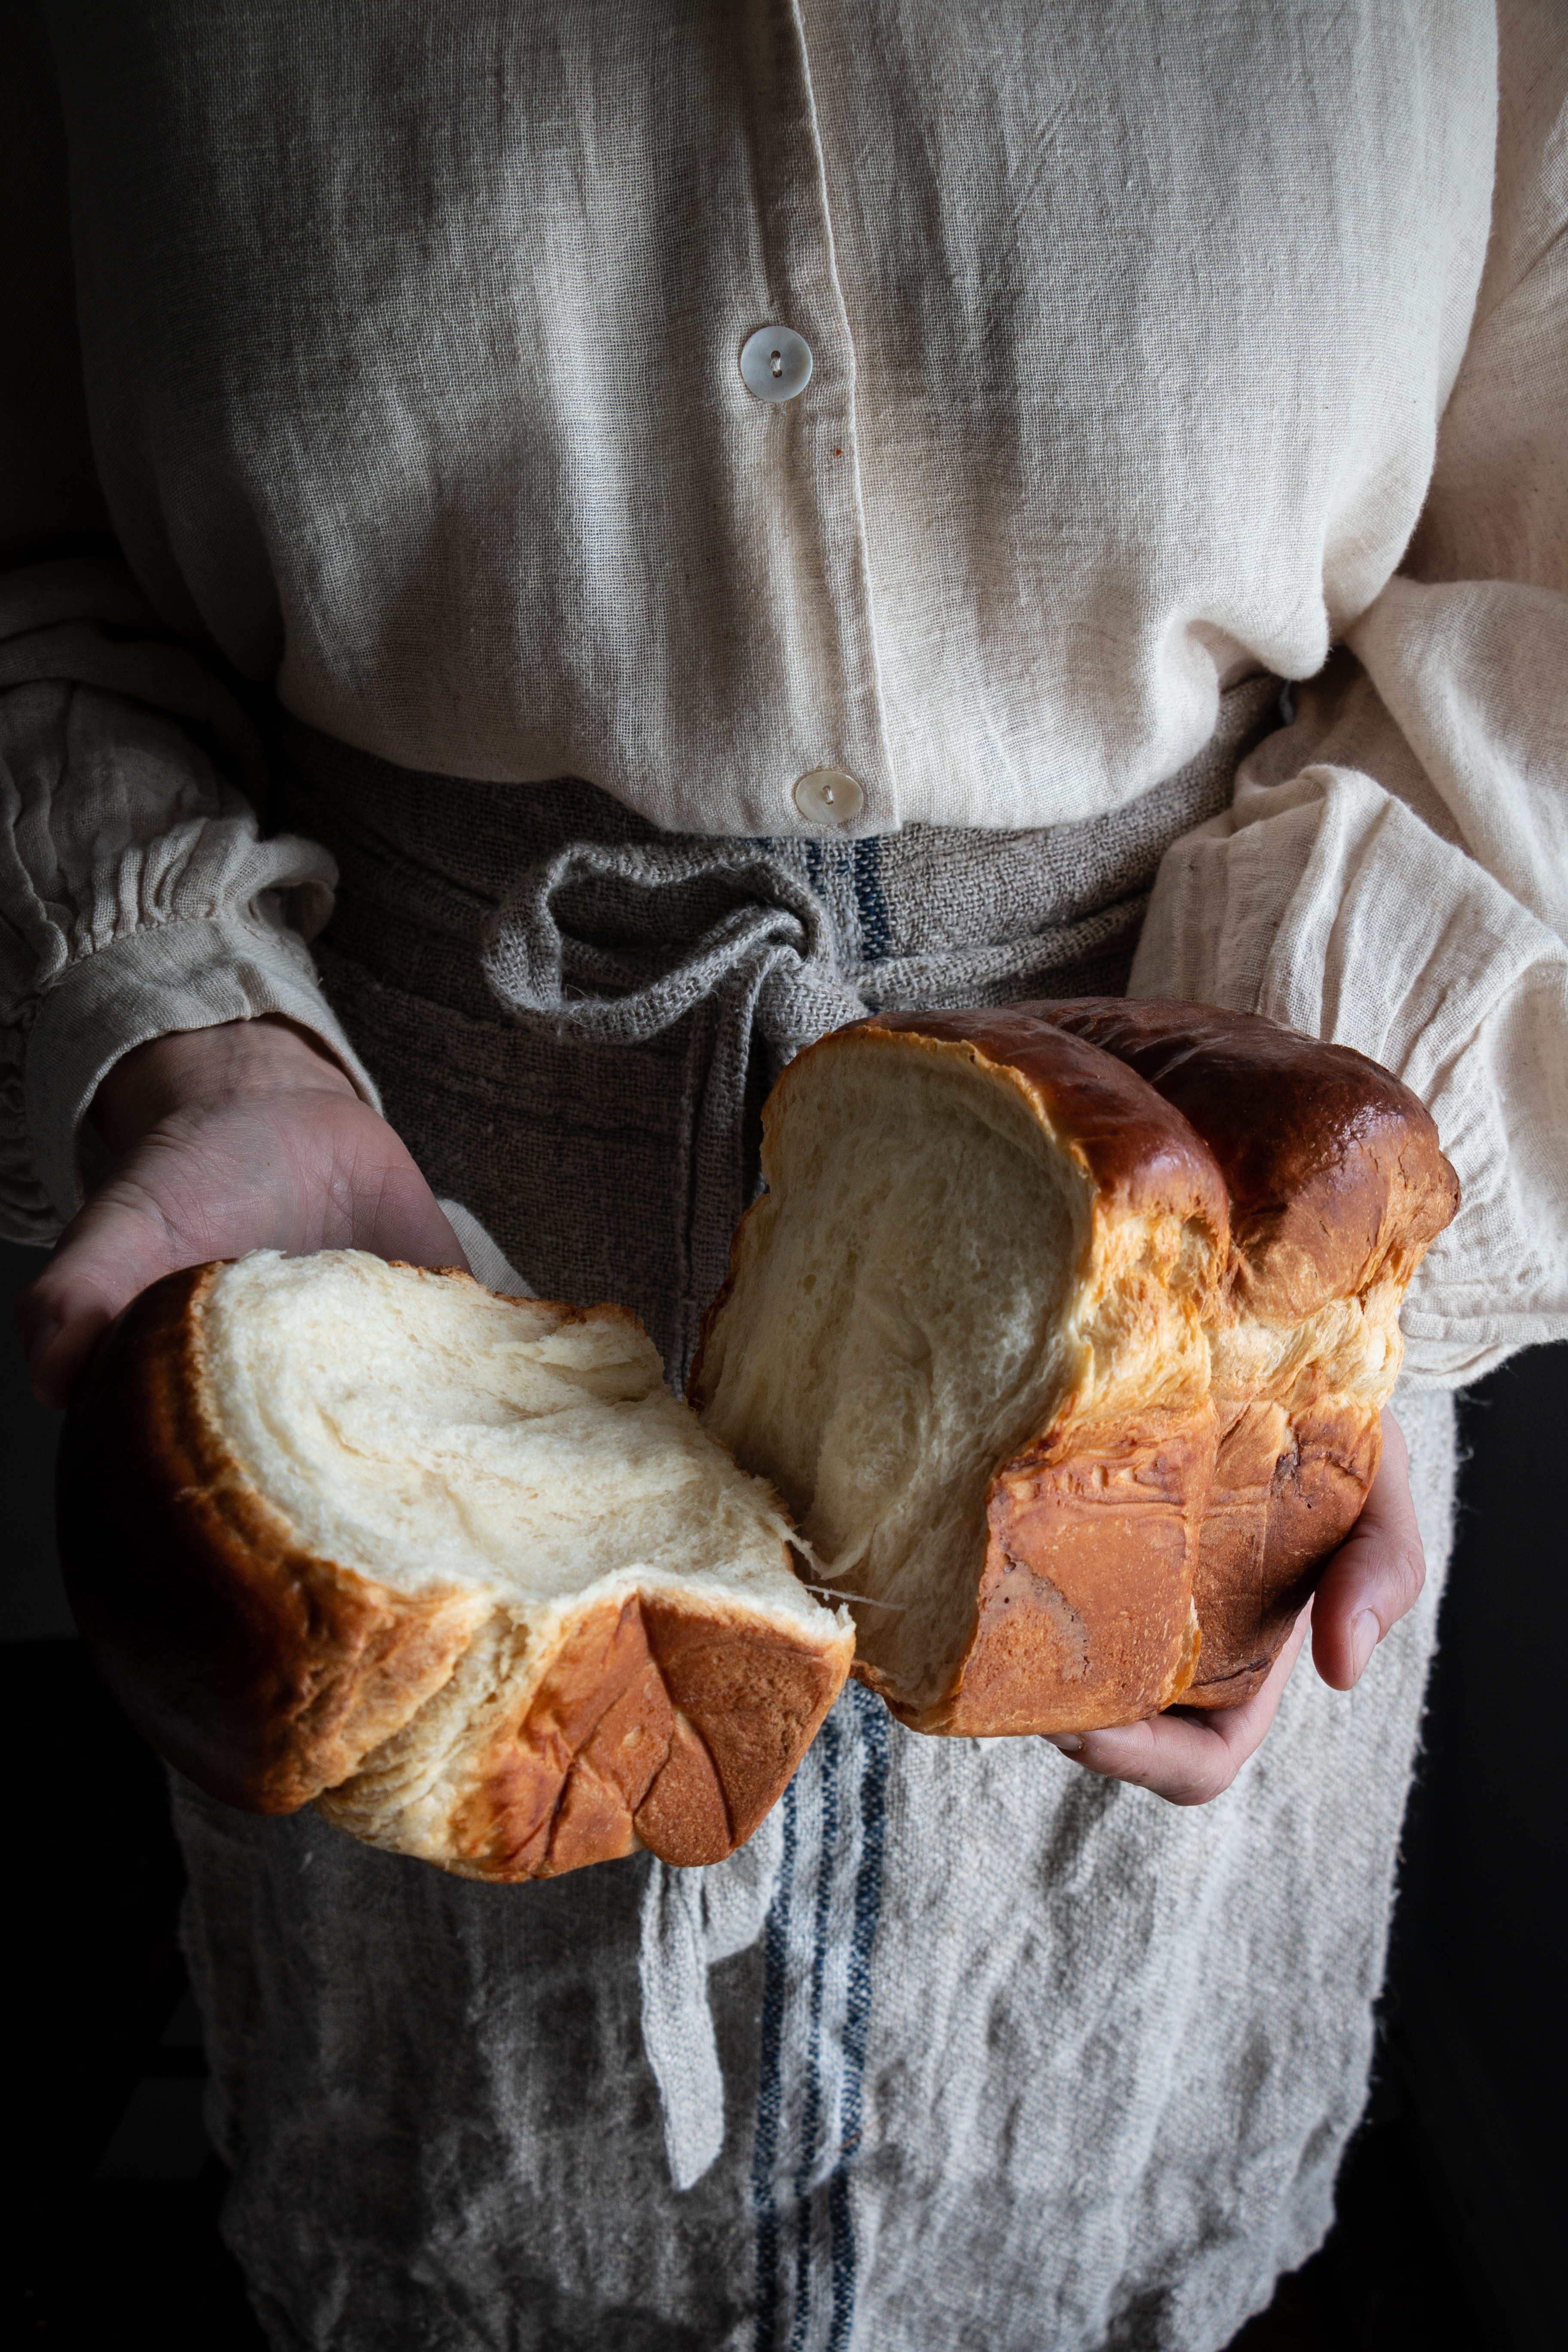
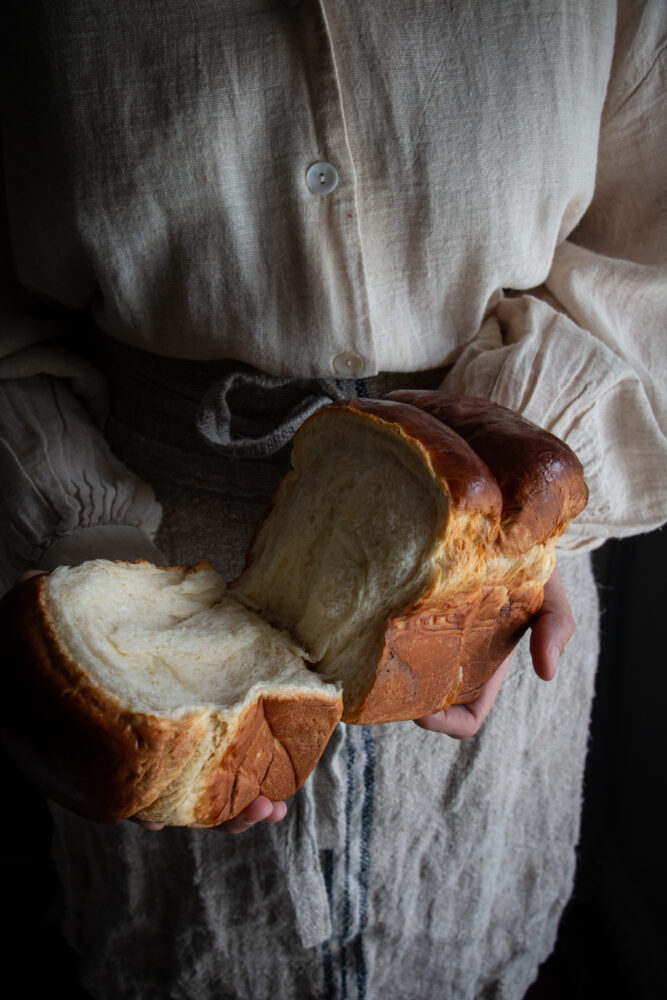
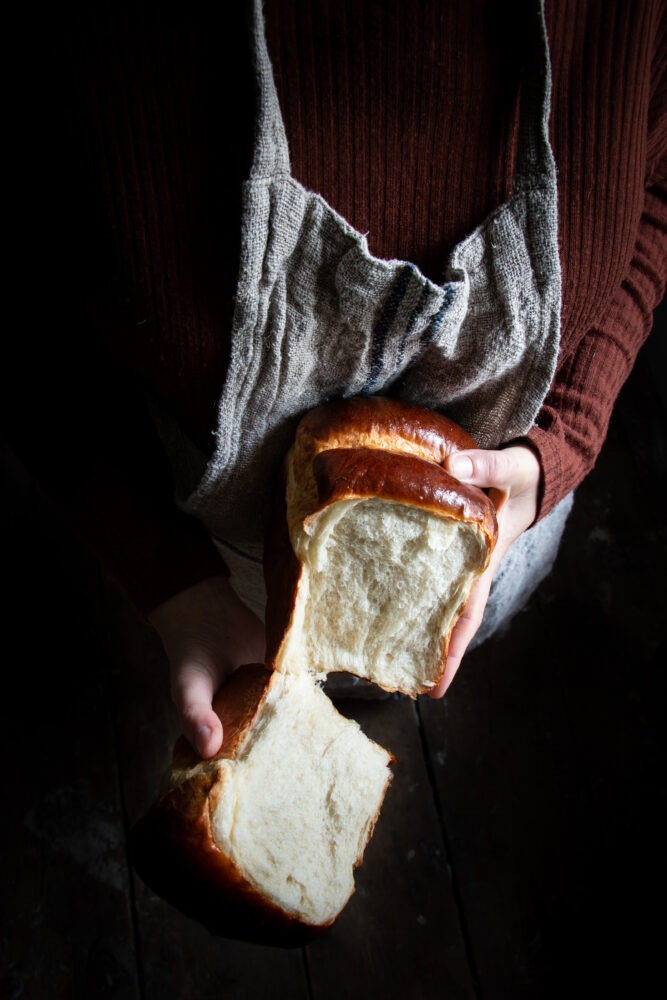
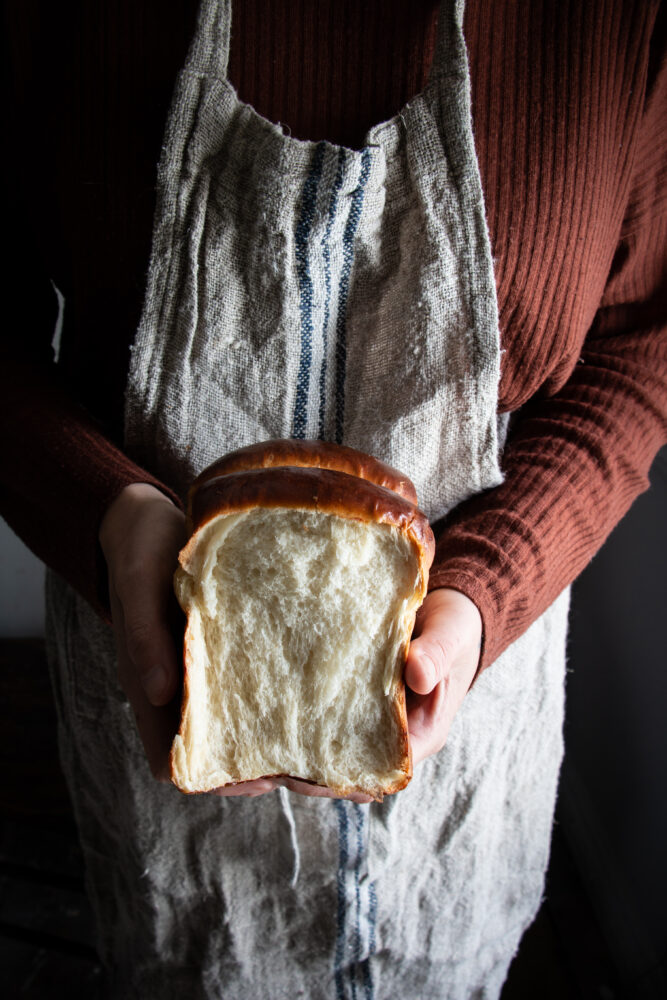
When I first tore this bread open and saw the pillow soft interior, I had to stop my self from shoving my face into it. I am not joking when I tell you it was like a puffy cloud. The texture was like cotton candy. It was feather light. I used a lot of adjectives there so you can tell I’m excited about it!
I instantly fell in love with this milk bread recipe from Cynthia Chen McTernan from Two red bowls book “A common table”. So I have baked it not stop since I discovered it. Cynthia kindly had a copy of her book sent to me at my hotel when I was in New York in November.
I have written “cook from a common table cook book” at the top of every list I have made in the months since, but just didn’t find the time. I’m so glad that I finally got around to it now. Do you still write your self lists of things to do? I use a note book that I carry around everywhere, or the notes app on my phone. I love writing to-do lists, but I am pretty slow at ticking things off of them.
The dough recipe was so perfect and incredibly soft, so I thought it would be great for using for other types of bread like cinnamon rolls.
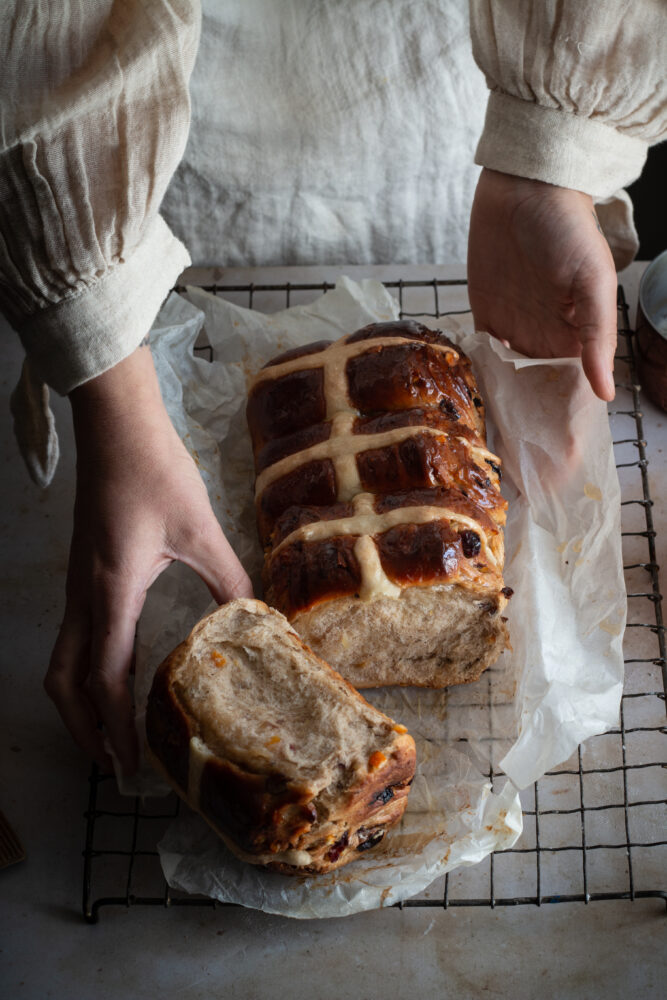
Obviously it sparked a fire in me and I went about experimenting with the dough and using it for lots of other things. First was a hot cross bun loaf for Easter. I just added the usual fruit and spices that you would for a normal hot cross bun to it. It was the best hot cross bun I have ever had!, my dad has been demanding I make it again ever since.
Now I have taken it a step further and used it to make a laminated dough for morning buns.
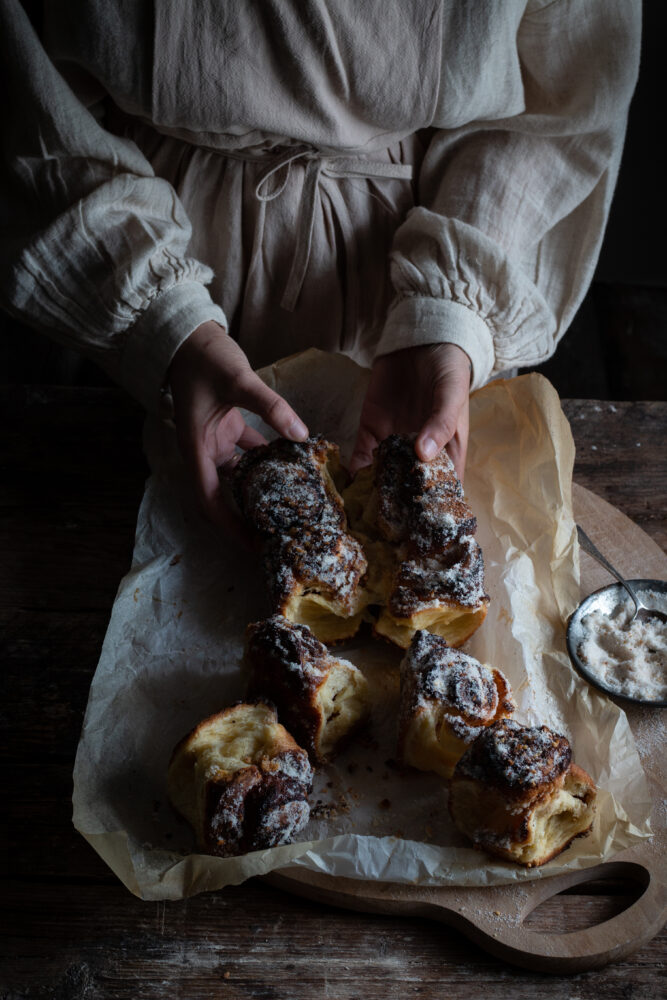
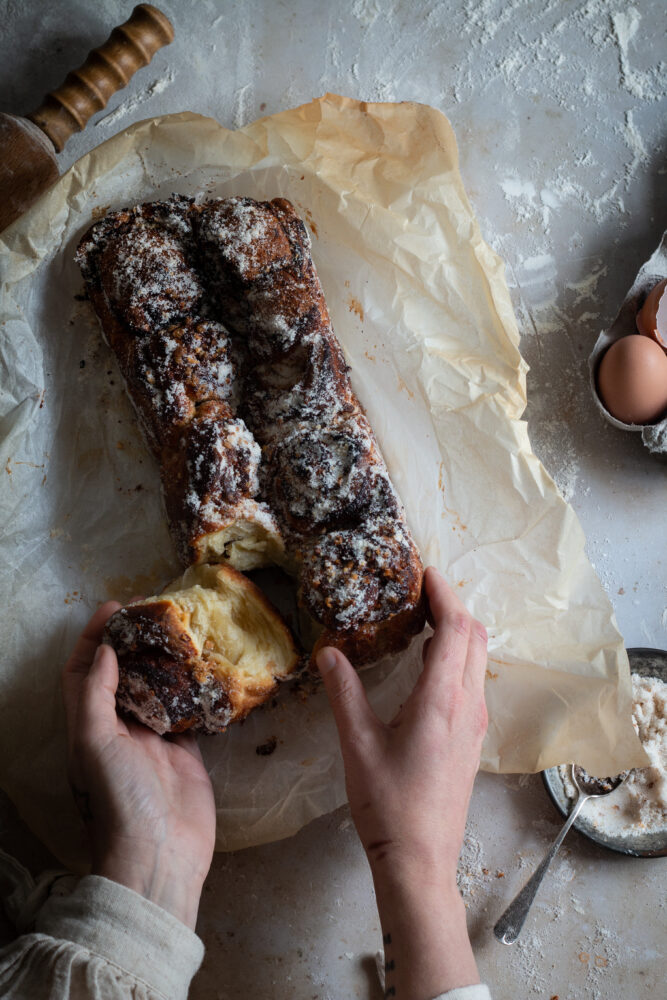
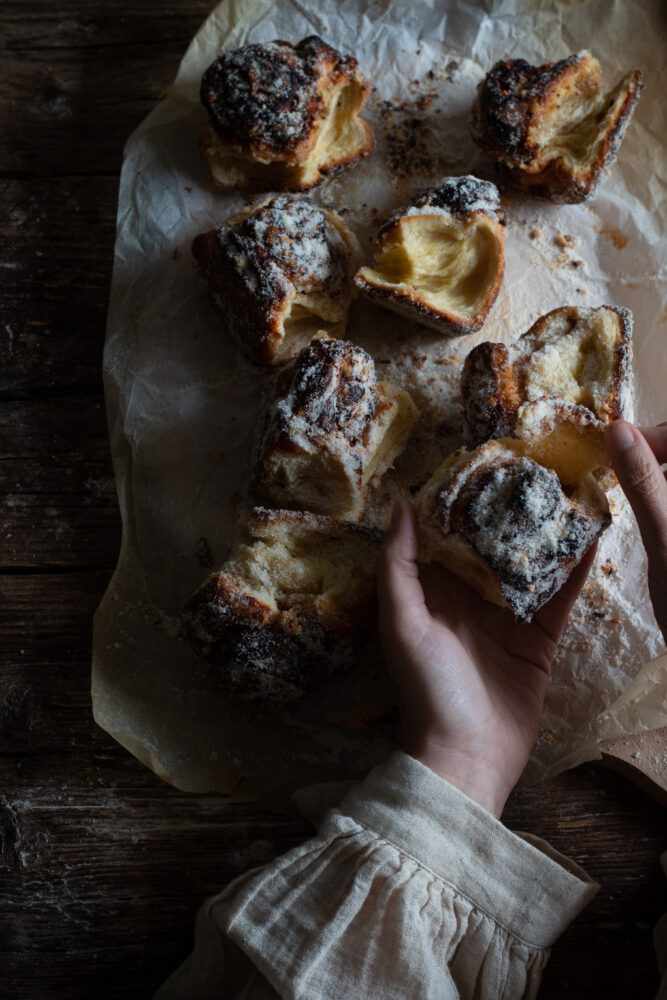
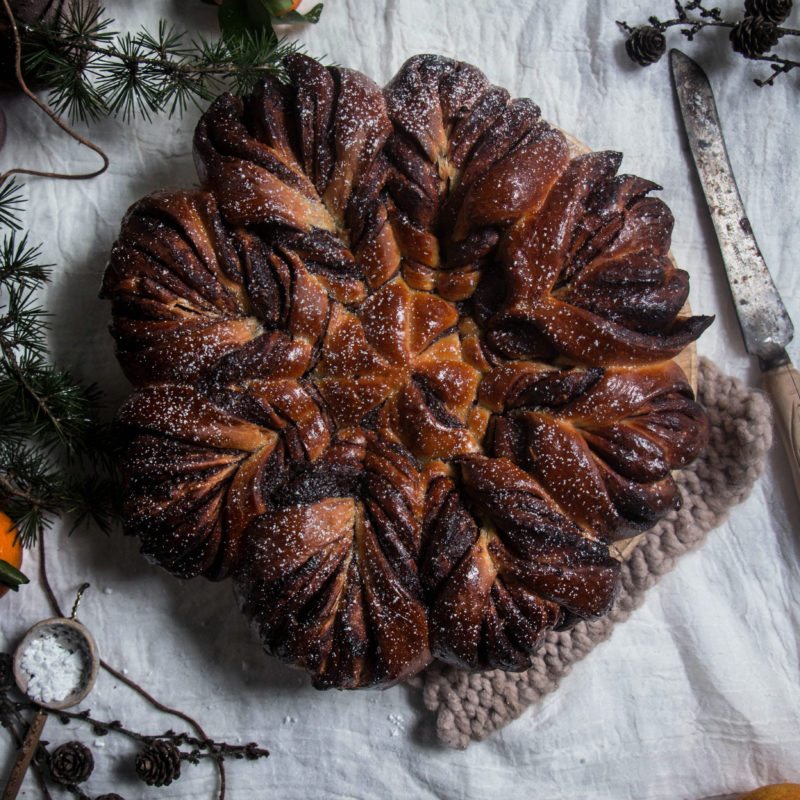
Imagine that fluffy cloud like texture on the inside with a croissant like exterior! If that wasn’t making you hungry enough, I filled it with white chocolate gianduja (hazelnut white chocolate)
Cynthia’s book is truly beautiful, there are so many delicious looking recipes in it that I cant wait to try. She uses the milk loaf to make French toast, but we just ripped chunks off and had it with butter. We couldn’t face toasting that soft fluffy centre. I think I will make it again and again.
It was the first time I had tried the tangzhong method when making bread. I thought it would be really complicated but it was honestly so easy. It is basically a paste that you make with flour and water and add to the dough. This paste seems to help lock in the moisture which creates this incredible soft bread, and it helps it stay soft for longer.
Below I have shared the recipe for both the normal milk loaf and the morning buns that I experimented with. I would highly recommend you try Cynthia’s regular milk loaf first, just so you can experience that cloud like bread for your self. Then indulge and try the buns, they are a lot more time consuming, I cant stress enough that the gianduja is worth trying on its own, even if you don’t want the bread, I think you will like it. If you put it in the fridge for half an hour to an hour it firms up like a truffle. Longer then it becomes like a chocolate bar.
The addition of the white chocolate gianduja was inspired by my trip to Tuttofood in Milan last week.
Beforehand I knew I wanted to look out for inspiration for a new recipes and trends while I was there, so I packed my note book to jot down ideas.
I assumed it would be pasta or risotto that I would be inspired into making when I got home. However while I was there, I tried the most incredible hazelnut white chocolate that I just can not stop thinking about. Belen who I met at the show, tried it first and her face lit up and said I had to try it. I’m so glad I did, as it was the most amazing chocolate I have ever eaten.
Normally when I think of gianduja, its made with milk chocolate, but at the show there was a vendor that had some made with white chocolate. He was making some there with a little machine and pressing them into shape, so we could see how it was made. It was one of the most incredible things I have ever tasted. It had a truffle like texture as it was out at room temperature and melted in your mouth.
When I got home, I went on google to see if there where any recipes. As its usually made with milk chocolate rather than white I couldn’t find any, so I set out trying to recreate it my self. If you haven’t heard of gianduja then you are missing out, its basically hazelnut paste mixed with chocolate.
I hadn’t really discovered it myself until two years ago when I was in Tuscany and I had a chocolate gelato in this tiny little place in Lucca. It was gianduja flavoured. At the time I had only heard that term a few times discussed on Instagram, but I had no idea what it was. I was happy to discover that it was milk chocolate and hazelnut flavoured with chunks of chocolate in. That was probably the best gelato I have ever tried.
When I saw the display of all the gianduja chocolates at the exhibition, I was so excited. Its something that isn’t seen very often here in England. So naturally I ate quite a few samples, and went back the next day to try some more to make sure they where still as good lol.
My brain is still trying to process all the things I saw, tasted and learnt at the show. It was such an incredible experience. I’ve not been to a show on that scale before so it was a lot to take in, but I can honestly say it was so amazing.
The goal of this years show was to capture trends to increase the consumption of fruit and vegetables. So I got so see a lot of exciting new recipes involving fruit and veg innervation. There where some new ideas, and some old favourites.
Its given me food for thought for how I can incorporate more fruit and veg in creative way into my recipes. I’m still at the brain storming stage so stay tuned.
I have not been anywhere with that amount of food in one place so it was like heaven for a food lover like me. I learnt so much, that I’m sure I will continue to share over the next few weeks. White chocolate gianduja was definitely a revelation that I just had to share right away though.
Tuttofood is already scheduled for MAY 17-20 2021, I hope I can return next year.
Creations keep popping up using croissant dough. It seems that it is really trendy at the moment. So I thought I would be a good experiment to turn that incredible fluffy dough into a laminated dough. The cronut and cruffin and other new creations are still causing queues at many bakeries around the world.
Hokkaido milk bread
To make the milk bread I used the recipe in the cookbook, A common table by
Cynthia Chen McTernan from Two red bowls
recipe
For the dough
- 1/2 cup whole milk (I found I needed to add about roughly 1/4 to 1/3 cup more than this)
- 1 1/2 teaspoons active dried yeast
- 2 and a half cups (320g) bread flour (plus more for kneading if not using a stand mixer)
- 2 tablespoons sugar
- 1 tbsp. non fat dry milk powder (Cynthia says this is optional but suggests using condensed milk instead)
- 1/2 teaspoon salt
- 1 large egg
- 2 tablespoons softened butter
For the tangzhong
- 6 tablespoons water
- 2 tablespoons bread flour (15g)
Directions
- The night before, or at least two hours before baking
(I have always made it the night before) : in a small sauce pan bring the milk just to the boil, 2 to 3 minutes, or heat to the boil in a microwave, in a microwave safe bowl. About one minute. This scalds the milk and kills any enzymes that might prevent the yeast from working. Set aside to cool slightly. Pour through a sieve when ready to use If you find a film has formed on the surface. - Now make the tangzhong: in a small sauce pan add the water and flour and whisk until no lumps remain. Heat over a medium/low heat whisking constantly until the mixture resembles a roux like gel, about 2 minutes. As soon as lines begin to appear in the mixture when it is stirred, remove from the heat and transfer to a small clean bowl and allow to cool down to room temperature.
- Prepare the dough: When the milk is just warm and no longer hot, about 100f to 110f, sprinkle the yeast on top and let sit until foamy, 5 to 10 minutes.
- Meanwhile in the bowl of your stand mixer add the flour, salt, sugar and milk powder and mix. (Cynthia makes it by hand, but I prefer to use my mixer. If you are making It without a mixer then click the link below for her instructions on food52)
- Once the yeast has foamed, add the egg and tangzhong and whisk together until well combined.
- Turn your mixer on and pour in the liquid and start mixing with the dough hook. I found that I needed a bit more liquid than the half cup stated in the recipe list in the book, so at this point I added a little more milk until it became a nice kneadable dough. I later checked her recipe for this bread on food52 and that recipe list called for 1/4 cup heavy cream, so maybe that is why as this wasn’t on the ingredient list in the book. So add cream if you prefer rather than extra milk.
- After the dough has been mixing for two minutes add the butter in small chunks a bit at a time and making sure it is combined before you add the next chunk. Turn the mixer up and knead for another 3 to 5 minutes.
- Place the dough in a large bowl, so it has space to rise and cover with plastic wrap and place in the fridge over night until it has doubled in size. (alternatively let is rise in a cool place for 2 hours)
- The next day: remove the dough from the fridge. when I do this over night method I like to leave the bowl on the work top for 30 minutes so it can get back to room temperature, but I’m not sure that step is essential.
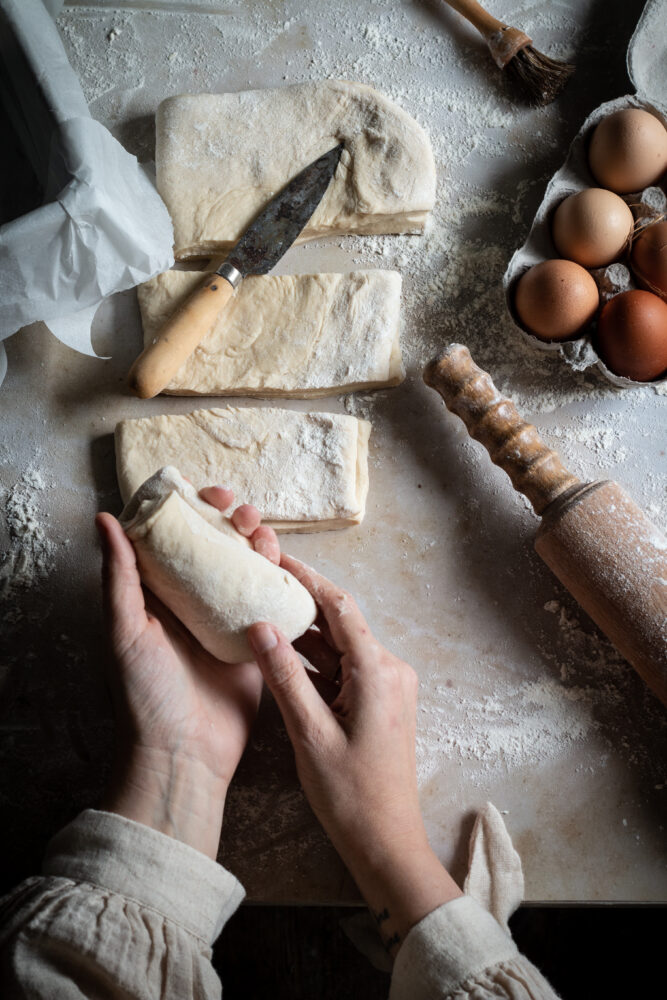
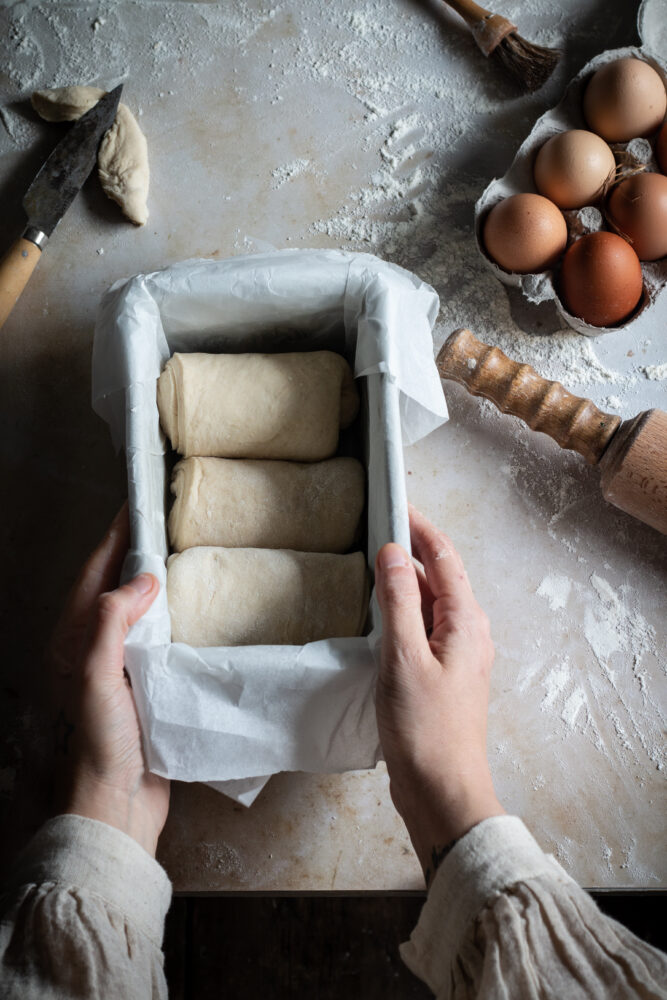
- Shape the dough as desired. I rolled it out into a large rectangle and folded it in half and cut it into equal pieces and rolled it up and placed them in a lined baking tin. (see below) Cynthia suggests a tall 9×5 loaf pan.
- Leave to rise again for 1 hour, until doubled in size.
- Preheat the oven to 180c 350f. Mix an egg with a tsp of milk and brush the top of the loaf.
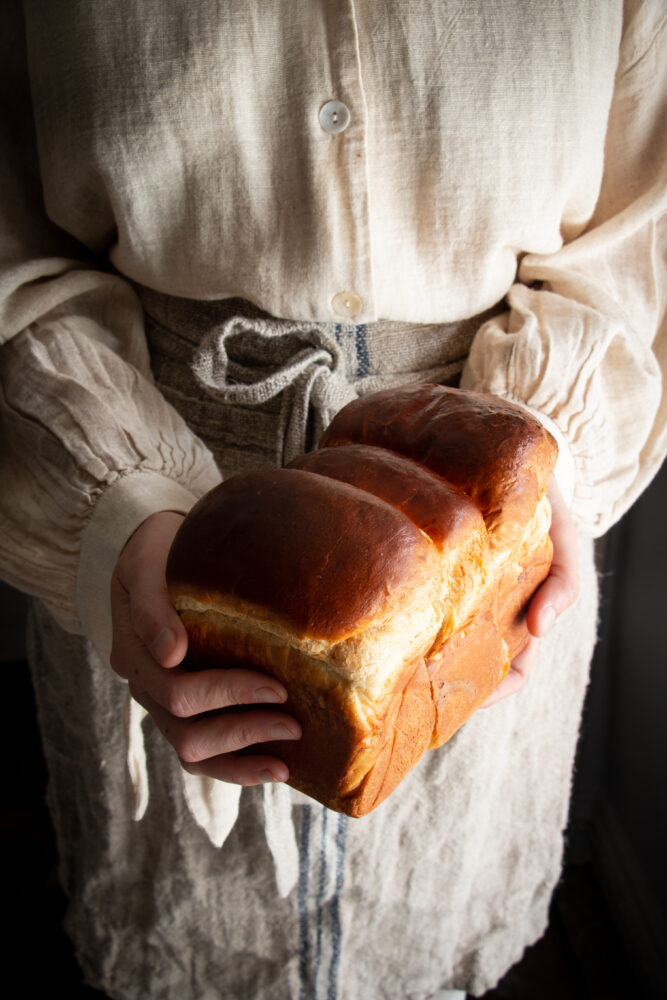
- Bake for 30/40 minutes until golden brown, or an instant read thermometer inserted into the middle reads 200f (at 30 minutes it was quite brown so I covered the top with some foil so it didn’t burn.
This recipe is was also featured on Food52 find it here.
Here is the printable recipe
Hokkaido milk bread
Ingredients
Method
- The night before, or at least two hours before baking
(I have always made it the night before) : in a small sauce pan bring the milk just to the boil, 2 to 3 minutes, or heat to the boil in a microwave, in a microwave safe bowl. About one minute. This scalds the milk and kills any enzymes that might prevent the yeast from working. Set aside to cool slightly. Pour through a sieve when ready to use If you find a film has formed on the surface.Now make the tangzhong: in a small sauce pan add the water and flour and whisk until no lumps remain. Heat over a medium/low heat whisking constantly until the mixture resembles a roux like gel, about 2 minutes. As soon as lines begin to appear in the mixture when it is stirred, remove from the heat and transfer to a small clean bowl and allow to cool down to room temperature.Prepare the dough: When the milk is just warm and no longer hot, about 100f to 110f, sprinkle the yeast on top and let sit until foamy, 5 to 10 minutes.Meanwhile in the bowl of your stand mixer add the flour, salt, sugar and milk powder and mix. (Cynthia makes it by hand, but I prefer to use my mixer. If you are making It without a mixer then click the link below for her instructions on food52)Once the yeast has foamed, add the egg and tangzhong and whisk together until well combined.Turn your mixer on and pour in the liquid and start mixing with the dough hook. I found that I needed a bit more liquid than the half cup stated in the recipe list in the book (1/2 cup so i used about 3/4 cup, so at this point I added a little more milk until it became a nice kneadable dough. I later checked her recipe for this bread on food52 and that recipe list called for 1/4 cup heavy cream, so maybe that is why as this wasn’t on the ingredient list in the book. So add cream if you prefer rather than extra milk.After the dough has been mixing for two minutes add the butter in small chunks a bit at a time and making sure it is combined before you add the next chunk. Turn the mixer up and knead for another 3 to 5 minutes. Place the dough in a large bowl, so it has space to rise and cover with plastic wrap and place in the fridge over night until it has doubled in size. (alternatively let is rise in a cool place for 2 hours)The next day: remove the dough from the fridge. when I do this over night method I like to leave the bowl on the work top for 30 minutes so it can get back to room temperature, but I’m not sure that step is essential. Shape the dough as desired. I rolled it out into a large rectangle and folded it in half and cut it into equal pieces and rolled it up and placed them in a lined baking tin. (see below) Cynthia suggests a tall 9×5 loaf pan. Leave to rise again for 1 hour, until doubled in size.Preheat the oven to 180c 350f.Mix an egg with a tsp of milk and brush the top of the loaf. Bake for 30/40 minutes until golden brown, or an instant read thermometer inserted into the middle reads 200f (at 30 minutes it was quite brown so I covered the top with some foil so it didn’t burn.
Laminated morning buns with white chocolate gianduja

Recipe
For the white chocolate gianduja
I made this during the resting time between dough folding. I put it in the fridge for about half an hour and found that it was easier to spread at room temp so I flashed it in the microwave for 10 seconds.
- 80g toasted hazelnuts
- 80g caster sugar
- 150g white chocolate
- 6 tablespoons double cream
- 1 teaspoon vanilla
In a food processor add the hazelnuts and sugar and pulse until they are very finely ground, then add two tbsp. cream and vanilla and keep mixing until you get a smooth paste. Melt the white chocolate with the other 4 tablespoons cream, then mix the with the hazelnut paste. This can me used to make truffles if you put it in the fridge. For this recipe it needs to be soft so its spreadable.
For the dough
I changed the dough slightly from above and used a extra egg rather then extra milk and added more sugar and butter.
- 1/2 cup whole milk
- 1 1/2 teaspoons active dried yeast
- 2 and a half cups (320g) bread flour (plus more for kneading if not using a stand mixer)
- 1/4 cup sugar
- 1 tbsp. non fat dry milk powder (Cynthia says this is optional but suggests using condensed milk instead) I used milk powder
- 1/2 teaspoon salt
- 2 eggs
- 3 tablespoons softened butter
For the tangzhong
- 6 tablespoons water
- 2 tablespoons bread flour (15g)
1 block of butter (250g)chilled and cut into slices for laminating
Chopped hazelnuts and pearl sugar and egg to brush top.
I rolled them in some hazelnut sugar, simply made by adding some chopped toasted hazelnuts and sugar in a food processor. I pulsed it a few times until the hazelnuts where finely chopped. I used about 2 tbsp. hazelnuts to 3/4 cup sugar.
Directions
- The night before, or at least two hours before baking: in a small sauce pan bring the milk just to the boil, 2 to 3 minutes, or heat to the boil in a microwave, in a microwave safe bowl. About one minute (I have always made it the night before) This scalds the milk and kills any enzymes that might prevent the yeast from working. Set aside to cool slightly. Pour through a sieve when ready to use if you find a film has formed on the surface.
- Now make the tangzhong: in a small sauce pan add the water and flour and whisk until no lumps remain. Heat over a medium/low heat whisking constantly until the mixture resembles a roux like gel, about 2 minutes. As soon as lines begin to appear in the mixture when it is stirred, remove from the heat and transfer to a small clean bowl and allow to cool down to room temperature.
- Prepare the dough: When the milk is just warm and no longer hot, about 100f to 110f, sprinkle the yeast on top and let sit until foamy, 5 to 10 minutes.
- Meanwhile in the bowl of your stand mixer add the flour, salt, sugar and milk powder and mix. (Cynthia makes it by hand, but I prefer to use my mixer. If you are making It without a mixer then click the link above for her instructions on food52)
- Once the yeast has foamed, add the eggs and tangzhong and whisk together until well combined.
- Turn your mixer on and pour in the liquid and start mixing with the dough hook. If you find you need a little more liquid add a tbsp. of milk or heavy cream. ( you want the dough to be quite soft)
- After the dough has been mixing for two minutes add the butter in small chunks a bit at a time and making sure it is combined before you add the next chunk. Turn the mixer up and knead for another 3 to 5 minutes.
Place the dough in a large bowl, so it has space to rise and cover with plastic wrap and place in the fridge over night until it has doubled in size. (alternatively let is rise in a cool place for 2 hours)
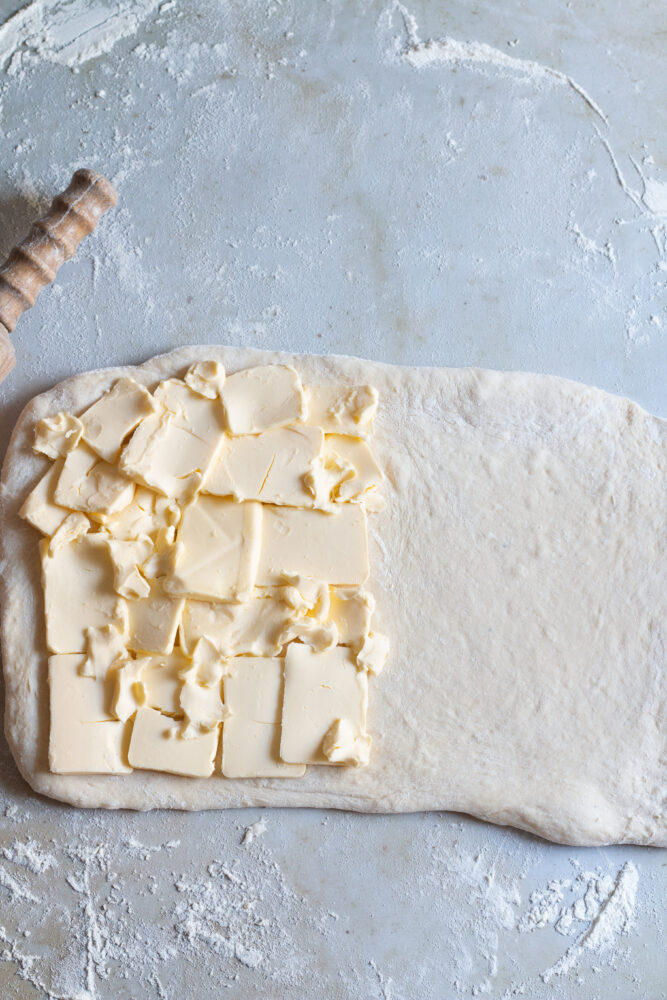
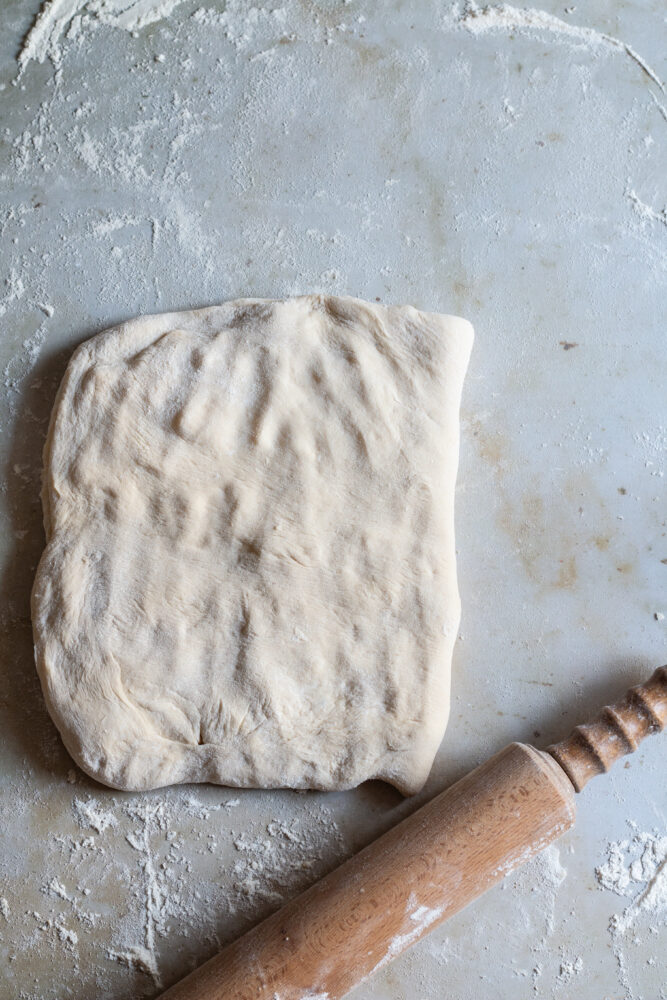
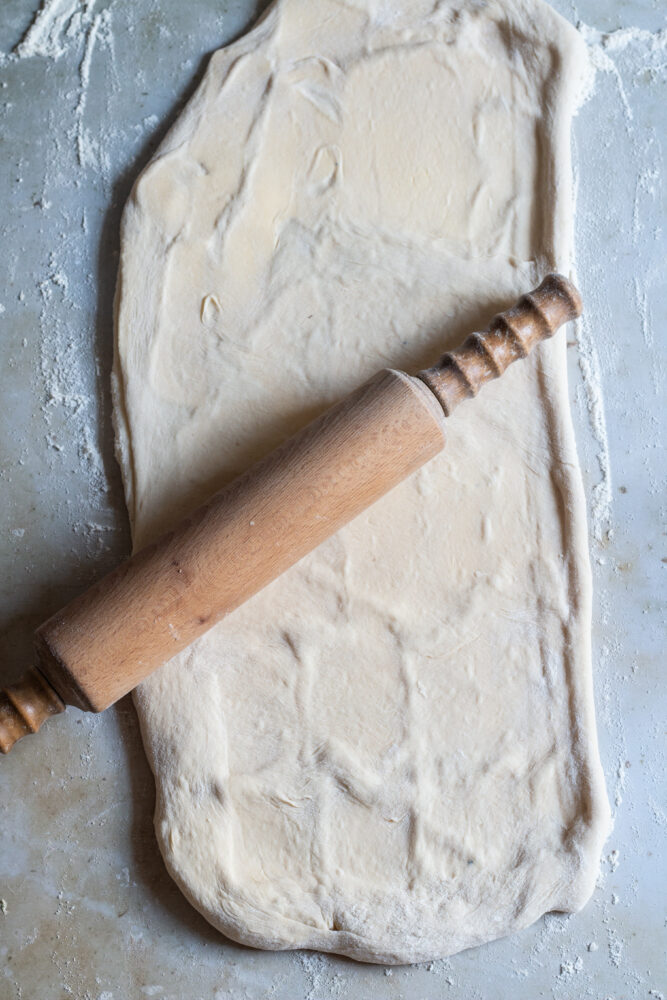
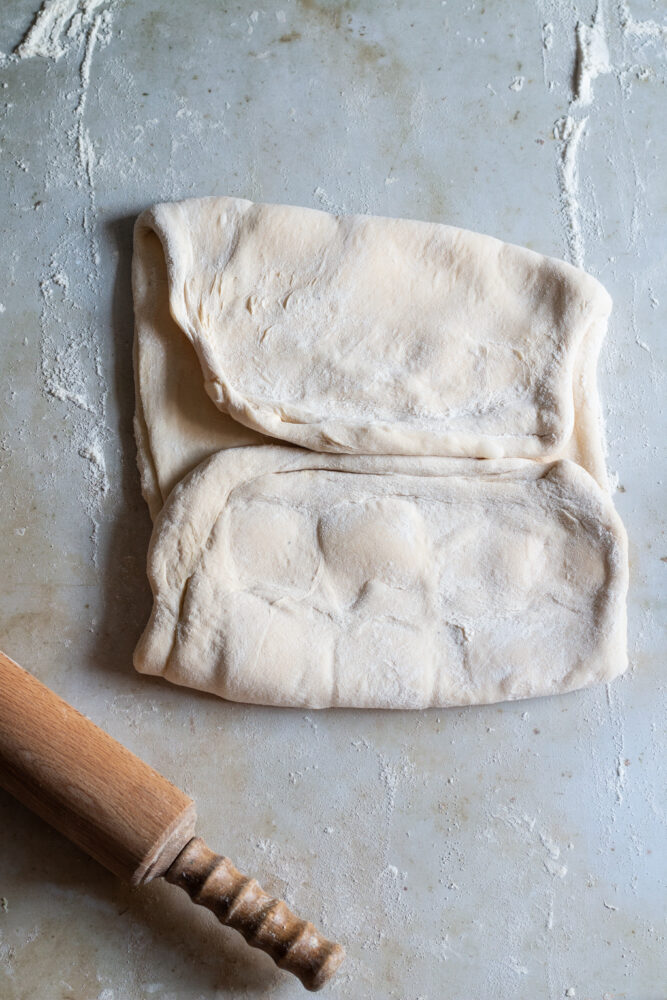
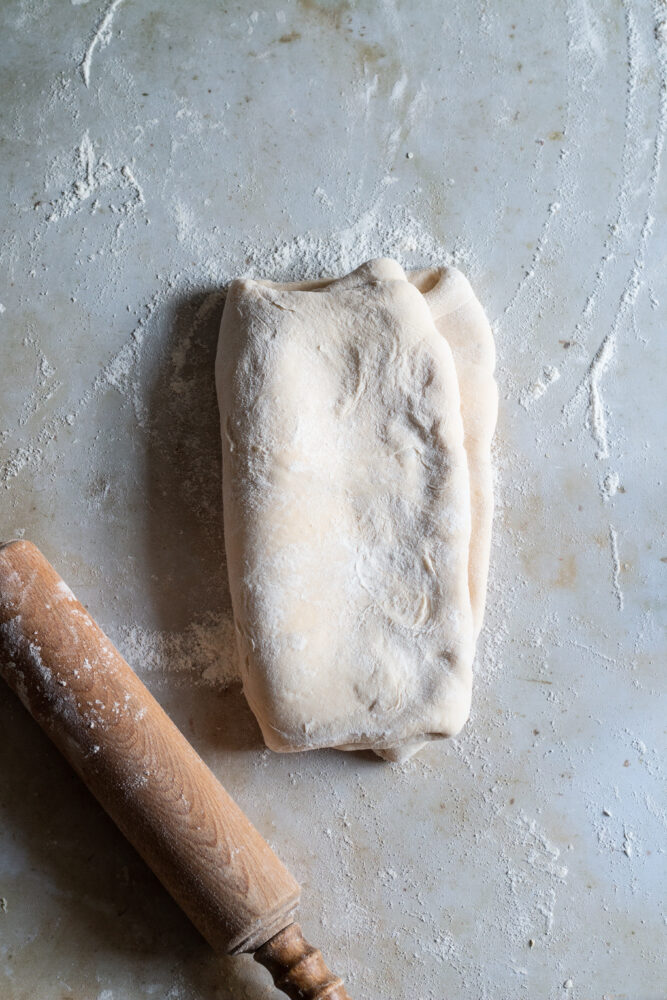
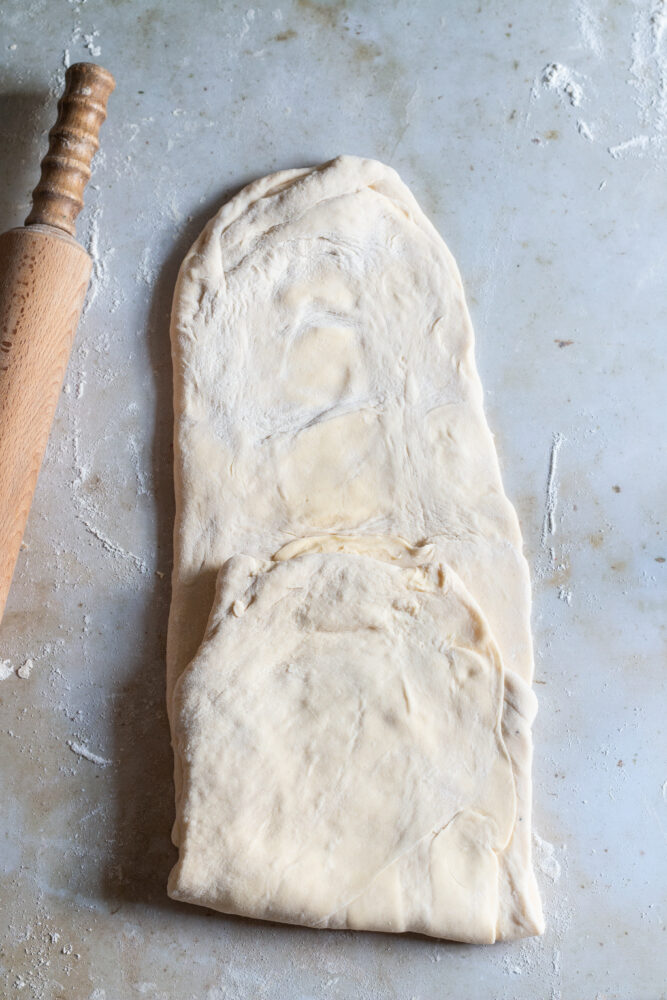
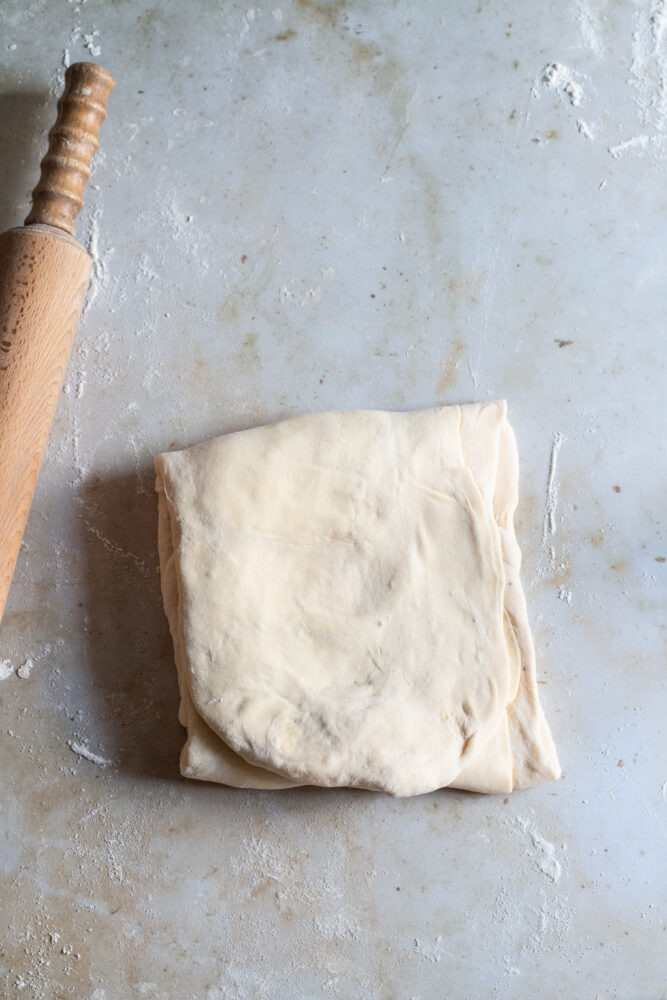
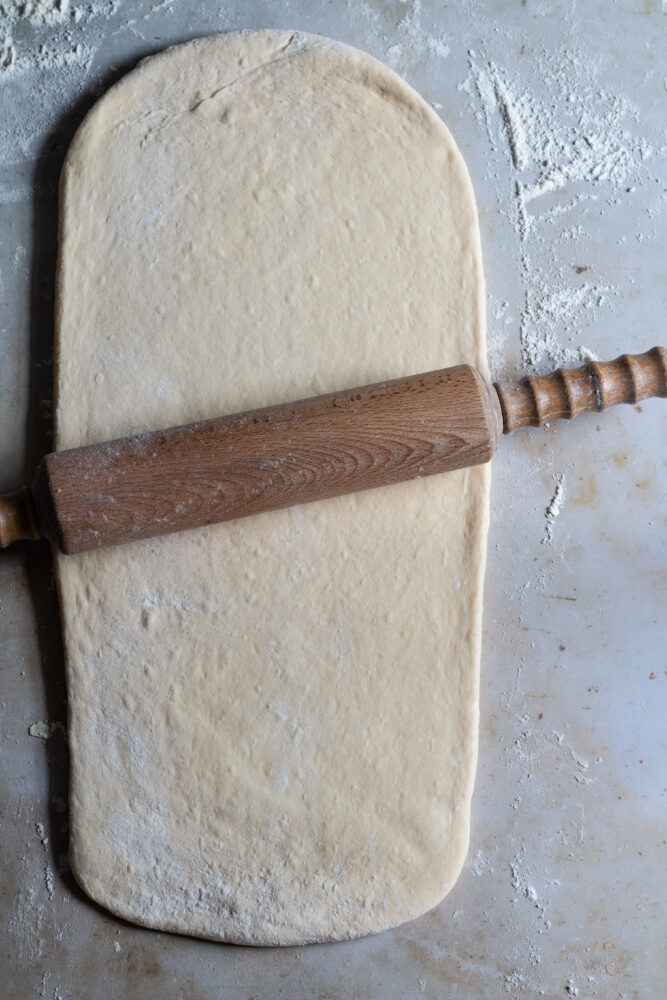
The next day: remove the dough from the fridge. when I do this over night method I like to leave the bowl on the work top for 30 minutes so it can get back to room temperature, but I’m not sure that step is essential. - Then all the folding begins: on a floured surface roll out the dough into a large rectangle. Place slices of butter on one half and fold over and press to seal the edges. Now roll out into a large rectangle. fold the edged in so that thy meet in the middle, then fold in half. ( see step by step photos below)
- Roll out again this time fold one edge over 3/4 and fold the other side over ( photo 6 ) cover and chill for at least 30 minutes.
- Roll out dough again and fold and roll four more times, then cover and chill again.
- Remove from fridge and fold and roll 4 more times, cover and refrigerate again for 30 minutes, then roll out into a large rectangle.
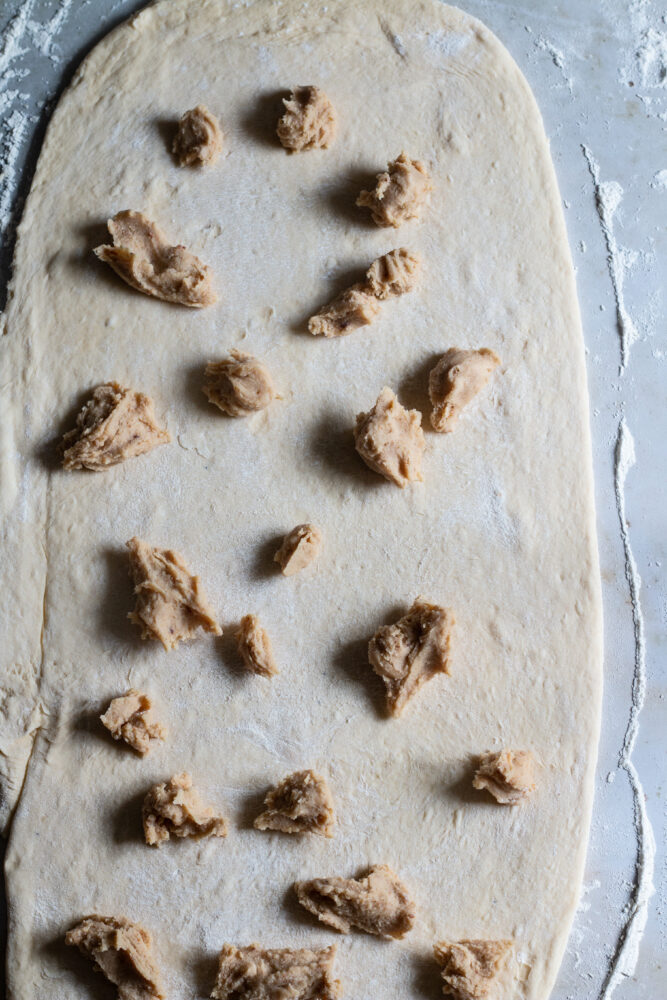
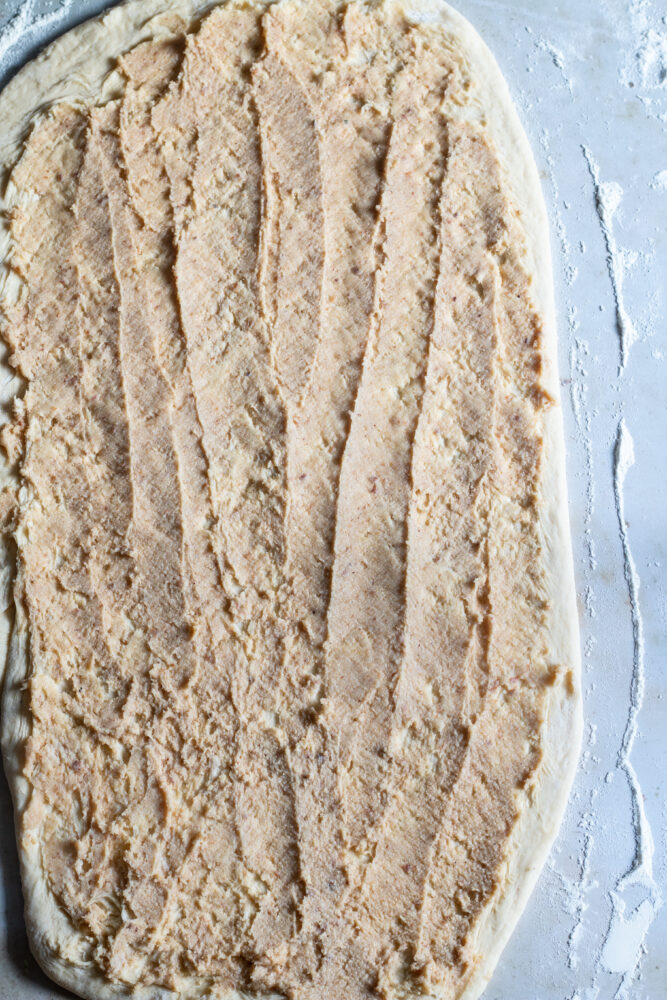
- Add dollops of gianduja over the dough and using a pallet knife or the back of the spoon spread out.
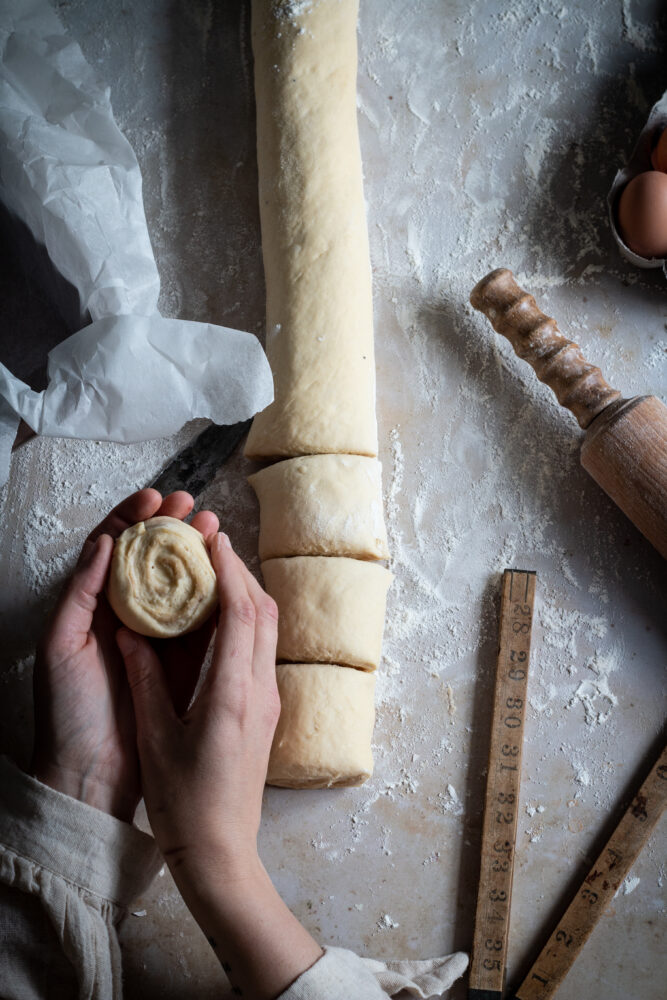
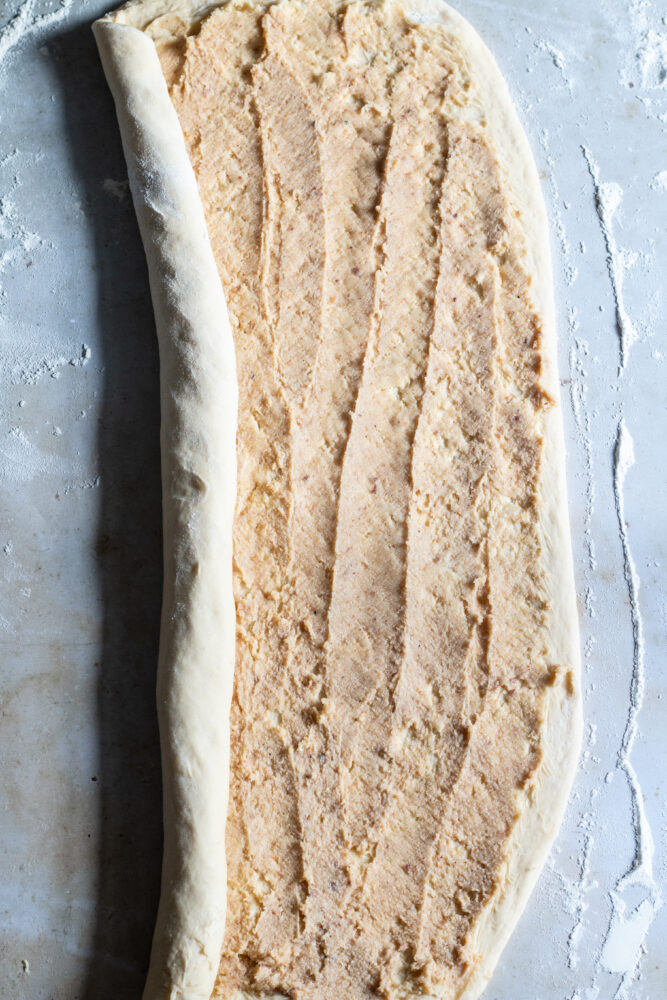
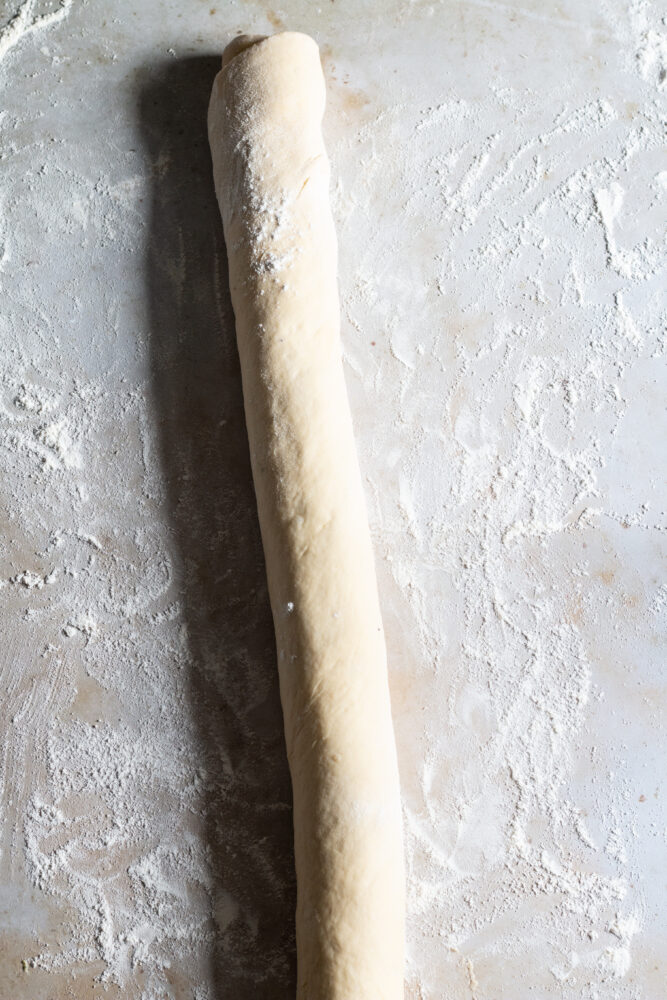
- Roll the dough into a tight log.
- Line a large loaf pan (or any shape pan you would like) and cut the dough into equal bun sized pieces. Place in the pan, cut side facing up leaving a little room between each one. I had some extra dough so I made a one big one and one small loaf with the cut side facing the side like milk loaf. (I didn’t get a photo of that as we demolished it straight away)
- Leave to rise for 1 hour.
- Preheat the oven to 180c – 350f brush a little beaten egg and sprinkle on finely chopped hazelnuts and some pearl sugar and bake for 30/40 minutes.
Note. This dough will colour fast so you can cover with foil once it is golden (after 20 mins)
Sprinkle with hazelnut sugar and enjoy.

i could not afford to hire any one i don’t earn money from this blog its here for free for you to use the recipes
The recipe looks good BUT there’s no egg in the list of ingredients and I realize to late this into the recipe, I will still bake it… but I’m disappointed that is probably not going to turn out goodso all my work was for nothing .
im so sorry i just realised i wrote egg in the written recipe above the printable recipe list but missed it on the other one, i have amended it now, i hope it was still ok x