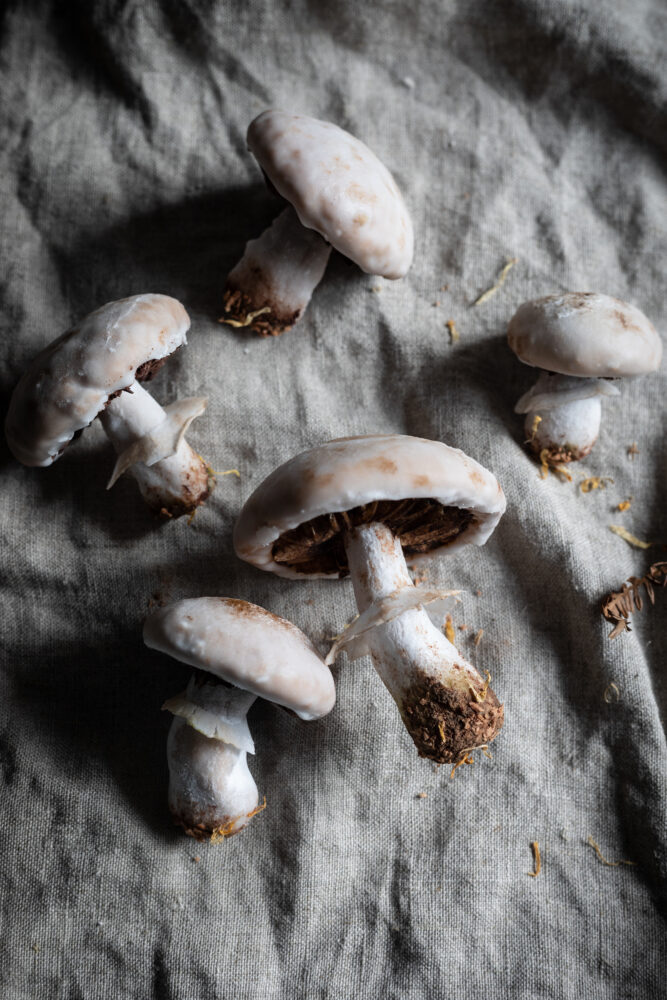
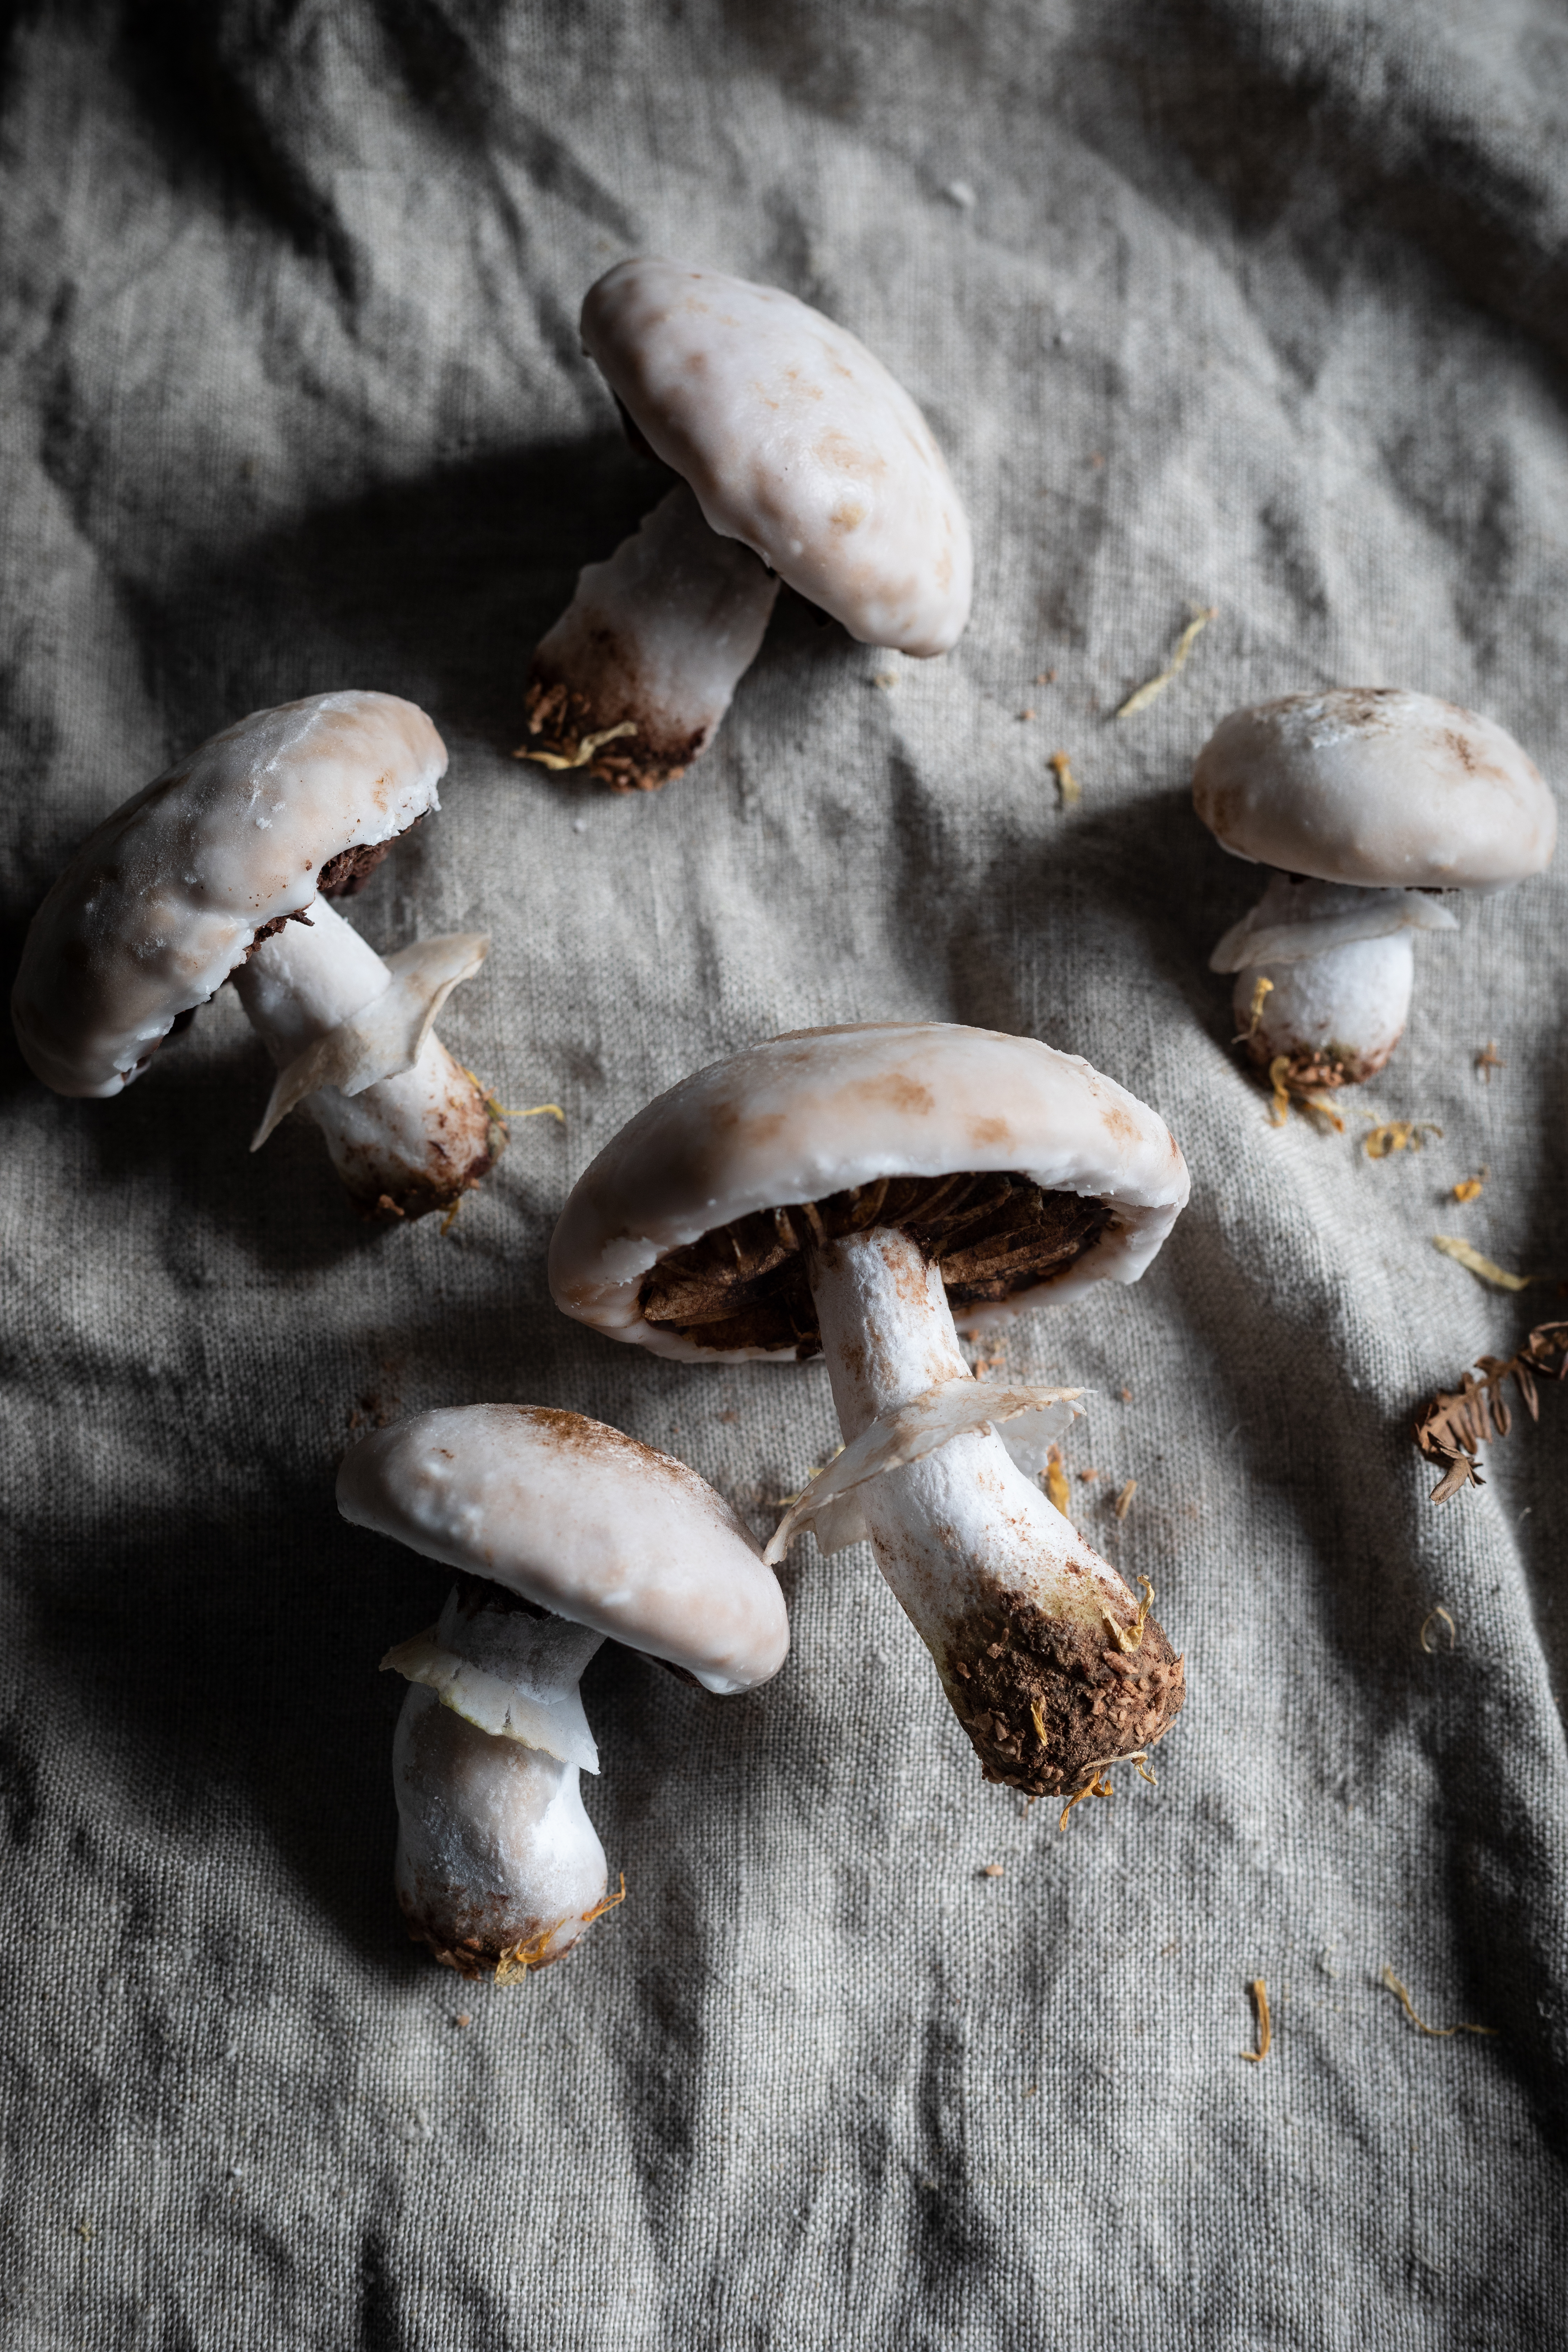
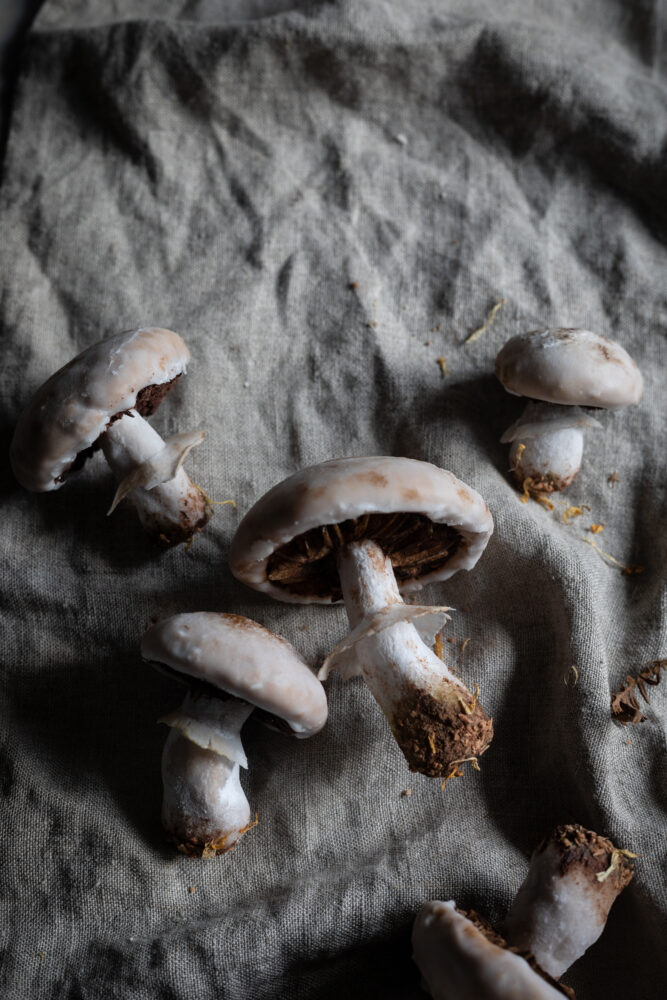
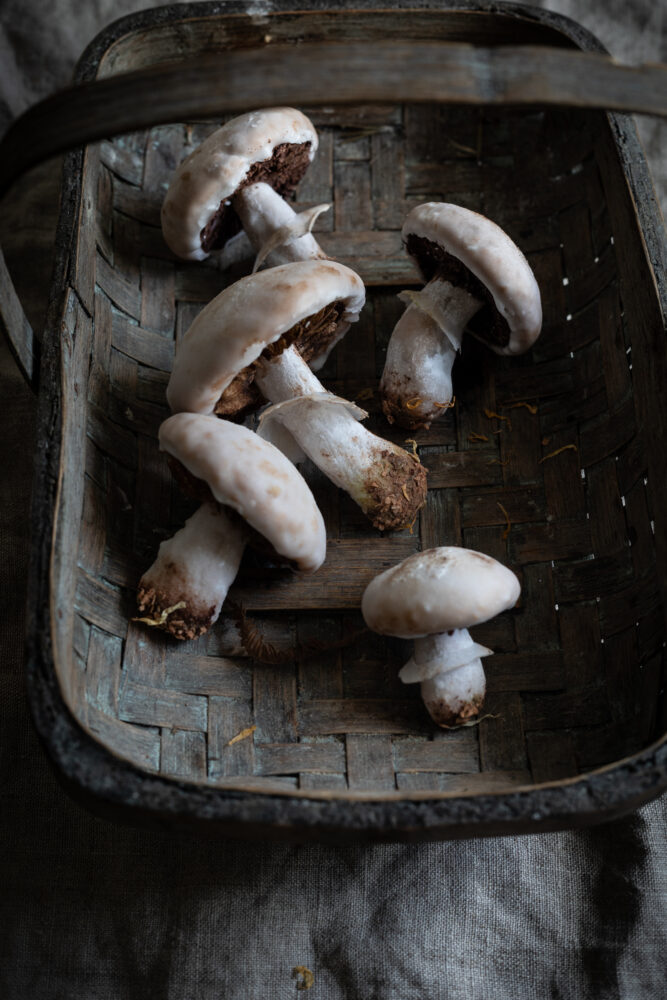
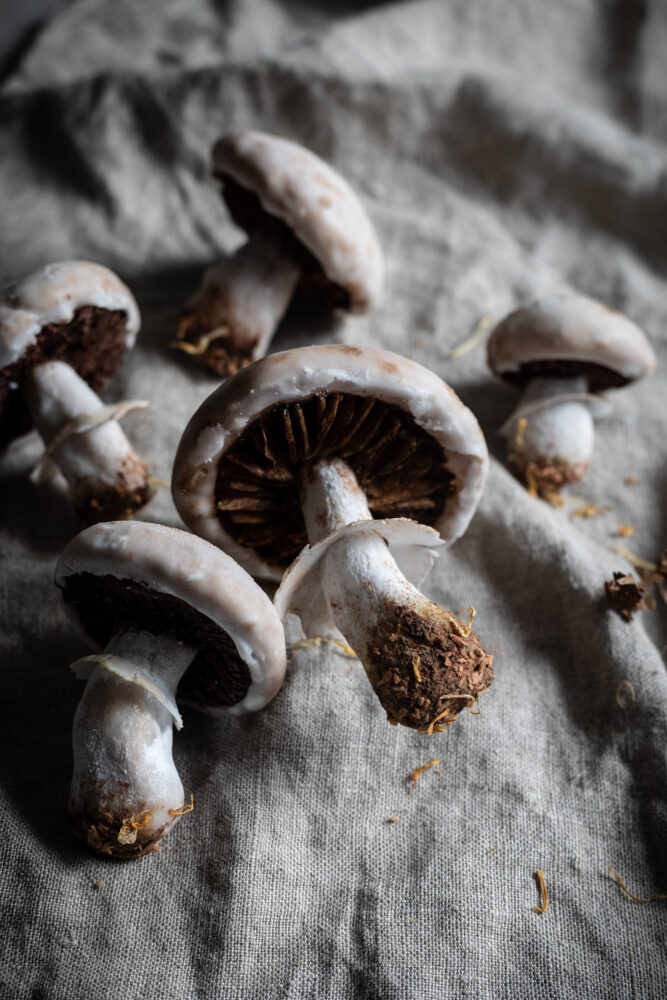
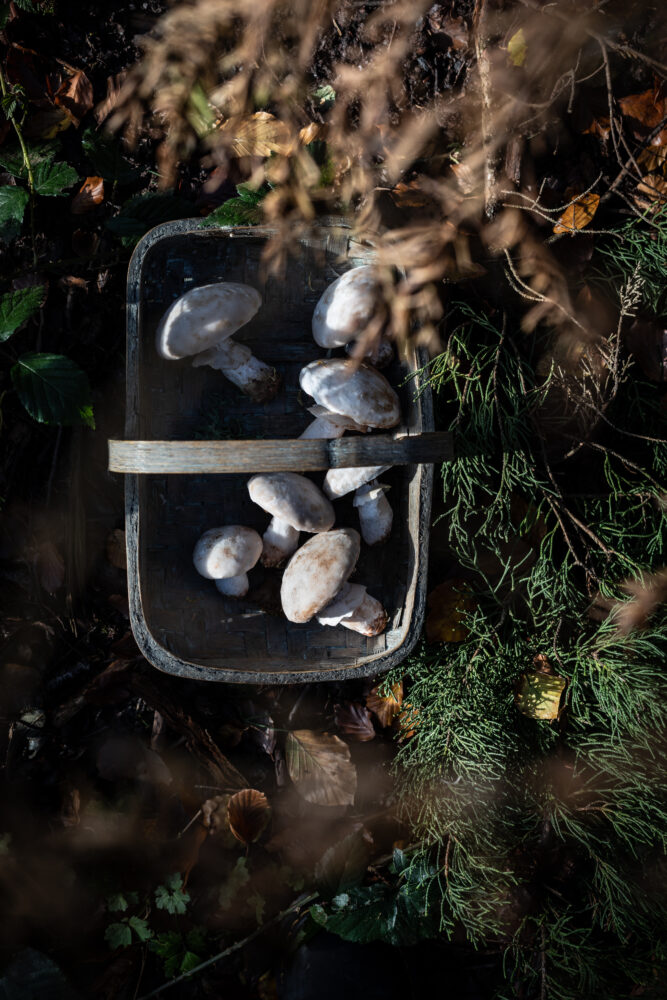
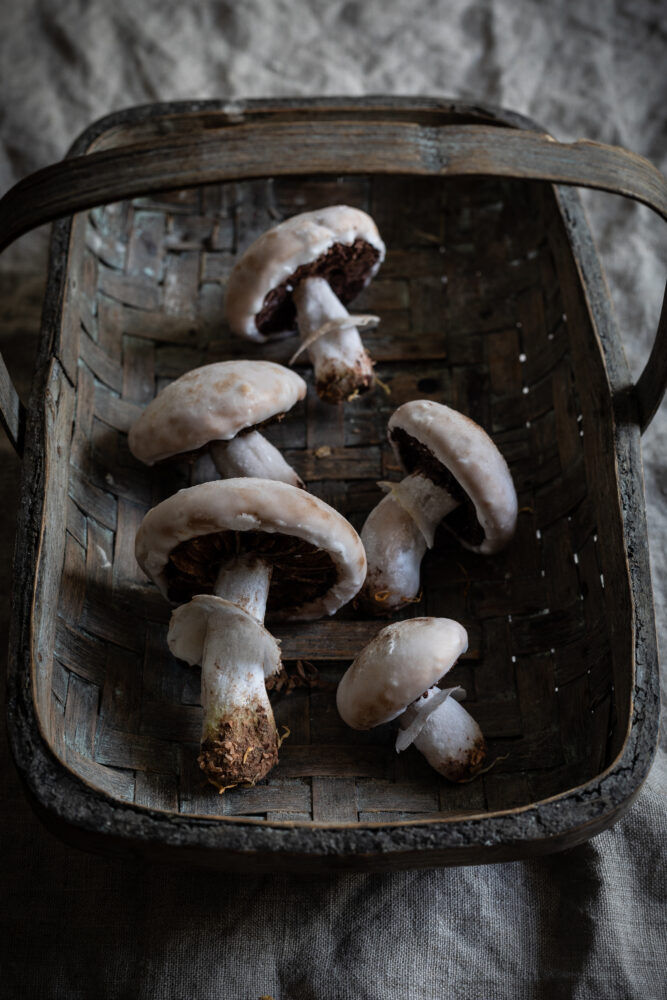
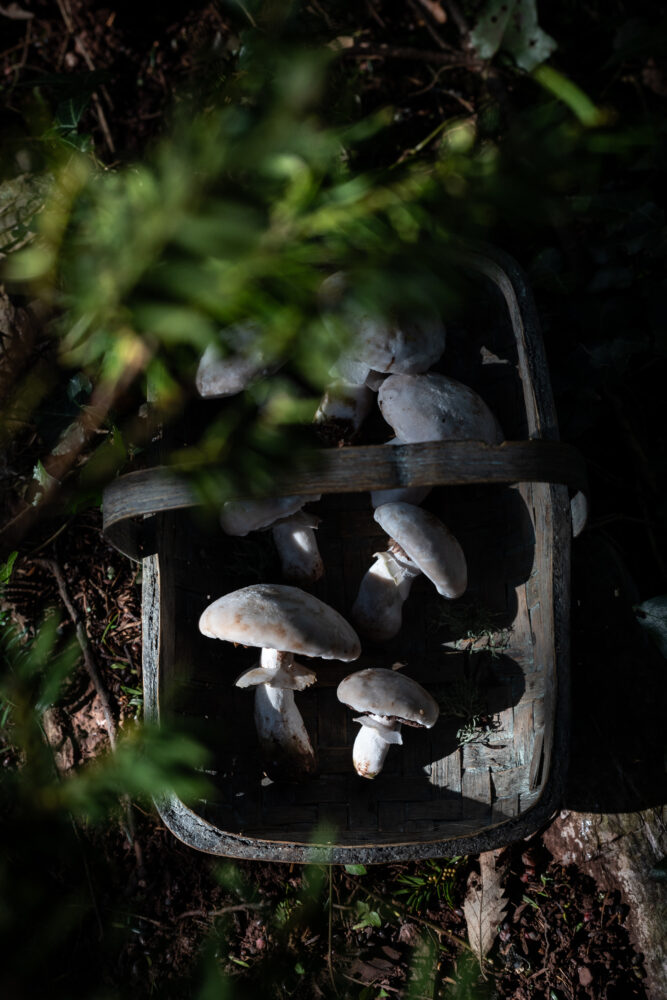
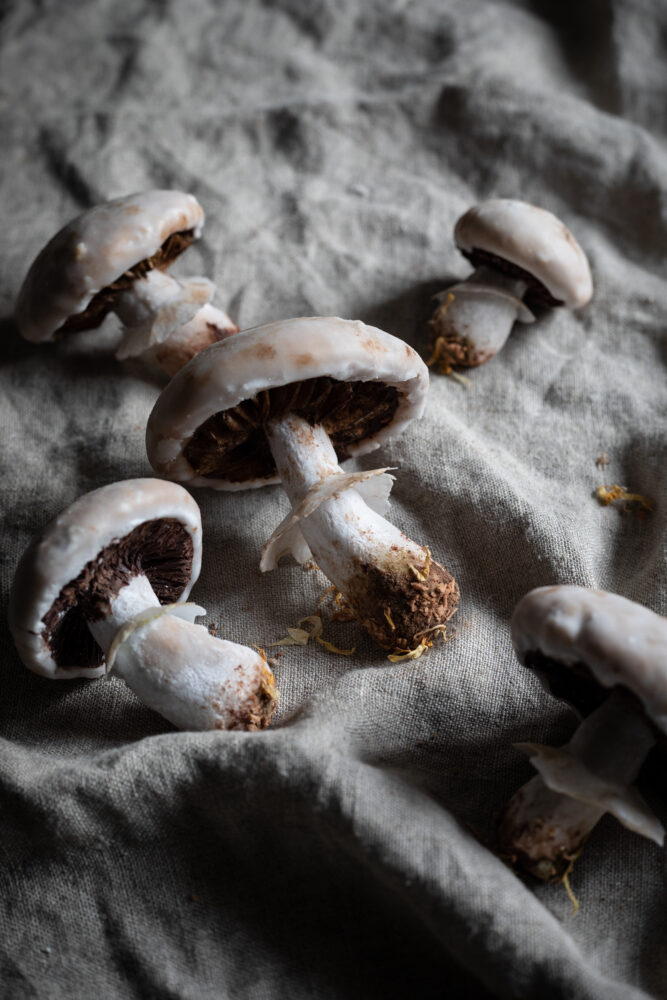
Mushroom shaped gingerbread, that look realistic. Yes that’s how i spend my Friday night lol.
It was so fun to make these mushroom shaped gingerbread, i decided to make a tutorial for you.
They are actually quite simple, it just requires a bit of time waiting for the icing to dry.
I used flaked coconut under the mushroom caps to make texture.
Then i used some desiccated coconut dusted with cocoa powder and some marigold petals to look like dirt.
I first made mushroom shaped gingerbread years ago, but i was never that happy with how they looked and have wanted to try again ever since.
They would be perfect for a tree stump cake or a Bûche de Noël.
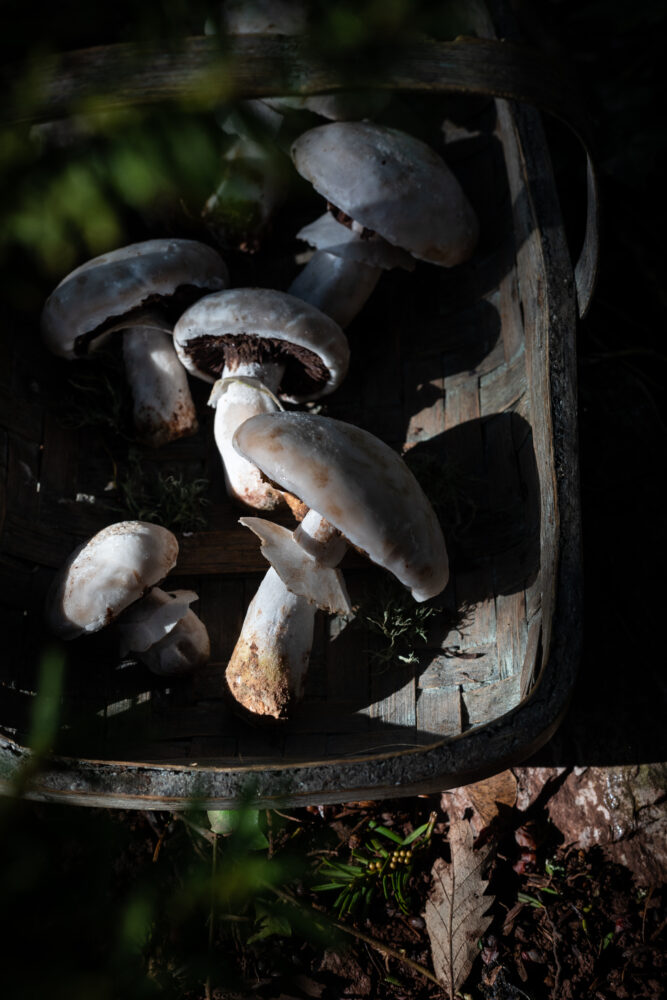
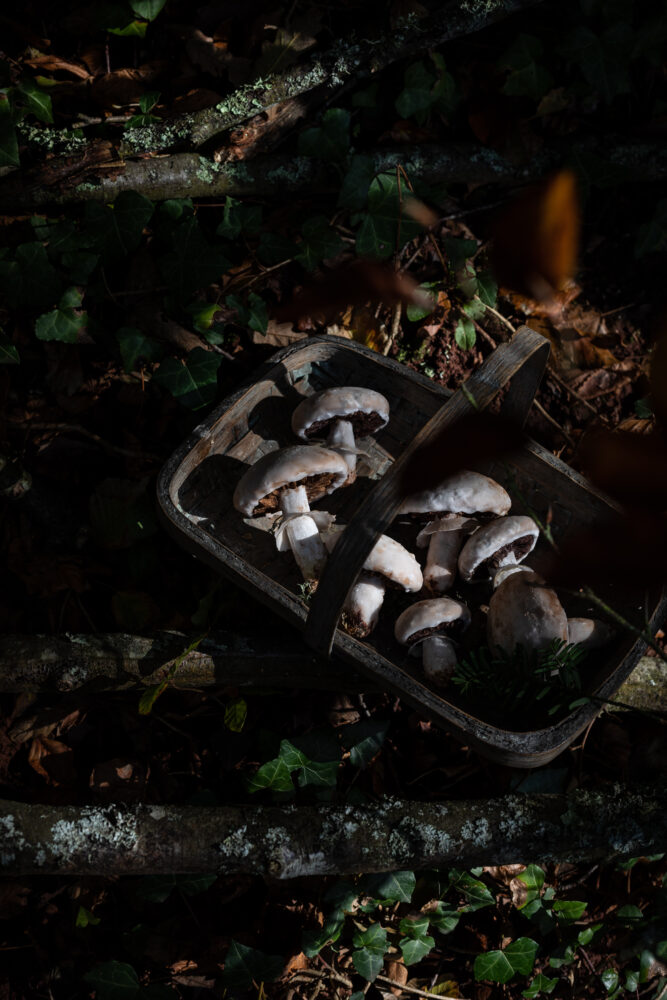
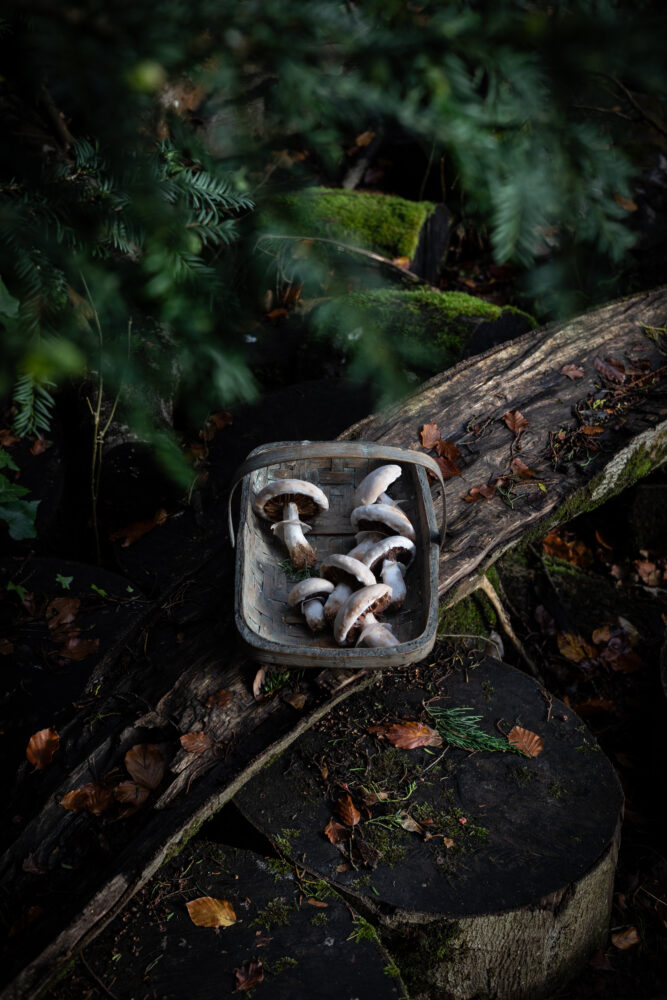
this weekend we took them to the woods with us. They are the perfect novelty cookie to enjoy out and about.
Mushroom shaped gingerbread tutorial
Step by step guide to make them
Tools
- scissors
- kebab sticks
- paint brushes
- sieve
- spoons and bowls
- edible paper
- flaked coconut
- desiccated coconut
- chocolate
- icing sugar
- dried marigold petals
Make the dough in advance so it has time to chill. see recipe for dough below.
gingerbread dough recipe
Ingredients
Equipment
Method
- using an electric whisk or stand mixer beat the butter and sugar until pale and fluffy, then mix in the golden syrup and whisk again.
- sift together the flour, spices, pinch of salt and baking powder, then add to the whipped butter and together,
- Add the milk a little at a time until you get a soft dough.
- using your hands mix into a ball and then wrap up and place dough in the fridge for at least 1 hour. longer is better.
Shaping the dough
Once the dough has chilled, remove from the fridge.
Preheat the oven to 180c – 350f.
Line 2 baking sheets with baking paper and then shape the dough.
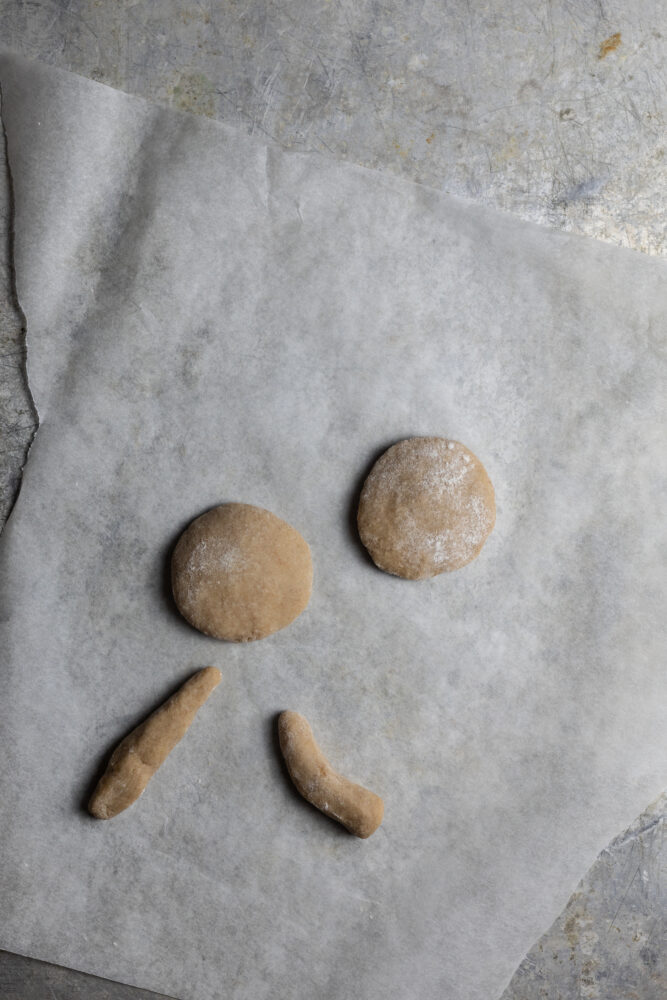
for the mushroom caps roll the dough in to balls then flatten them slightly (see image 1)
To make the stalks roll them in to short stems, making them slightly thinner at one end.
Place into the oven and set timer for 5 minutes. The stems will puff up and loose their shape so take them out and quickly reshape them.
Put them back in the oven and bake for 10 more minutes.
remove the stems and place the mushroom caps back in for 5 more minutes (depending on their size- they may be done quicker or it take longer)
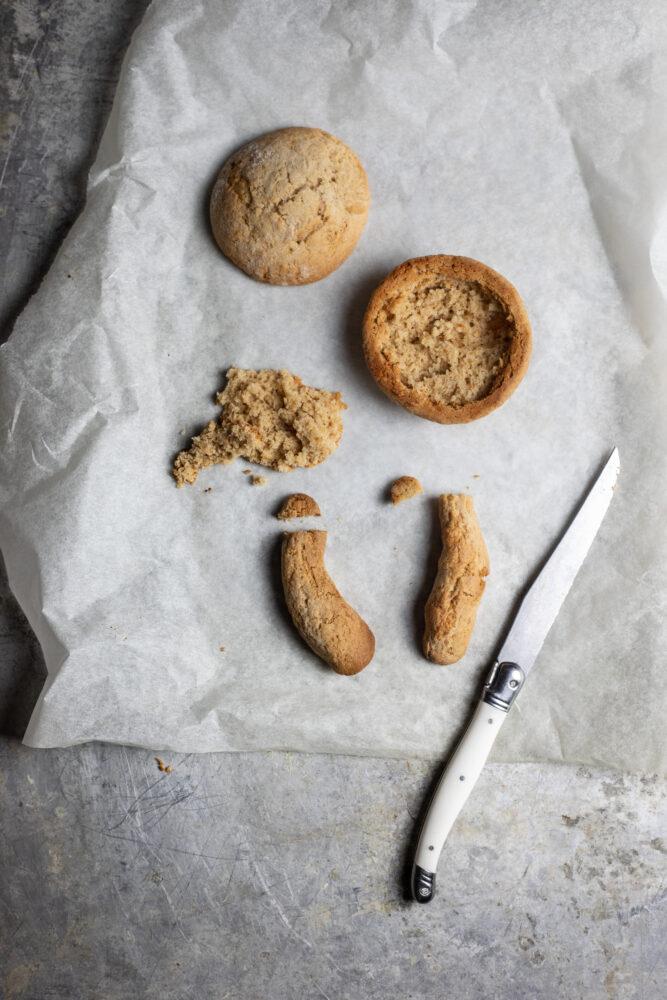
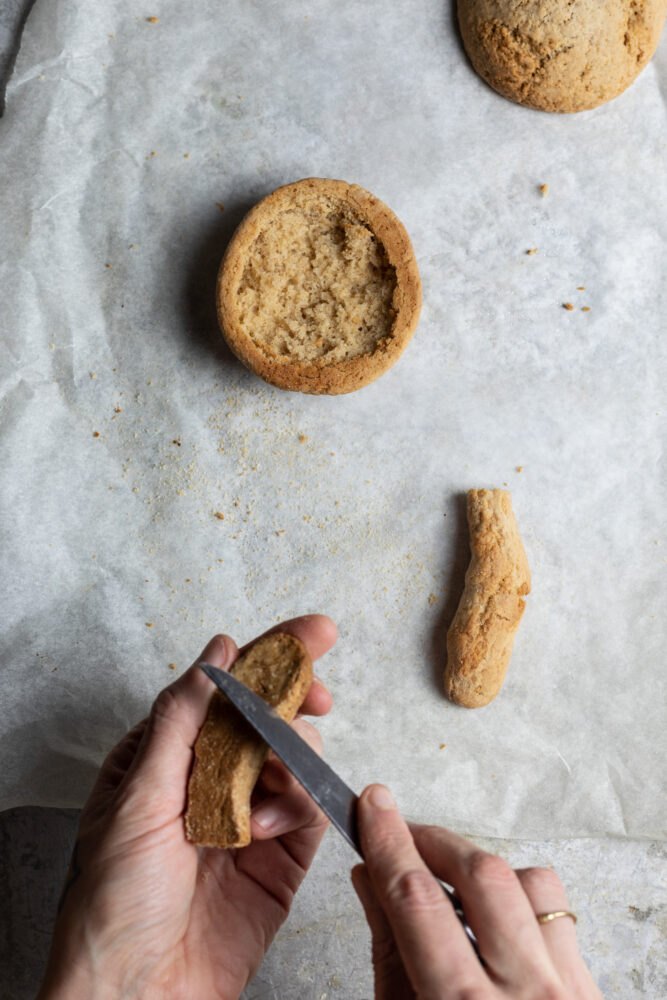
While the stems are still warm, use a knife to trim the tops so they are flat. (image 2)
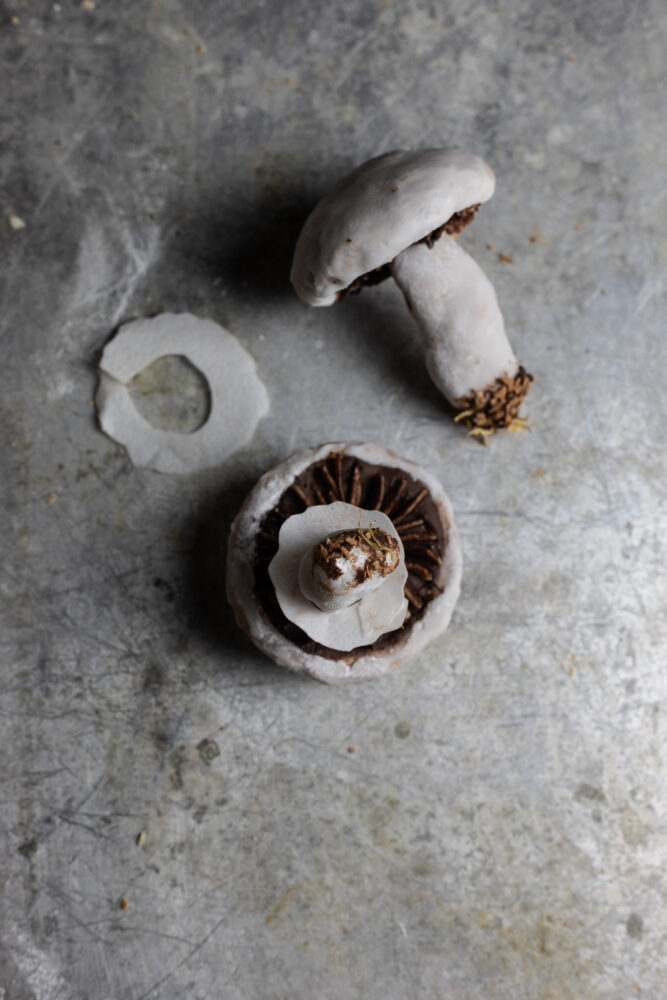
Turn the mushroom caps upside down and use a spoon to remove a thin section of the base. (image 2)
When the stems have cooled you can use a sharp knife to shave off any flat edges to make them look more realistic (see image 3)
Assembling the mushroom shaped gingerbread
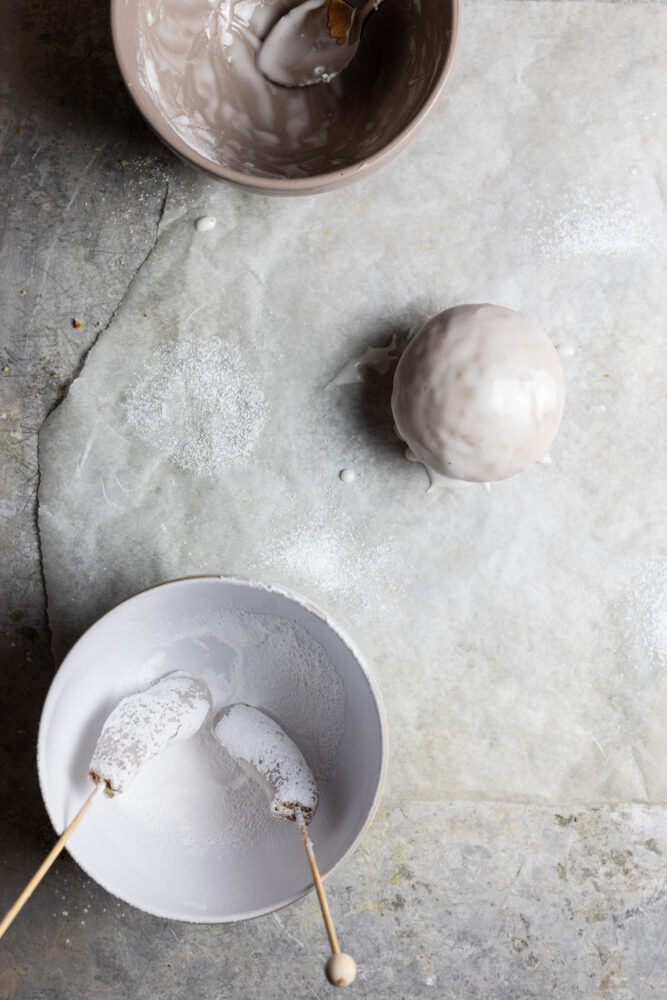
In a bowl mix some icing sugar with a small amount of water until it is really thick, but so it still slowly drips off the spoon.
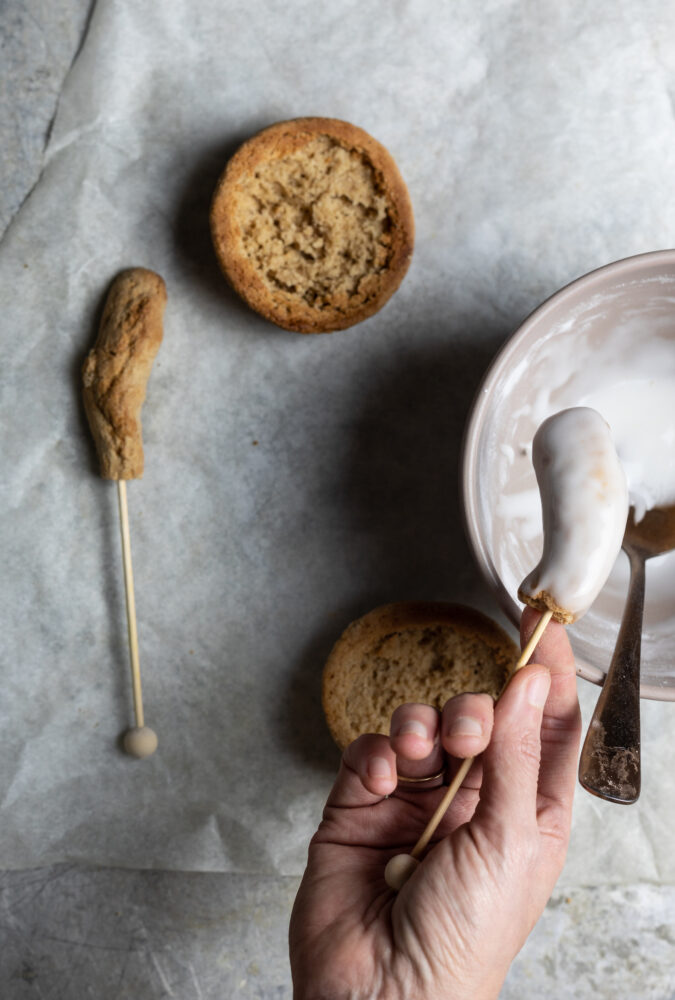
push kebab sticks into the stems and spoon over the icing so they are totally covered. let any excess drip off over the bowl. (image 4)
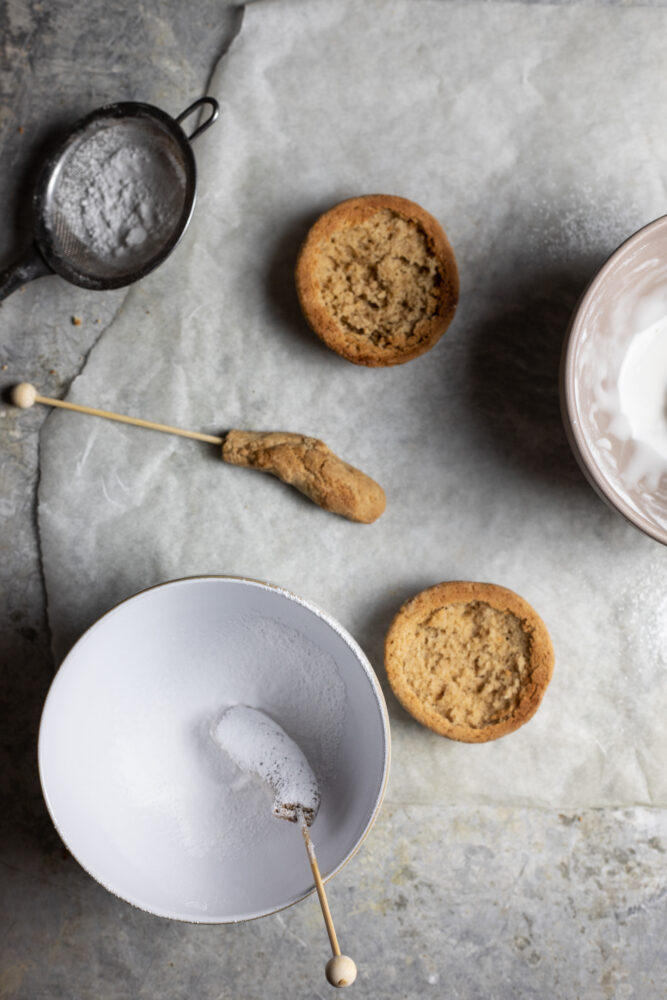
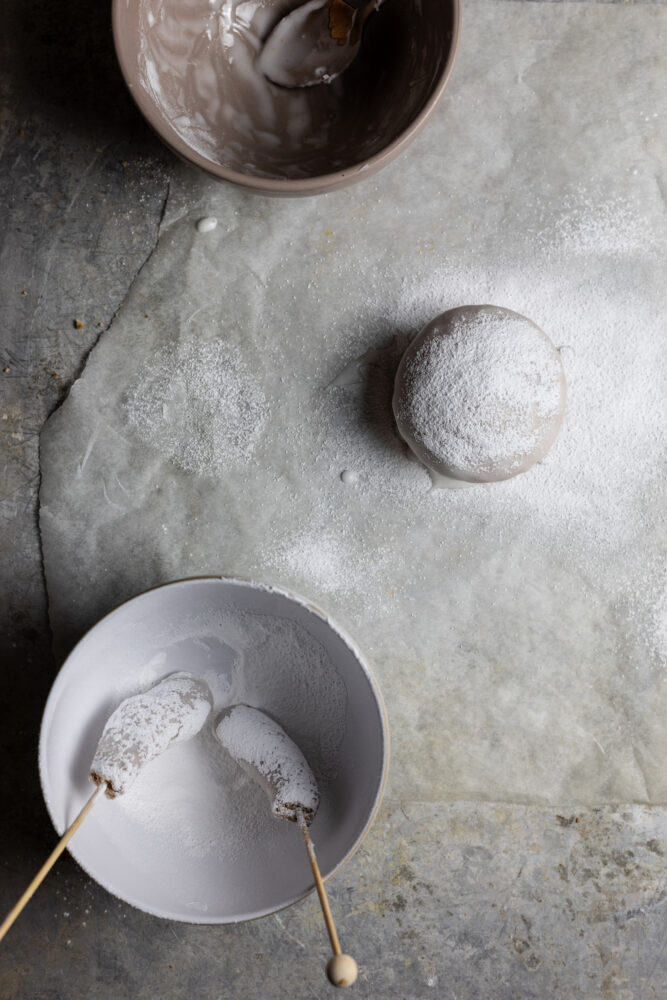
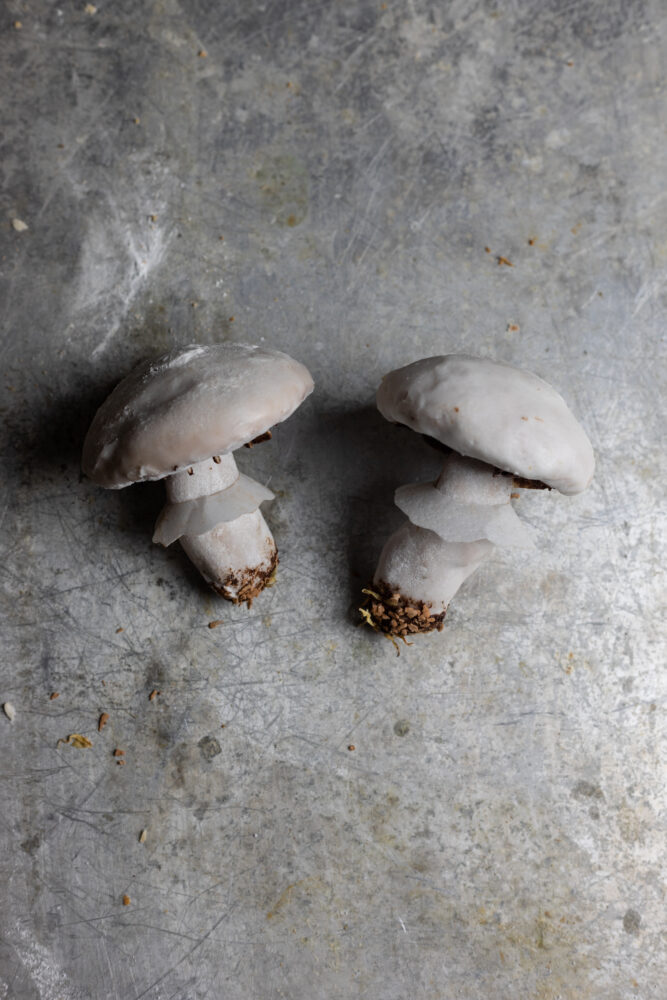
Next dust icing sugar over the wet icing and place leaned up against something. i placed them in a bowl (image 5) leave to dry.
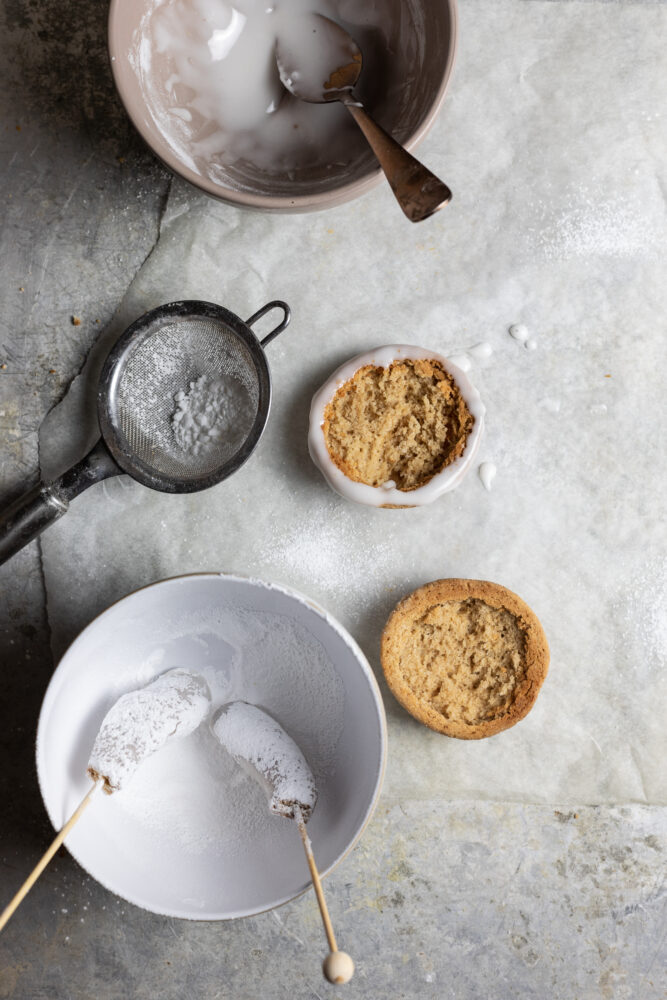
Drizzle icing around bottom of the mushroom cap. (see image 6)
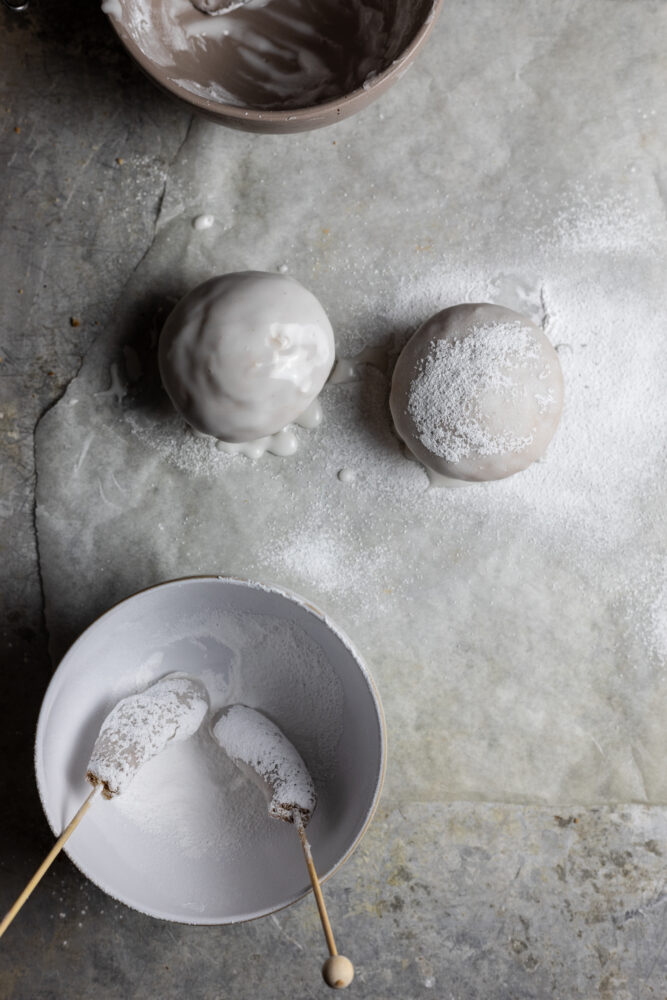
pour icing over the mushroom caps. then place on top of something small so that any excess can drip off. (image 7)
I used a small shot glass for the large ones. (it needs to be small enough to fit inside the whole)
The smaller ones i rested on top of some left over dough.
Dust over with lots of icing sugar then leave to dry. (image 8)
leave them to dry for at least half an hour but it could take 1 hour. (keep the bowl of icing for later)
Brush off any excess icing sugar.
Mix some desiccated coconut with a tsp of cocoa powder so it turns brown and looks like dirt and place on a plate.
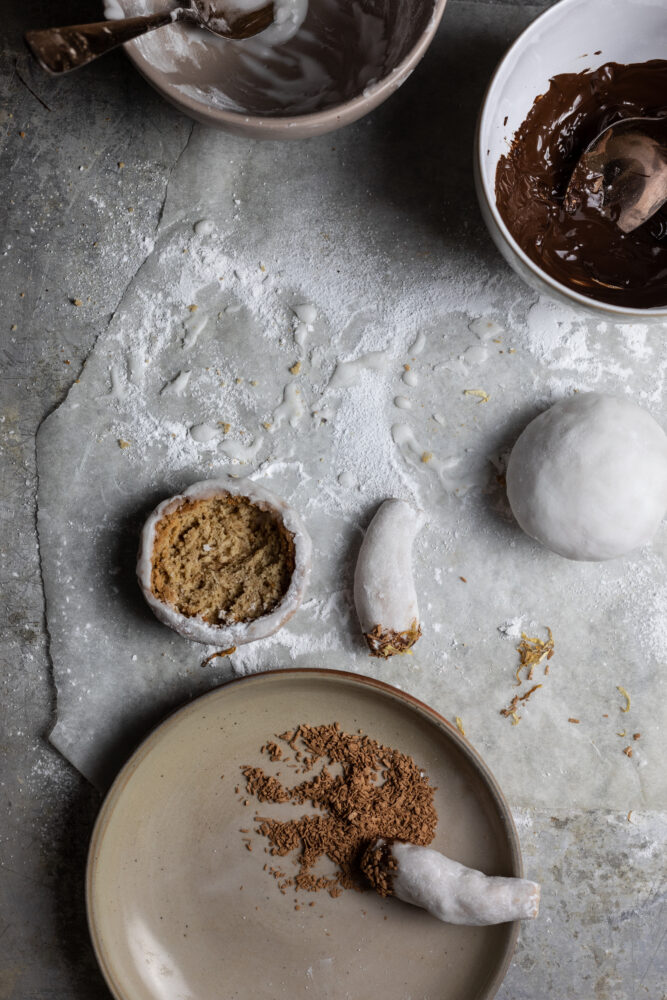
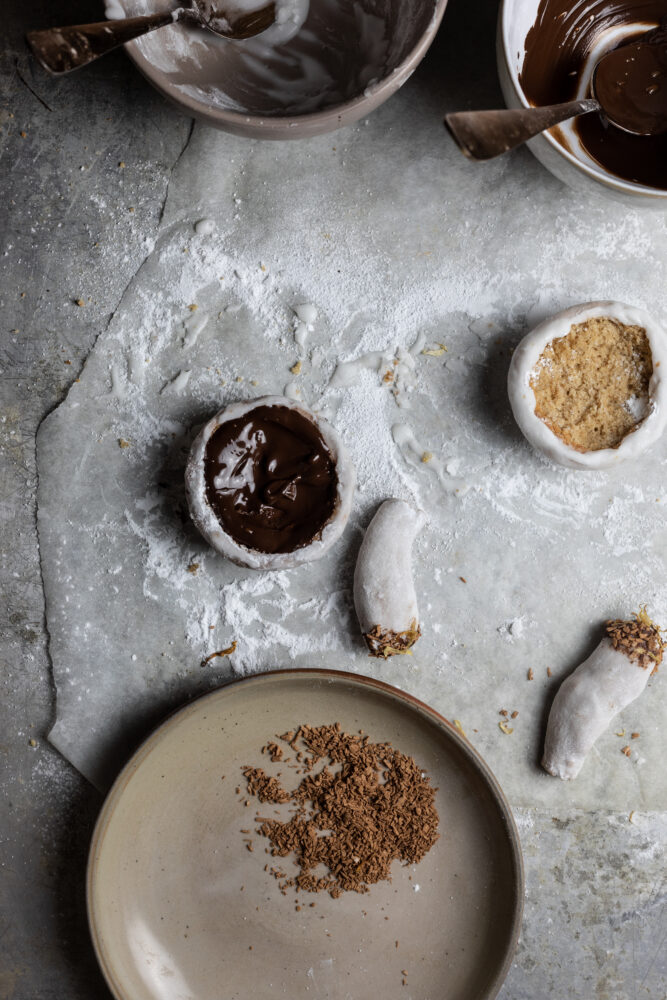
Melt 150g dark chocolate, then using a brush, brush on a little chocolate on the bottom of the stems and dip into the coconut. (see image 10)
If you like you can also press on some dried marigold petals.
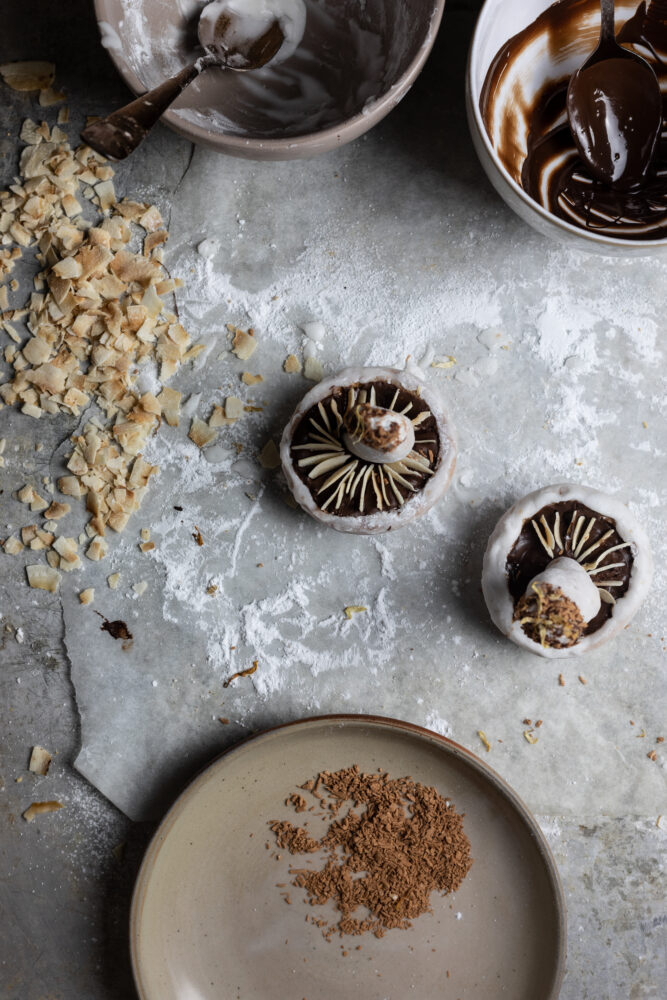
spoon chocolate into the centre of the mushroom cap and press the stem into it. (image 11)
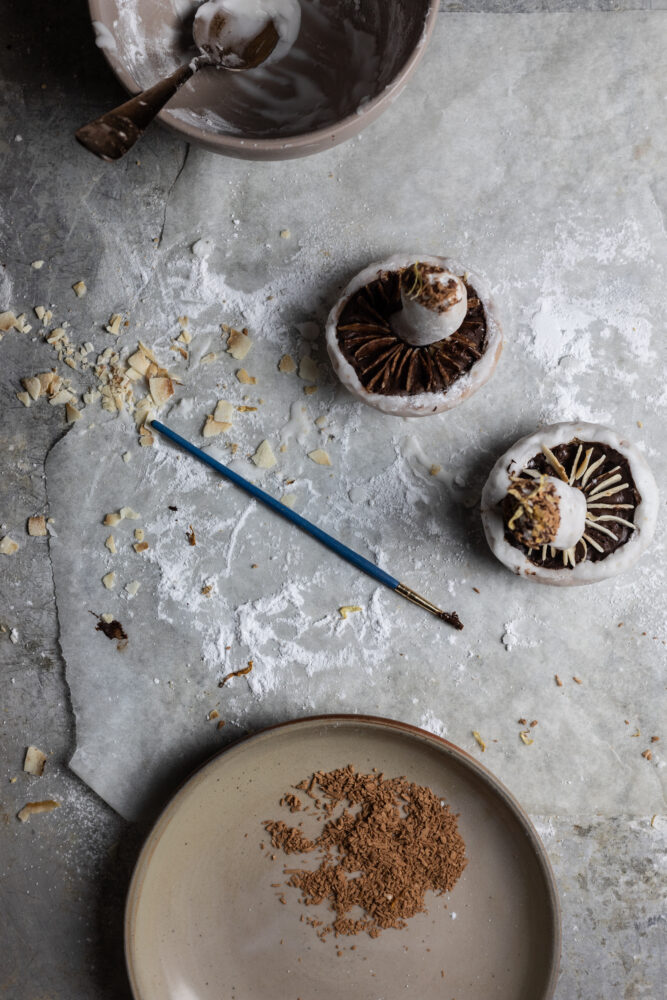
lean it against a bowl to hold it in place, and quickly before it drys, press some flaked coconut in so it looks like the gills of the mushroom. (image 12)
That step can be optional, you can let it dry slightly and use a knife to create texture.
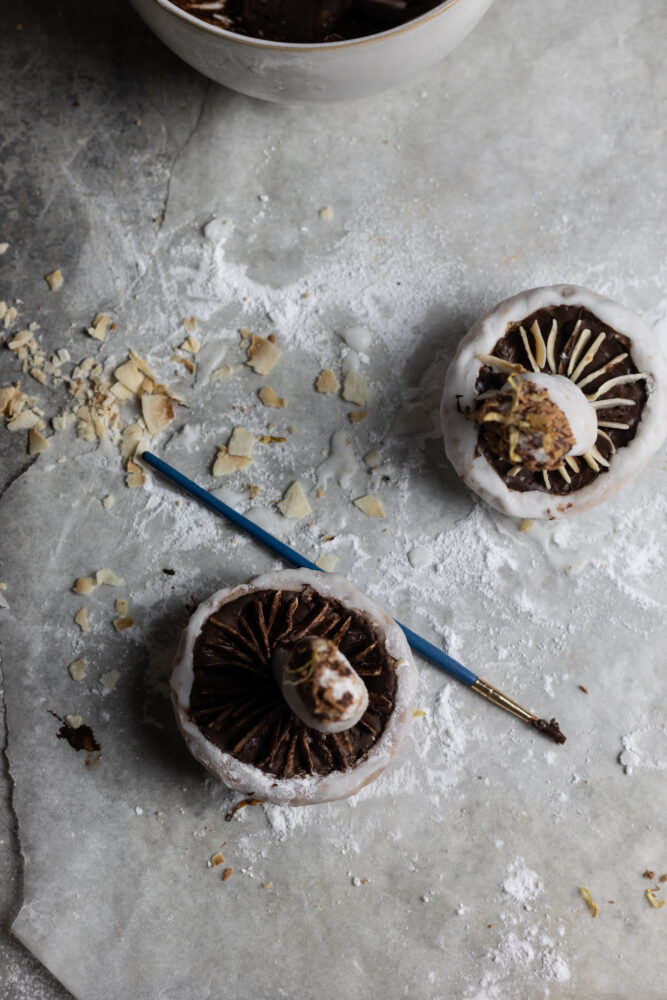
If you used the coconut, remelt what is left in the bowl of chocolate and using a paintbrush, paint over the coconut. (image 13/14)
To make the mushroom skirt, cut some edible wafer paper into a frilly circle.
Then cut a whole out of the centre and a slit, so you can wrap it around. (image 15)
To stick the two ends of the paper together, mix the icing from earlier so its a thick paste.
Add a small dot onto one side of the paper and press together.
To make the paper look more realistic use a wet brush and carefully brush around the edges.
The paper will roll up, be careful not to add too much water though.
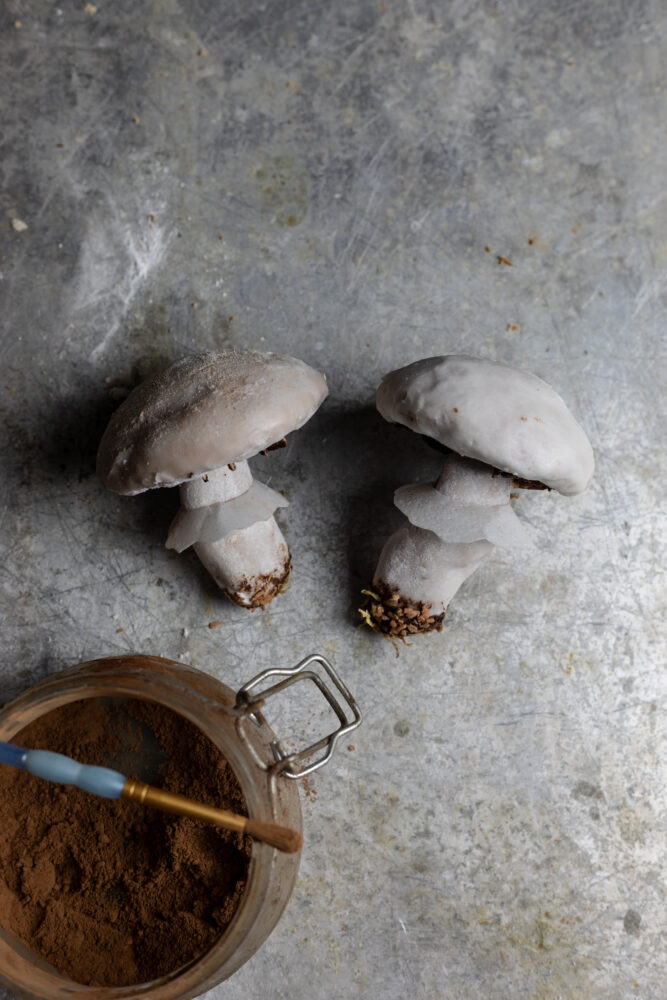
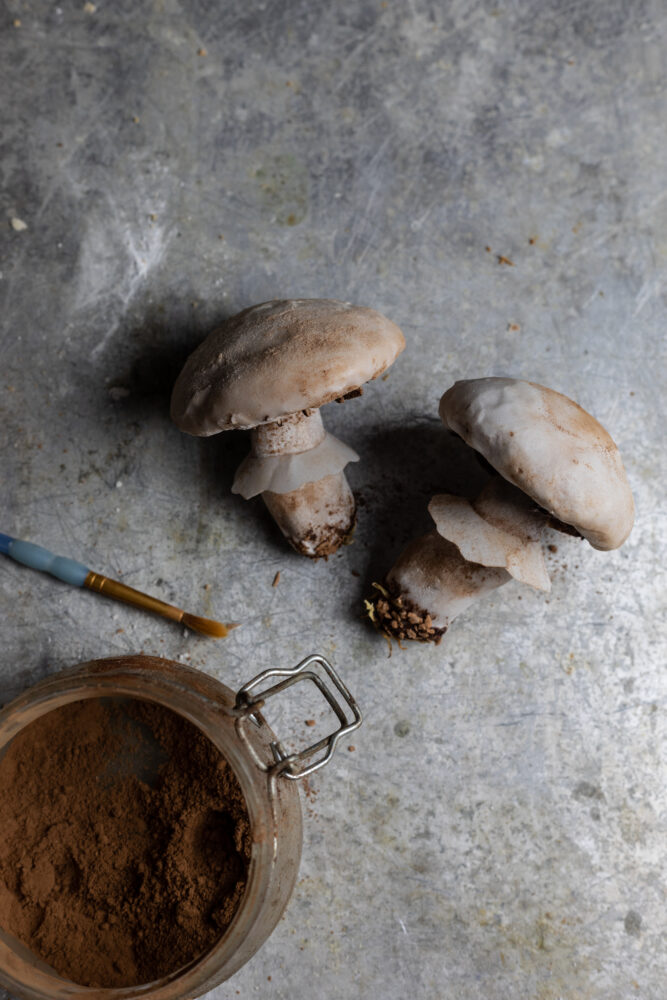
To finish the mushrooms, brush on some cocoa powder. (image 18)
Brush it onto the mushroom and the paper.
You can also use some edible brown and green luster dust to paint on some more dirt.
You are just incredible! These mushrooms are insane! Your creativity never ceases to amaze me!
thank you so much bella xx
they look so so so realistic, Aimee!!! I’m stunned!
thank you ruth xx
Wow! And can those be kept for a few days, since it’s definitely not something that one would make on the same day as serving the log cake?
the icing helps them keep for a bit longer as it seals the dough really well x
I’m absolutely smitten with these. They’re wonderful.
Thank you Heidi so glad you like them. Xx
Wish me luck. I’m just about to start icing them! Wondering whether to chicken out and call them Portabella mushrooms! I’ll be pleased if they’re half as good as your. Not attempting the frill as I’m out of rice paper and the ‘non-essential’ shop is closed.
i hope you enjoyed making them x
I haven’t tried this recipe yet, but my polish great aunt used to make gingerbread mushrooms every Christmas and they were my favourite. Thanks for the recipe I’m so excited to try it out, this hits right in the nostalgia feels!
so glad it brings back fond memories for you x
Came this gingerbread mix be used for gingerbread men or
a gingerbread slab cake
20x20cm square
Thanks
it can be rolled to make a light gingerbread cookie, i have not tried it in a tin x